- 23 -
ENG
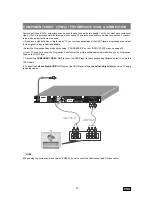
The number of recorded angles differs depending on the
disc used.
x
is displayed on the screen during playback. This
indicates that the multi-angle scene has just started. Also
on units display (VFD) ANGLE message appears. You
will see in the upper-right corner of the screen the number
of the angle selection you have choosen.
In SETUP menu, an ANGLE MARK option exists, which,
if enabled, will display a continuous angle mark on the
screen as long as multi-angle scene is available.
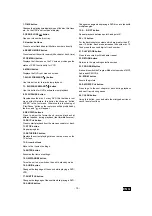
Press ANGLE during playback.
The current angle is changed.
Press ANGLE several times until the preferred viewing
angle is selected.
¥
NOTE:
This function will only work on discs where different
angles have been recorded.
The viewing angles are shown on the screen. You can
select one of them for viewing.
If you press ANGLE outside of a multi-angle scene on a
multi-angle title,
´
is displayed. It means that only one
angle is currently available.
Using a DVD Menu
Some DVD discs have unique menu structures called DVD
menus. For example, DVDs programmed with complex
content provide guide menus, and those recorded with
various languages provide menus for audio and subtitle
language. Although the DVD menus content and operation
differ from disc to disc, the following explains basic
operation when this feature is used.
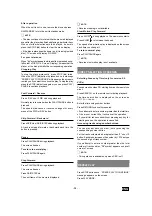
Press TOP MENU or MENU during playback.
The DVD menu available on the disc is now displayed.
¥
NOTE:
If you press MENU, the root menu of DVD is displayed.
If you press TOP MENU, the menu of the current title is
displayed.
Press
3
/
4
/
6
/
5
to select the preferred item.
Press ENTER.
The selected item is now executed.
You can play any track you want, just by pressing the
corresponding number button.
For the track numbers which are greater than 9 use +10
button. Each press increases the number by 10.Then type
the second digit of track number.
If you attempt to enter a number greater than the total
number of tracks on disc,
´
symbol is displayed on
screen.
¥
NOTE:
Some DVDs may not contain root and/or title menus.
VIDEO CD PLAYBACK
Preparations
Turn on your audio system if the player is connected to an
audio system.
Basic Play
1. Press ON/STANDBY button.
2. Press OPEN/CLOSE ( ) to open the disc tray.
3. Place a disc onto the tray
Hold the disc without touching either of its surfaces, position
it with the printed title side facing up, align it with the guides,
and place it in its proper position.
4. Press OPEN/CLOSE ( ) .
The disc tray is closed.
For Video CDs without playback control:
Play commences immediately.
For Video CDs provided with playback control:
If disc contains a menu, it will appear on the screen after
a few moments.
Menu Play
This function works only with video CDs with playback
control (version 2.0).
The details differ depending on the disc concerned. Also
refer to the instructions accompanying the disc.
After steps 1 to 4 above, the menus are displayed on the
TV screen
5.
Press the number button(s) to select the preferred item.
The player now starts to play the selected item.
¥
NOTE:
Use +10 button to enter two-digit-numbers.
3
/
4
/
6
/
5
arrow buttons are not used for selecting
items for video CDs.
What is playback control (PBC)?
If a video CD has playback control written on the jacket
of disc, it means that particular scenes or information can
be selected for viewing interactively with TV screen using
the menu screen.
¥
NOTE:
PBC on is default. Whenever you insert a disc, it will be
on.

