Call Router Administrator
Tab Choices
Call Router Installation Guide 03/09
39
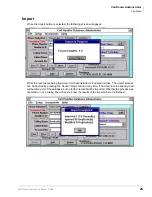
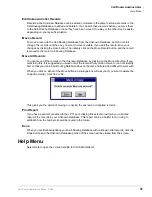
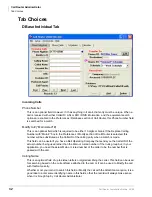
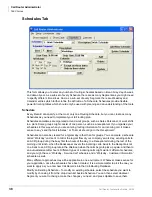
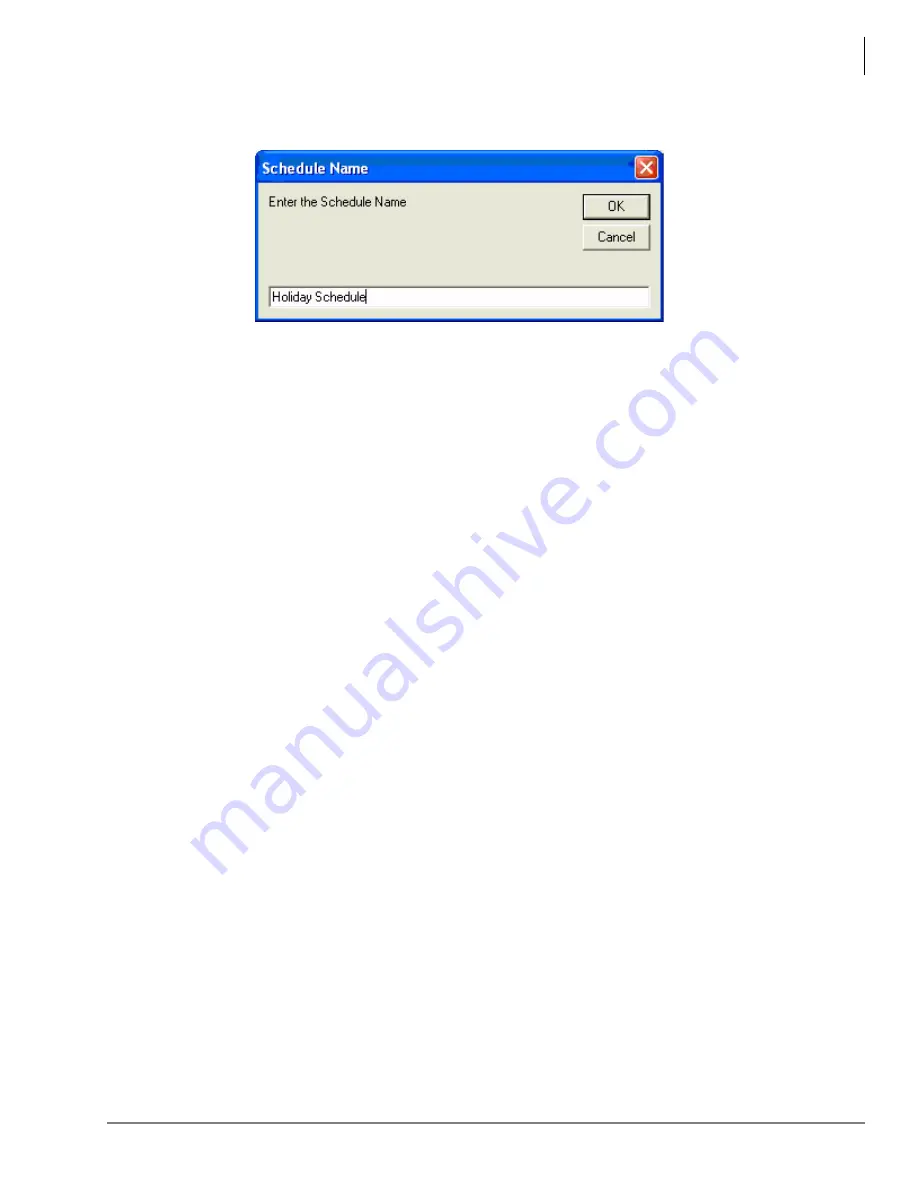
Add New Schedule – When you click this button, a Schedule Name dialogue box appears. Enter
the name of the schedule you are adding and click OK.
The Schedule that you have just added is entered and you can now begin defining its Segments.
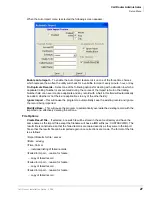
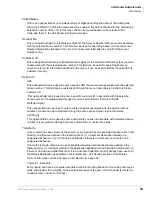
Delete Schedule – To delete a schedule, be careful to select the right schedule from the drop-
down list next to Schedule. Schedules frequently represent a lot of work, so you want to be careful
to get the proper one. Then click on Delete Schedule. The program will ask you to verify that this is
really what you want to do.
If you click on Yes, the schedule will be deleted.
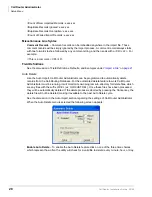
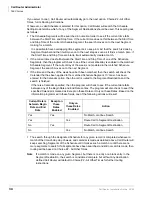
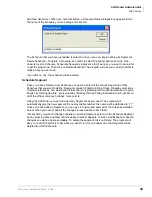
Schedule Segment
Once you have entered a new Schedule, you need to enter all the various Segments of that
Schedule that you want to define. Segments consist of Start and Stop Times, Weekday selections,
Calendar references, and Destination information. A typical Segment might be described, in plain
English, something like this: “every weekday (Monday through Friday) between 8 and 5, except on
all of the official company holidays, route calls to ...”
Using the Add button, you can add as many Segments as you need. The program will
automatically give the new segment the next available number; the name will be defaulted to “??”.
Once you have added a Segment, you can give it a name and enter all of the criteria as detailed
below. When you have made all the changes, press Update to save them.
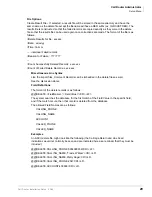
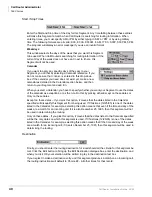
If at any time you want to change or delete an existing Segment, select it in the Schedule Segment
box by pressing Prev and Next until the desired number appears. To make modifications, make the
changes you want, and press Update. To delete the segment, click on Delete. The program will
ask you to verify that this is really what you want to do. If you answer Yes, that Segment will be
deleted from that Schedule.

