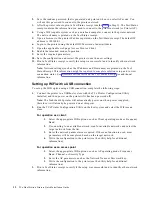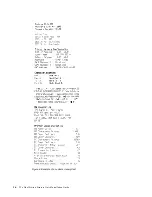
Note: Network settings (such as the IP address and Hostname) are printed on the Test/
Status Receipt. This information might be required to complete solution setup and view
connection status. See Firmware offline tests and the Test/Status Receipt for additional
information.
4. Disconnect the printer from the USB Host system and remove the USB cable unless it is part
of the final setup.
Note: The TCx Printer Configuration Utility can also be used to perform other configuration
tasks. See “Using the TCx Printer Configuration Utility” on page 14 for additional
information.
Setting up an Ethernet option
Use either a USB connection or an Ethernet connection to set up an Ethernet option (connecting
it to a network). After completing setup, the printer will be accessible via the network.
Additional configuration or setup changes can be done via that network by using either the
printer's web interface or the TCx Printers Configuration Utility.
Setting up an Ethernet option using USB
To set up an Ethernet option using USB, complete the following steps.
1. Connect the printer to a USB host system with the TCx Printer Configuration Utility
installed, and then power on the printer if it has been powered off.
Note: TCx Printers will automatically power on when power is applied; therefore, it will
already be powered on at this point.
2. Run the TCx Printers Configuration Utility on the host system and select the Ethernet menu
item.
1. Enter network parameters as required.
2. Write the configuration to the printer (see the utility help for additional information).
3. Print a Test/Status receipt to verify the setup was successful and determine important
network information.
Note: Network settings (such as the IP address and Hostname) are printed on the Test/
Status Receipt. This information might be required to complete solution setup and view
connection status. See Firmware offline tests and the Test/Status Receipt for additional
information.
4. Disconnect the printer from the USB Host system and remove the USB cable unless it is part
of the final setup.
Note: The TCx Printer Configuration Utility can also be used to perform other configuration
tasks. See “Using the TCx Printer Configuration Utility” on page 14 for additional
information.
Setting up an Ethernet option using a network connection
To set up an Ethernet option using a network connection, complete the following steps.
1. By default, the printer uses DHCP to obtain an IP address. If the target network provides a
DHCP server, connect the printer to the network by plugging in the Ethernet cable.
2. Customize the printer network settings over the network connection using the printer's web
interface (http server and provided web pages) or the TCx Printer Configuration Utility. See
“Using the TCx Printer Configuration Utility” on page 14 for additional information.
3. Reboot the printer and wait a few minutes to allow enough time for the DHCP process to
complete.
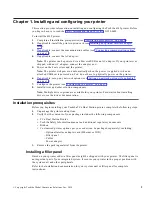
Chapter 1. Installing and configuring your printer
13
Summary of Contents for TCx 2tc
Page 4: ...4 TCx Dual Station Printers Quick Installation Guide ...
Page 6: ...6 TCx Dual Station Printers Quick Installation Guide ...
Page 18: ...18 TCx Dual Station Printers Quick Installation Guide ...
Page 22: ...22 TCx Dual Station Printers Quick Installation Guide ...
Page 23: ......
Page 24: ...TC62 0049 00 ...


