Page 10
User Manual
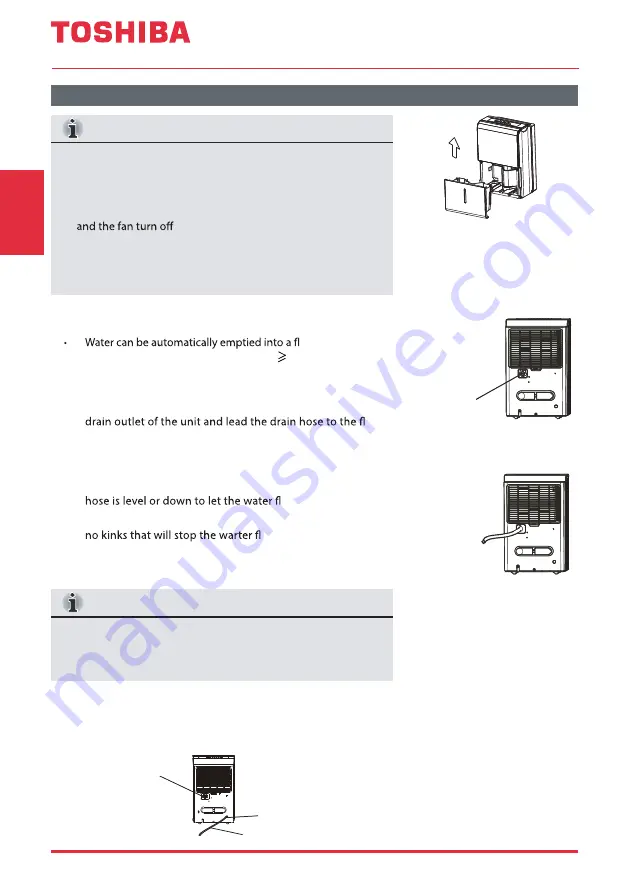
3. Pour the water out.
Fig. 6
NOTES
• When you remove the bucket, do not touch any parts inside
the unit. Doing so may damage the product.
• Be sure to push the bucket gently all the way into the unit.
• When the unit is on, if the bucket is removed, the compressor
, then the unit will beep 8 times and the
digital display shows Eb.
• When the unit is off, if the bucket is removed, the unit will
beep 8 times and the digital display shows Eb.
NOTE
When the continuous draining feature is not being used,
remove the drain hose from the outlet, and dry the water in
the continuous drain hose outlet.
2. Continuous draining
3. Pump draining (on some models)
oor drain by
attaching the unit with a water hose (Id Ø 5/16”, not included)
with a female threaded end (ID: M = 1”, not included).
•
Remove the plastic cover from the back drain outlet of the
unit and set aside, then insert the drain hose through the
oor
drain or a suitable drainage facility. (See Fig. 7 and Fig. 8)
•
When you remove the plastic cover, if there is some water in
the back drain outlet of the unit you must dry it. Make sure
the hose is secure so there are no leaks and the end of the
ow.
•
Direct the hose toward the drain, making sure that there are
owing.
•
Select the desired humidity setting and fan speed on the
unit for continuous draining to start.
Fig. 7
Remove the
plastic cover
rotating counter-clockwise
Fig. 8
Drain hose
Removing Collected Water (cont.)
Oper
ating
Instruc
tions
Water can be automatically emptied into a floor drain or a
suitable drainage facility by attaching the pump drain out
with a pump drain hose (od=Φ1/4" , supplied).
Remove the water hose and
reinstall the Plastic cover
Insert pump
drain hose to
the drain hose
outlet
Pump drain
hose outlet
Pump drain hose


