


21
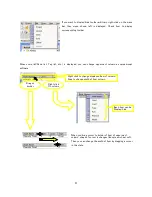
Step 2.
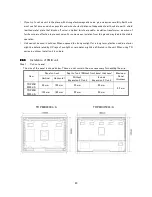
Check gasket and clamp mount hole
If the gasket protrudes beyond the ditch, push it into the ditch. Check clamp mount hole.
There is 4 places clamp mount hole in …
TR PMIU0300L/A : right & left surface
TR PMIU0500L/A : upper & bottom surface
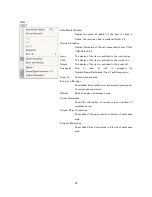
Step 3.
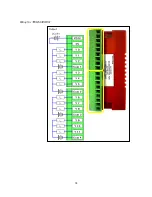
Insert unit to panel cut-out
Before unit inserts, remove the power supply
connector,
communications
cable,
and
USB
cable
(Remove
of
Expansion
I/O
unit
is
not
necessary).
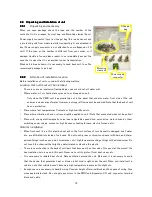
After unit inserts, it is necessary support the
unit by someone or to be fixed temporary. Do
not drop the PMIU unit!
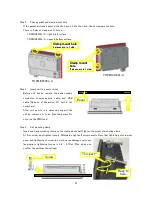
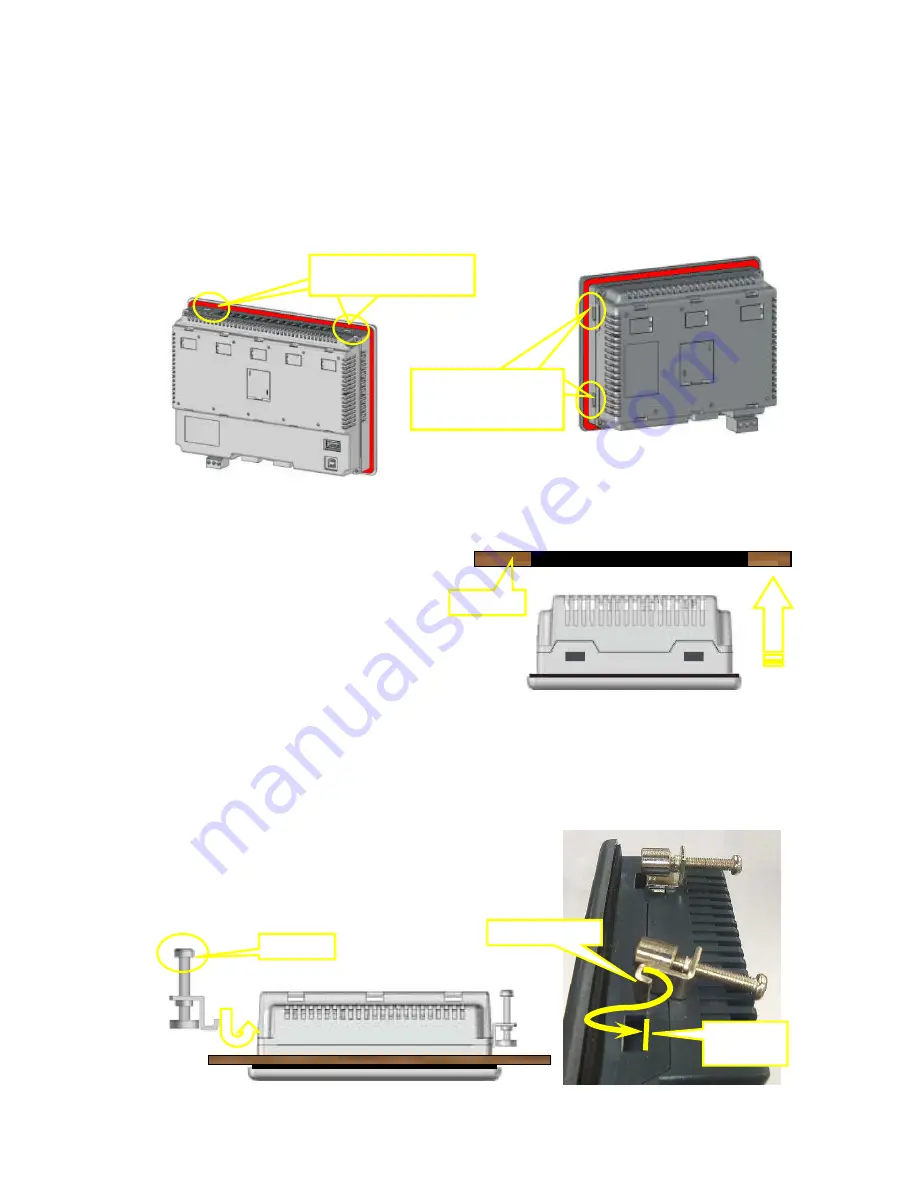
Step 4.
Set mounting clamp
Insert and hang mounting clamp on the clamp mount hall. Tighten the screw of mounting clamp.
At first, screw must tighten loosely. Afterwards, tighten 4 screws evenly. Note that tightening of screw not
even, and tightening of screw too much cause damages unit case
(appropriate tightening torque is 0.6 - 0.7Nm). Wire when you
confirm the unit was firmly fixed.
Panel
Screw
Hang to
here.
This part…
TR PMIU0500L/A
Clamp mount hole
2 places are in 1 side.
Clamp mount hole
2 places are in 1 side.
TR PMIU0300L/A
Clamp mount
hole
2 places are in 1 side.
Clamp mount
hole
2 places are in 1 side.
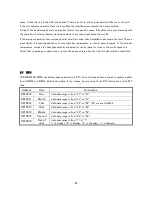
Summary of Contents for TR PMIU
Page 11: ...1 Chapter Chapter Chapter Chapter 1 1 1 1 Introduction Introduction Introduction Introduction ...
Page 15: ...5 Chapter 2 Chapter 2 Chapter 2 Chapter 2 Hardware Hardware Hardware Hardware ...
Page 23: ...13 Input Wiring for TR PDIO0808 P Output ...
Page 24: ...14 Wiring for TR PDIO0808 N Input Output ...
Page 26: ...16 Input Input Wiring for TR PDIX1600 ...
Page 28: ...18 Output Wiring for TRSDOX0016N ...
Page 39: ...29 Chapter Chapter Chapter Chapter 3 3 3 3 TR PGMS TR PGMS TR PGMS TR PGMS ...
Page 83: ...73 Chapter 5 Chapter 5 Chapter 5 Chapter 5 Tag Tag Tag Tag ...
Page 98: ...88 Chapter Chapter Chapter Chapter 6 6 6 6 Task Task Task Task ...
Page 124: ...114 Chapter 8 Chapter 8 Chapter 8 Chapter 8 Screen Screen Screen Screen ...
Page 167: ...157 Note for the numbers of alarm message ...
Page 176: ...166 Appendix Appendix Appendix Appendix ...
Page 181: ...171 ...
Page 182: ...172 ...


