Air to Air Heat Exchanger
Installation Manual
Air to Air Heat Exchanger
Installation Manual
– 23 –
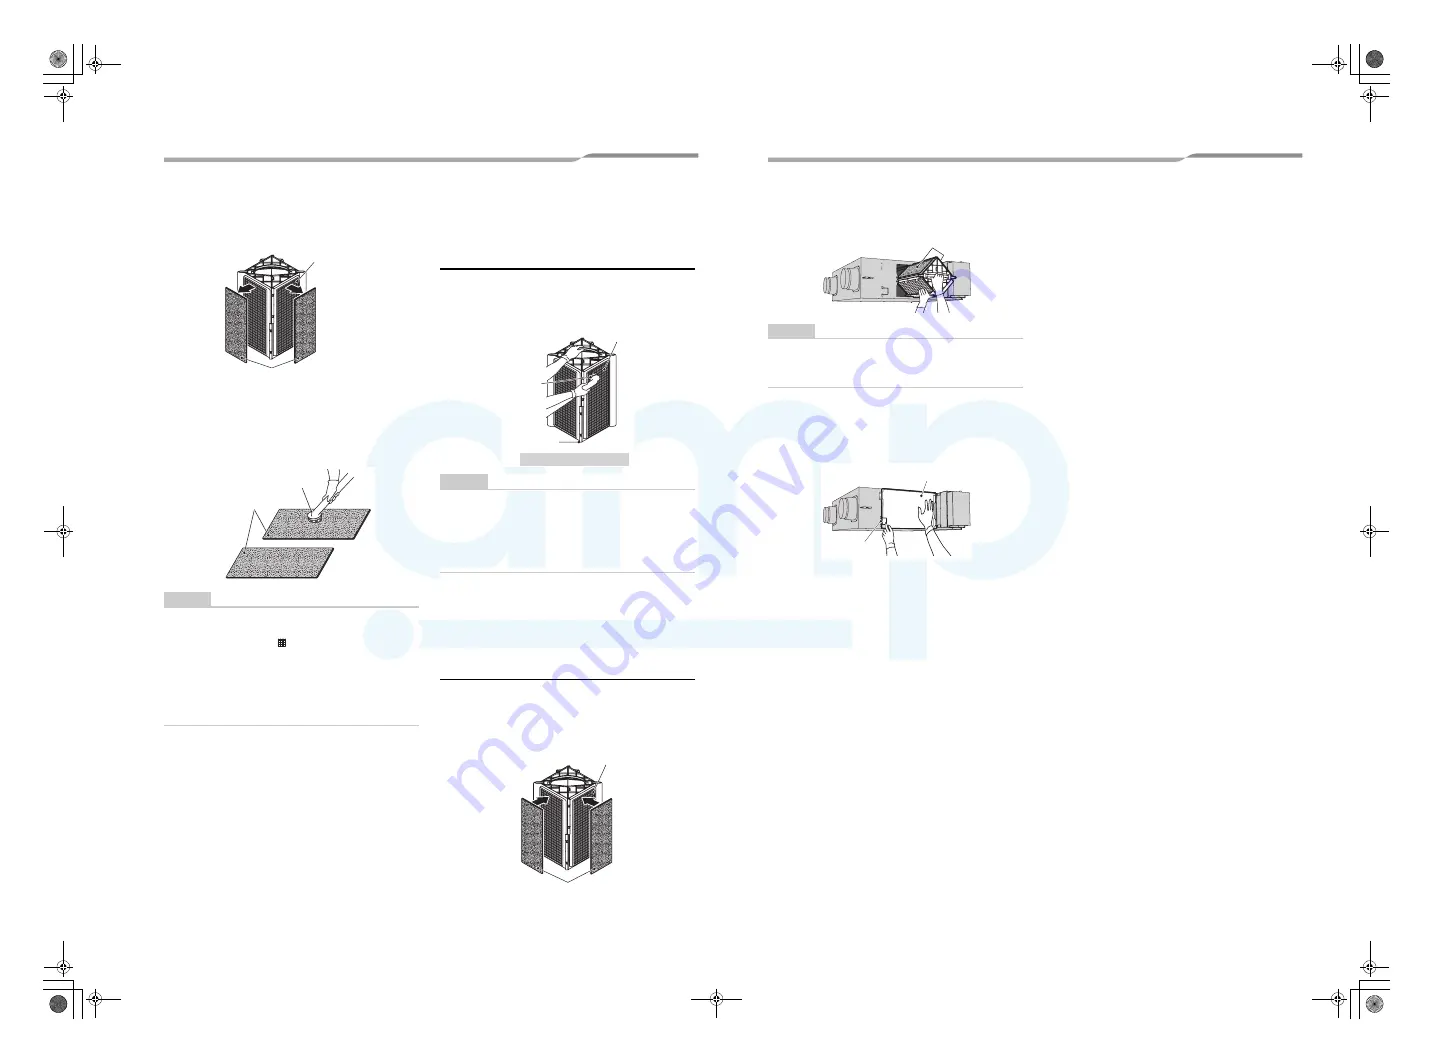
3
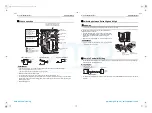
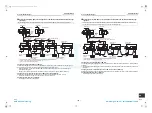
Remove the filters.
Remove the filters from the frame of the heat
exchange element.
4
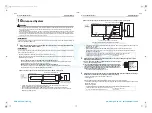
Clean the filters.
Clean the filters by dusting them or using a
vacuum cleaner. If the filters are badly clogged,
wash them by pressing them down in lukewarm
water with a neutral dish washing liquid.
NOTE
• Do not dry the filter with heat from a flame; otherwise,
deformation or deterioration of the filter may result.
• Light-up hours of the
indicator is set to [2500 H]. If
the filter is badly clogged, change the setting value.
For the details, refer to the “Changing the time before
the Filter Sign lights up” on page 19.
• Do not soak the filter in water hotter than 60°C;
otherwise, deformation or deterioration of the filter
may result.
Maintenance of the heat
exchange elements (Clean
the heat exchange elements
once or twice in 2 years.)
1
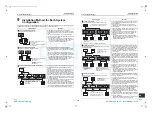
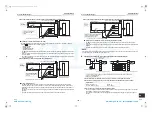
Clean the heat exchange elements
Remove the dust on the surface of the heat
exchange element using a vacuum cleaner.
NOTE
• Use a vacuum cleaner with a brush, and stroke the
brush gently on the heat exchange element.
• Do not press the nozzle of the vacuum cleaner hard
against the heat exchange element; otherwise, the
surface of it will be scratched.
• Do not wash the heat exchange element in water.
* Contact the dealer or installer when the heat
exchange element is damaged and replacing it
is necessary.
Reinstallation after
maintenance
1
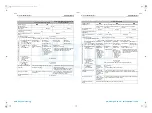
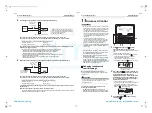
Attach the filters.
Attach the filters after they have completely dried.
Attach them to the frame of the heat exchange
element as before.
Heat exchange
elements
Filters
Filters
Vacuum cleaner
(with a brush)
Heat exchange
element
(Corner)
Do not wash in water
Vacuum cleaner
(with a brush)
Heat exchange
element
Filters
2
Attach the heat exchange elements.
Install the heat exchange elements as before.
NOTE
Attach the filters. If this unit is used without them, the
heat exchange elements will become clogged and a
breakdown may result.
3
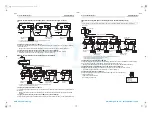
Attach the inspection cover.
Fit the fixing lever to the inspection cover to attach it
securely and fix the fixed part of Inspection cover with
a screw.
Filters
Inspection
cover
Fixing lever
45-EN
46-EN
+00ET9X463301_01EN.book Page 23 Thursday, January 20, 2011 4:41 PM
AMP Air Conditioning
www.ampair.co.uk | sales@ampair.co.uk

