background image

– 2 –

Air to Air Heat Exchanger

Installation Manual

EN

Air to Air Heat Exchanger

Installation Manual

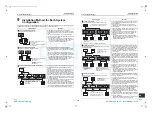
Definition of Protective Gear

When the Air to Air Heat Exchanger is to be transported, installed, maintained, repaired or removed, wear 
protective gloves and ‘safety’ work clothing.
In addition to such normal protective gear, wear the protective gear described below when undertaking the special 
work detailed in the table below.
Failure to wear the proper protective gear is dangerous because you will be more susceptible to injury, burns, 
electric shocks and other injuries.

„

Warning Indications on the Air to Air Heat Exchanger

Work undertaken

Protective gear worn

All types of work

Protective gloves
‘Safety’ working clothing

Electrical-related work

Gloves to provide protection for electricians and from heat

Work done at heights (50 cm or more)

Helmets for use in industry

Transportation of heavy objects

Shoes with additional protective toe cap

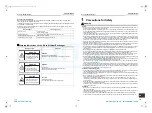
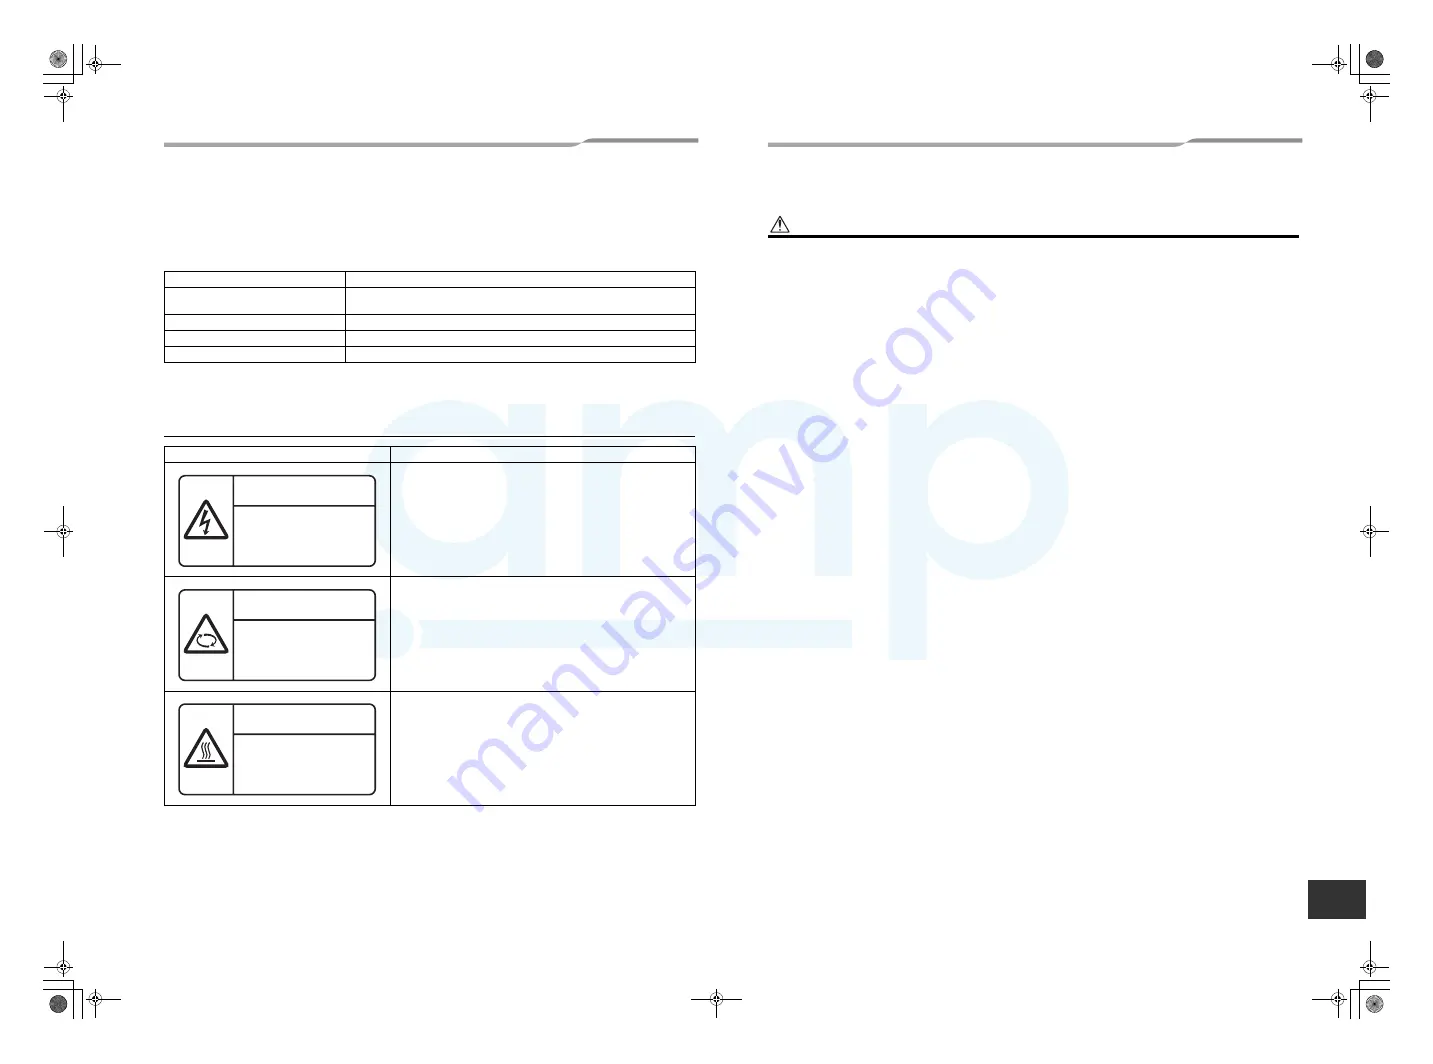
Warning indication

Description

WARNING

ELECTRICAL SHOCK HAZARD
Disconnect all remote electric power supplies before servicing. 

WARNING

Moving parts.
Do not operate unit with inspection cover removed.
Stop the unit before the servicing.

CAUTION

High temperature parts.
You might get burned when removing this cover.

WARNING

ELECTRICAL SHOCK HAZARD

Disconnect all remote 
electric power supplies 
before servicing.

WARNING

Moving parts.
Do not operate unit with 
inspection cover removed. 
Stop the unit before the servicing.

CAUTION

High temperature parts.
You might get burned 
when removing this cover.

1

Precautions for Safety

WARNING

General

• Before starting to install the Air to Air Heat Exchanger, read carefully through the Installation Manual, and follow its 

instructions to install the Air to Air Heat Exchanger.

• Only a qualified installer(*1) or qualified service person(*1) is allowed to install the Air to Air Heat Exchanger. If the 

Air to Air Heat Exchanger is installed by an unqualified individual, a fire, electric shocks, injury, water leakage, noise 
and/or vibration may result.

• If using separately sold products, make sure to use Toshiba specified products only. Using unspecified products may 

cause fire, electric shock, water leak or other failure.

• Before opening the electrical control cover or inspection cover of the Air to Air Heat Exchanger, set the circuit breaker 

to the OFF position. Failure to set the circuit breaker to the OFF position may result in electric shocks through contact 
with the interior parts. Only a qualified installer(*1) or qualified service person(*1) is allowed to remove the electrical 
control cover or inspection cover of the Air to Air Heat Exchanger and do the work required.

• Before carrying out the installation, maintenance, repair or removal work, set the circuit breaker to the OFF position. 

Otherwise, electric shocks may result.

• Place a “Work in progress” sign near the circuit breaker while the installation, maintenance, repair or removal work 

is being carried out. There is a danger of electric shocks if the circuit breaker is set to ON by mistake.

• Only a qualified installer(*1) or qualified service person(*1) is allowed to undertake work at heights using a stand of 

50 cm or more or to remove the electrical control cover or inspection cover of the Air to Air Heat Exchanger to 
undertake work.

• Wear protective gloves and safety work clothing during installation, servicing and removal.
• When working at heights, use a ladder which complies with the ISO 14122 standard, and follow the procedure in the 

ladder’s instructions. Also wear a helmet for use in industry as protective gear to undertake the work.

• When cleaning the filter or heat exchange element of the Air to Air Heat Exchanger, set the circuit breaker to OFF 

without fail, and place a “Work in progress” sign near the circuit breaker before proceeding with the work.

• When working at heights, put a sign in place so that no-one will approach the work location, before proceeding with 

the work. Parts and other objects may fall from above, possibly injuring a person below.

• The Air to Air Heat Exchanger must be transported in stable condition. In case an accident such as dropping of the 

unit occurs while transporting the Air to Air Heat Exchanger, contact the dealer.

• Do not move or repair any unit by yourself. There is high voltage inside the unit. You may get electric shock when 

removing the cover and main unit.

• Do not modify the products. Do not also disassemble or modify the parts. It may cause a fire, electric shock or injury.
• Confirm whether there is a risk of the Air to Air Heat Exchanger falling down during maintenance or repairing work.
• Before opening the Supply/Exhaust air grill, set the circuit breaker to the OFF position. Otherwise, your hand may be 

caught in the rotating parts inside and an injury may result.

Selection of installation location

• Do not install the Air to Air Heat Exchanger in a location that may be subject to a risk of expire to a combustible gas. 

If a combustible gas leaks and becomes concentrated around the unit, a fire may occur.

• When transporting the Air to Air Heat Exchanger, wear shoes with additional protective toe caps, protective gloves 

and other protective clothing.

• When transporting the Air to Air Heat Exchanger, do not take hold of the bands around the packing carton. You may 

injure yourself if the bands should break.

• Install the Air to Air Heat Exchanger at least 2.5 m above the floor level since otherwise the users may injure 

themselves or receive electric shocks if they poke their fingers or other objects into the Air to Air Heat Exchanger 
while it is running.

• Do not place any combustion appliance in a place where it is directly exposed to the wind of Air to Air Heat Exchanger, 

otherwise it may cause imperfect combustion.

• Use a hand track or forklift to carry the unit. When carrying it by human power, have four persons or more; otherwise, 

you may strain your back.

Installation

• When the Air to Air Heat Exchanger is to be suspended, the designated hanging bolts (M10 to M12) and nuts (M10 

to M12) must be used.

• Install the Air to Air Heat Exchanger at enough strong places to withstand the weight of the unit. If the strength is not 

enough, the unit may fall down resulting in injury.

• Follow the instructions in the Installation Manual to install the Air to Air Heat Exchanger. Failure to follow these 

instructions may cause the product to fall down or topple over or give rise to noise, vibration, water leakage, etc.

3-EN

4-EN

+00ET9X463301_01EN.book  Page 2  Thursday, January 20, 2011  4:41 PM

AMP Air Conditioning

www.ampair.co.uk | sales@ampair.co.uk

Summary of Contents for VN-M1000HE

Page 1: ...ocomputer control type Model name VN M150HE VN M250HE VN M350HE VN M500HE VN M650HE VN M800HE VN M1000HE Installation Manual xx Xxxxx Installation Manual For commercial use 00ET9X463301_01EN book Page 1 Thursday January 20 2011 4 41 PM AMP Air Conditioning www ampair co uk sales ampair co uk ...

Page 2: ...atively he or she has been instructed in such operations by an individual or individuals who have been trained and is thus thoroughly acquainted with the knowledge related to these operations The qualified installer who is allowed to do the electrical work involved in installation relocation and removal has the qualifications pertaining to this electrical work as stipulated by the local laws and r...

Page 3: ...ove the electrical control cover or inspection cover of the Air to Air Heat Exchanger to undertake work Wear protective gloves and safety work clothing during installation servicing and removal When working at heights use a ladder which complies with the ISO 14122 standard and follow the procedure in the ladder s instructions Also wear a helmet for use in industry as protective gear to undertake t...

Page 4: ...to Air Heat Exchanger falling do not approach the Air to Air Heat Exchanger but set the circuit breaker to the OFF position and contact a qualified service person 1 to have the repairs done Do not set the circuit breaker to the ON position until the repairs are completed Relocation Only a qualified installer 1 or qualified service person 1 is allowed to relocate the Air to Air Heat Exchanger It is...

Page 5: ...ons or temperature humidity of the ceiling cavity even though the conditions for use are observed In this case add a heat insulator Do not install the unit in a place where there is something that must not become wet Depending on the temperature or humidity of outdoor air and the installation place water droplets may fall from the unit As shown in the figure to the below suppose a high temp absorb...

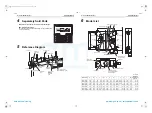
Page 6: ...E 900 670 115 810 957 900 454 97 Ø145 Ø158 162 290 145 Ø150 VN M350HE 900 670 115 810 957 900 454 97 Ø145 Ø158 162 290 145 Ø150 VN M500HE 1140 800 170 1050 1197 1140 454 80 Ø195 Ø212 350 175 Ø200 VN M650HE 1140 800 170 1050 1197 1140 454 80 Ø195 Ø212 350 175 Ø200 VN M800HE 1189 800 195 1099 1246 1189 454 85 Ø245 Ø262 400 200 Ø250 VN M1000HE 1189 800 195 1099 1246 1189 454 85 Ø245 Ø262 400 200 Ø250...

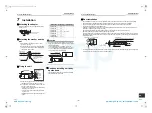
Page 7: ...t M10 or M12 Hanging bolt Nut Washer Hanging bracket Washer Nut Model name Weight kg Hanging bolt VN M150HE 36 M10 M12 VN M250HE 36 VN M350HE 38 VN M500HE 53 VN M650HE 53 VN M800HE 70 VN M1000HE 70 Hanging bolt Vibration proof fixture Vibration proof fixture Unit Duct Installation Duct installation is necessary to protect against access to live parts rain water or contact with moving parts Seal th...

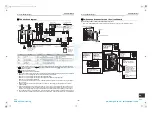
Page 8: ...fer from overheating or burnout Item Model name VN Power supply for Air to Air Heat Exchanger 1 Power supply Circuit breaker switch Power supply wire Current rating Fuse rating Air to Air Heat Exchanger M150HE to M1000HE 220V 240V 50Hz 220V 60Hz 15A 3 core 1 5 mm2 or 2 5 mm2 H07 RN F or 60245 IEC 66 1 Prepare the exclusive power supply for the Air to Air Heat Exchanger U3 U4 A B Communication wire...

Page 9: ...for central control Wiring for the remote controller Wired remote controller sold separately Indoor control circuit board MCC1615 Connector White White Connector Black White Orange External output 220 240V under 1A each 5 External input sold separately No voltage a contact input Voltage DC 12V 24V input Operation output White White White Red Red White Red Blue Black Connector White 6 White Yellow ...

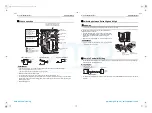
Page 10: ...ire Earth line In a central control system connect the copper braid shield of central control wire 2 core shielded wire Switching between Extra High and High WARNING Turn off the circuit breaker before switching between Extra High and High When switching to Extra High connect the black lead wire Extra High to the connector The blue lead wire High is connected as factory default Connect the black l...

Page 11: ...ventilation fan speed and ventilation mode of the Air to Air Heat Exchanger The remote controllers for the air conditioners RBC AMT32E cannot be used to control the group of the Air to Air Heat Exchangers Only on off operation is available for RBC AMS41E Central control system When controlling the air conditioner and the Air to Air Heat Exchanger separately The central controller can be used to ON...

Page 12: ...rolling the air conditioner and Air to Air Heat Exchanger together No of Air to Air Heat Exchangers Multiple 1 Multiple 1 Multiple Operation together with the air conditioners No Yes Remote controller inter unit wiring Necessary Not necessary Necessary Central control wiring Necessary Header unit only Not necessary Circuit board of the Air to Air Heat Exchanger 1 Line system address Fixed The line...

Page 13: ...for the Air to Air Heat Exchanger For details on how to install the remote controller for the Air to Air Heat Exchanger refer to the Installation Manual accessory with the remote controller One or multiple Air to Air Heat Exchanger s can be controlled by using two remote controllers Up to two remote controllers can be installed How to install To use two remote controllers follow the procedure belo...

Page 14: ...ng between indoor units Indoor unit Outdoor unit Power supply Remote controller inter unit wiring Remote controller follower Remote controller header Indoor unit Air to Air Heat Exchanger Power supply Power supply Power supply Power supply Air to Air Heat Exchanger Central control system When controlling the Air to Air Heat Exchanger only Changing the group address No 4 of SW703 Settings for chang...

Page 15: ...nger Power supply Central controller Outdoor unit Control wiring between indoor and outdoor units Control wiring between indoor units Central control wiring Remote controller inter unit wiring Remote controller inter unit wiring Central control wiring Central control system When controlling the air conditioner and Air to Air Heat Exchanger together Changing the group address No 4 of SW703 The sett...

Page 16: ...rd of the Air to Air Heat Exchanger Remote ON OFF Adapter NRB 1HE locally procured 1 2 DC12V DC24V non polarity CN706 Blue 1 Orange 2 2m 2 When the output signal of the external device is a no voltage a contact static signal Transmission wire used to extend must be locally procured Non polarity shielded wire H05 VVC4V5 K or 60227 IEC 74 0 5mm2 Maximum length 50m Insert the Remote ON OFF Adapter NR...

Page 17: ...reen 1 Black 5 2m 3 When switching between Bypass mode Heat exchange ventilation from an external device SW3 Bypass mode ventilation ON Heat exchanging ventilation OFF For NRC 01HE remote controller for the Air to Air Heat Exchanger the message on the display is changed If a command is sent to one of the units in the group all the Air to Air Heat Exchangers in the group operate together The latter...

Page 18: ... For details on the auto address setting of air conditioners when operating together with a SMMS series air conditioner adjust the auto address setting on the circuit board of the outdoor interface refer to the Installation Manual of the SMMS series air conditioner For details on the auto address setting of air conditioners when operating together with a DI SDI series air conditioner the action is...

Page 19: ...is setting is necessary for all the Air to Air Heat Exchangers in the group 4B Delayed operation 0000 Invalid 0001 0006 Setting valve x 10 minutes delay Delaying the Air to Air Heat Exchanger operation to reduce the air conditioning load when starting running the air conditioner 0000 Invalid Adjusting this setting is necessary for all the Air to Air Heat Exchangers in the group System equipped wit...

Page 20: ...DATA and description Factory default Note Setting of the Air to Air Heat Exchanger single operation Setting for the header air conditioner Single operation of the Air to Air Heat Exchanger is possible when operation of the Air to Air Heat Exchanger is linked with that of the air conditioners Use the button of the wired remote controller While the Air to Air Heat Exchanger is in operation is displa...

Page 21: ... Air Heat Exchanger to which the Remote ON OFF Adapter NRB 1HE sold separately is connected Select 4E in step 3 on page 17 Select a value from the table on the below in step 4 on page 17 Ventilation mode setting The setting of the ventilation mode can be changed when the remote controller for air conditioners RBC AMT32E RBC AMS41E or a system without a remote controller is used Adjusting this sett...

Page 22: ...ion or nighttime heat purge operation Contact is on when 24 hour ventilation is stopped intermittently Contact is off during normal operation or when the nighttime heat purge operation is on standby paused before the monitoring operation of the nighttime heat purge operation starts Contact is off during cold mode while the temperature is below 10 C 0003 Contact is on only when SA fan is running Co...

Page 23: ... amount is reduced and ventilation effect will be deteriorated Clean the filter and heat exchange element regularly according to the extent of dust accumulation WARNING Before performing maintenance stop the unit then turn off the breaker Otherwise an electric shock or injury may result Do not pour or spray water or detergent on the electric parts Otherwise an electrical leakage may occur and a fi...

Page 24: ...eaner with a brush and stroke the brush gently on the heat exchange element Do not press the nozzle of the vacuum cleaner hard against the heat exchange element otherwise the surface of it will be scratched Do not wash the heat exchange element in water Contact the dealer or installer when the heat exchange element is damaged and replacing it is necessary Reinstallation after maintenance 1 Attach ...

Page 25: ...rs Remote controller communication error No signal can be received from the indoor unit E02 Remote controller transmission error Remote controller System interconnecting wires indoor P C board remote controller No signal can be sent to the indoor unit E03 Indoor unit remote controller regular communication error Indoor Remote controller network adapter indoor P C board No data is received from the...

Page 26: ...Toshiba XXXXXXX X X ET9X463301 00ET9X463301_01EN book Page 24 Thursday January 20 2011 4 41 PM AMP Air Conditioning www ampair co uk sales ampair co uk ...

Reviews: