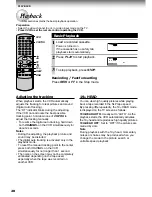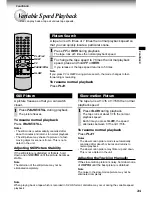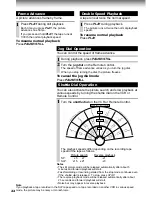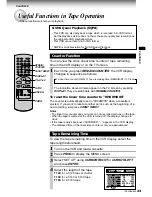
16
Setting the Clock
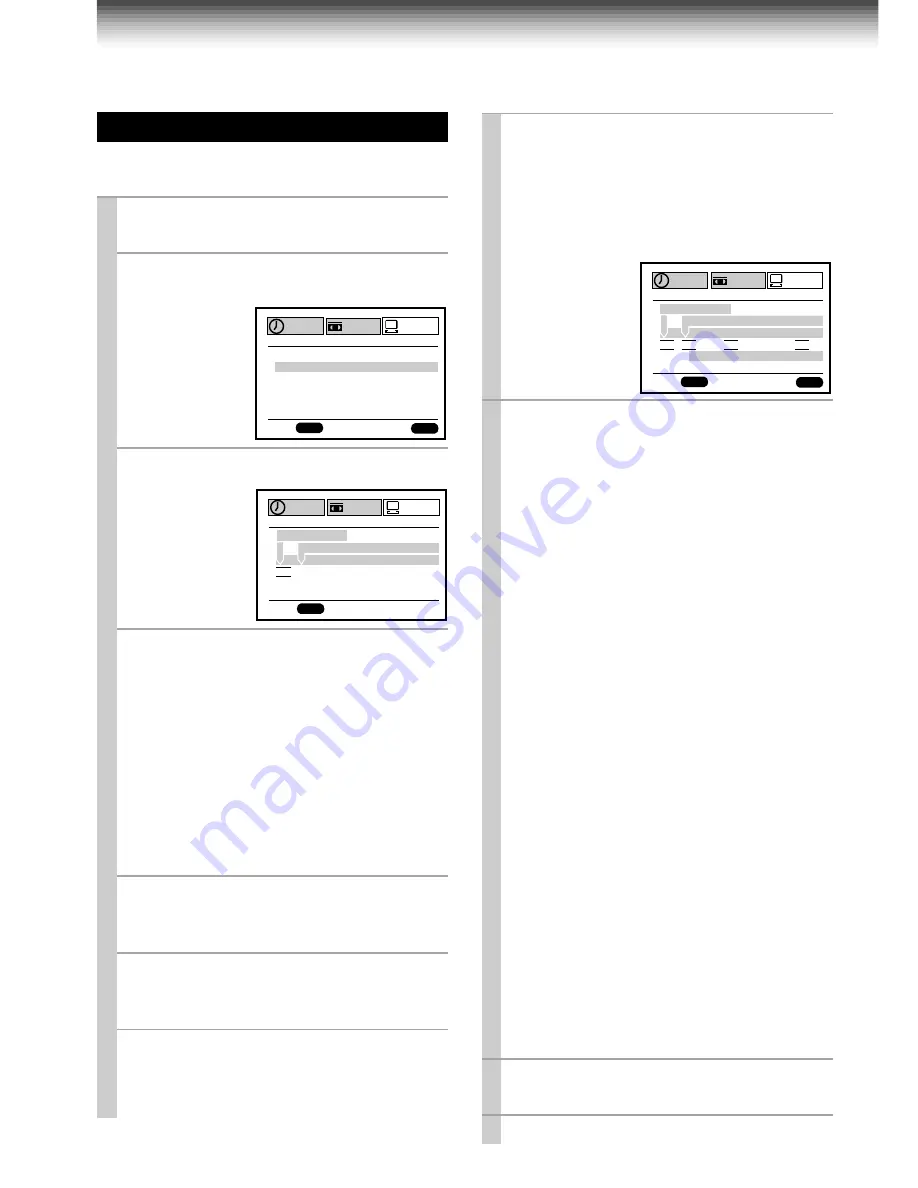
Example: To set the clock to 2:30 p.m. on
August 25 (summer time) 2000.
1
Press
PROG
.
The MENU screen appears on the TV.
2
Select “PRESET” using
CURSOR
RIGHT
or
CURSOR LEFT
, and press
ENTER
.
3
Press
ENTER
to select “CLOCK SET”.
4
Select “AUTO” or “MANU” using
CURSOR UP
or
CURSOR DOWN
.
AUTO: The VCR automatically sets or
adjusts the clock.
If you select “AUTO” mode, proceed to step
8
.
MANU: You can set the clock manually.
If you select “MANU” mode, select “SUMMER
TIME” using
CURSOR RIGHT
. Set to “IN” or
“OUT” for the summer (daylight saving) time
using
CURSOR UP
or
CURSOR DOWN
. (For
“IN” and “OUT” selections, see the
description in step
9
.)
5
Move to the next using
CURSOR
RIGHT
.
(To move back, press
CURSOR LEFT
.)
6
Vary the digits to set the hour.
CURSOR UP
:
To increase.
CURSOR DOWN
: To decrease.
7
Repeat steps
5
and
6
to set the minutes,
month, day, and the year (by the last two
digits).
Proceed to step
10
to start the clock.
Initial Settings Using On-Screen Display (continued)
8
Press
ENTER
to start the “AUTO” clock
set feature.
After a while, the VCR automatically updates
the clock using the data broadcast by the
local TV stations.
The following screen will appear on TV
depending on the broadcast at your location.
9
Select the options using
CURSOR
RIGHT
or
CURSOR LEFT
. Change the
data using
CURSOR UP
or
CURSOR
DOWN
.
1) Set “SUMMER TIME (Daylight-
Saving Time)”.
IN, daylight-saving time begins on the first
Sunday in April. Because the clock
automatically changes from 2:00 AM to
3:00 AM (forward one hour), remember
that any part of a scheduled Timer
Recording that falls between these two
times will not be recorded.
OUT, daylight-saving time ends on the last
Sunday in October. The VCR clock
automatically changes from 2:00 AM to
1:00 AM (back one hour). Therefore, it can
affect your recording length if one is set
for this time.
2) Set “Time Zone”.
If you select “AUTO” for your time zone,
the VCR sets the clock using the first
Coordinated Universal Time information it
finds. If the time is not correct, select
another time zone or use the “MANU” option.
3) Set “CH”.
If you don't know the clock data channel,
select “AUTO”. The VCR will scan
automatically to tune the channel carrying
the clock data.
If AUTO CLOCK SET is unsuccessful, set the
time and date through the “MANU” clock set
menu selection.
10
Press
PROG
.
Now the clock starts.
11
Press
PROG
to exit.
PROG
ENTER
AM
SUMME
ME
R T I
5 7
9 :
1 0
00 SA
1 ’
/
n
E
Z O
H
C
T I ME
T E
DA
R
A
E
Y
T I ME
C L OCK S E T
E D:
n
AUTO AUTO
AUTO
AUTO
EAS
I
n
T ER
n
2
SET UP
PRESET
PROGRAM
PROG
C L OCK S
CH MEMOR Y
CAB L E B
GU I DE
H
C
OX / D S S
E T
ENTER
E D:
n
SET UP
PRESET
PROGRAM
PROG
AM
SUMME
ME
R T I
0 0
12 :
T
OU
1 0
00 SA
1 ’
/
T E
DA
AR
Y E
T I ME
C L OCK S E T
E D:
n
SET UP
PRESET
PROGRAM
MANU

