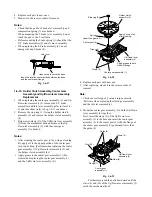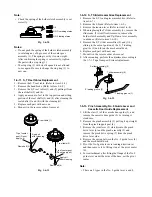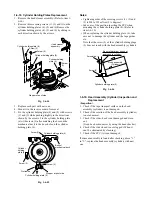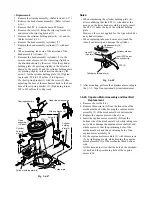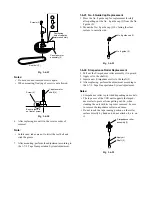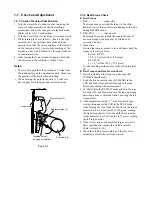
No. 9 guide
post (10)
Support
post (9)
No. 9 guide lever (8)
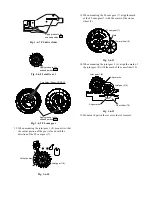
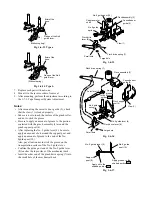
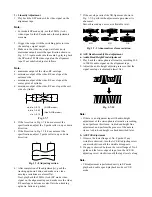
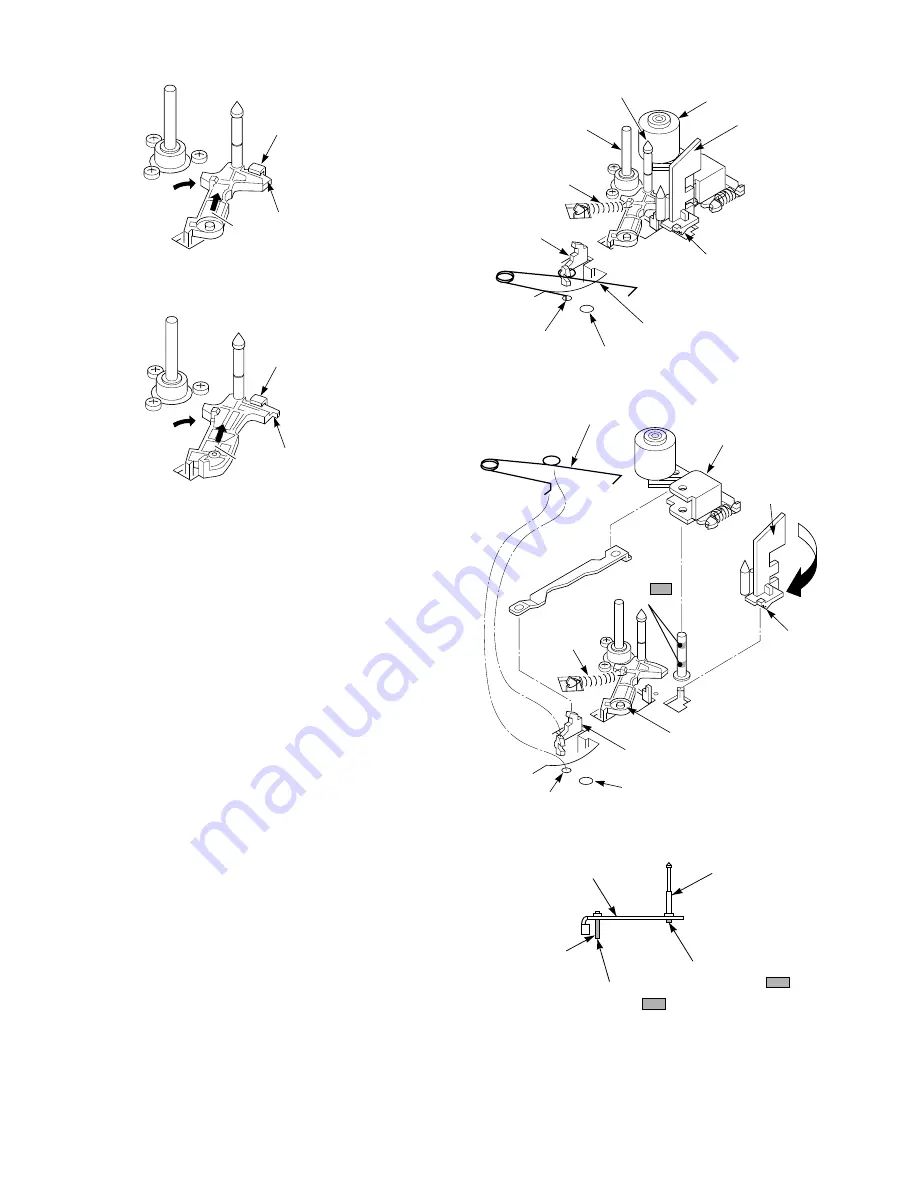
Apply grease to the
shaded portion .
Apply oil to the
shaded portion .
Fig. 1-6-33 Type a
Fig. 1-6-34 Type b
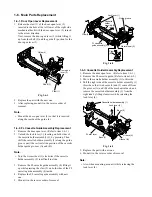
7. Replace each part with new one.
8. Mount it in the reverse order of removal.
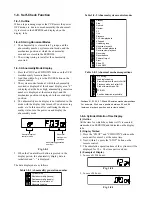
9. After mounting, perform the adjustment according to
the 1-7-3. Tape Transport System Adjustment.
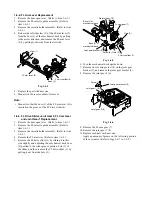
Notes:
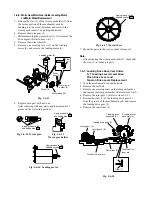
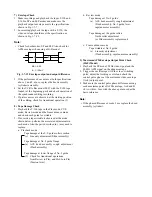
• After mounting the cassette door guide (2), check
that the claw (1) is locked properly.
• Take care not to touch the surface of the pinch roller,
and not to stick the grease.
• Be sure to apply an amount of grease to the portion
contacted with the pinch assembly (3) around the
pinch support post (4).
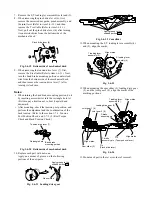
• After replacing the No. 9 guide lever (8), be sure to
apply an amount of oil around the support post, and
apply an amount of grease to the end of the No.
9guide post (10).
Also, pay attention not to stick the grease on the
transportation surface of the No. 9 guide lever.
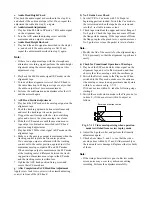
• Confirm the guide post end of the No. 9 guide lever
(8) touches the top surface of the mechanical deck.
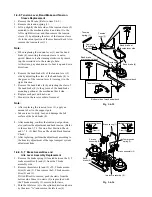
• Insert the other end of the pinch drive spring (7) into
the small hole of the mechanical deck.
(a)
(b)
Flange of the No.9
guide lever.
Brim of the
base.
(Without spring)
( Without spring )
(a)
(b)
Flange of the No.9
guide lever.
Brim of the
base.
Fig. 1-6-35
Pinch drive spring (7)
Pinch drive
lever (6)
No. 9 guide
spring
No. 9 guide post (10)
Pinch assembly (3)
Cassette door
guide (2)
Capstan motor
shaft
Claw (1)
Large hole
Small hole
Apply
grease
to the shaded
portion .
Pinch drive spring (7)
Pinch assembly (3)
Cassette door
guide (2)
Claw (1)
Joint lever (5)
No. 9 guide
spring
Pinch support
post (4)
No. 9 guide lever (8)
Pinch drive lever (6)
Large hole
Small hole
Fig. 1-6-36
Fig. 1-6-37

