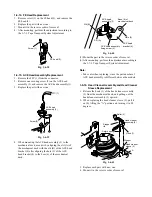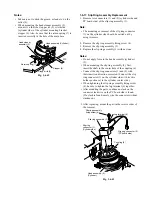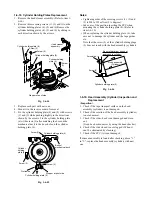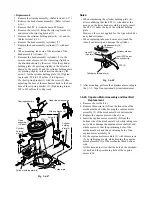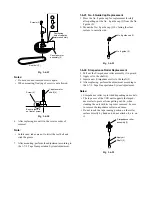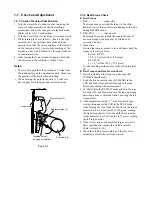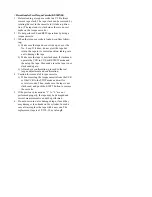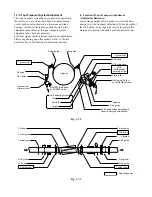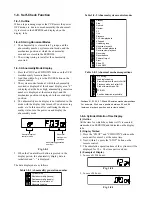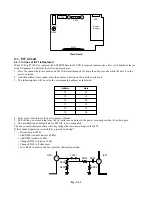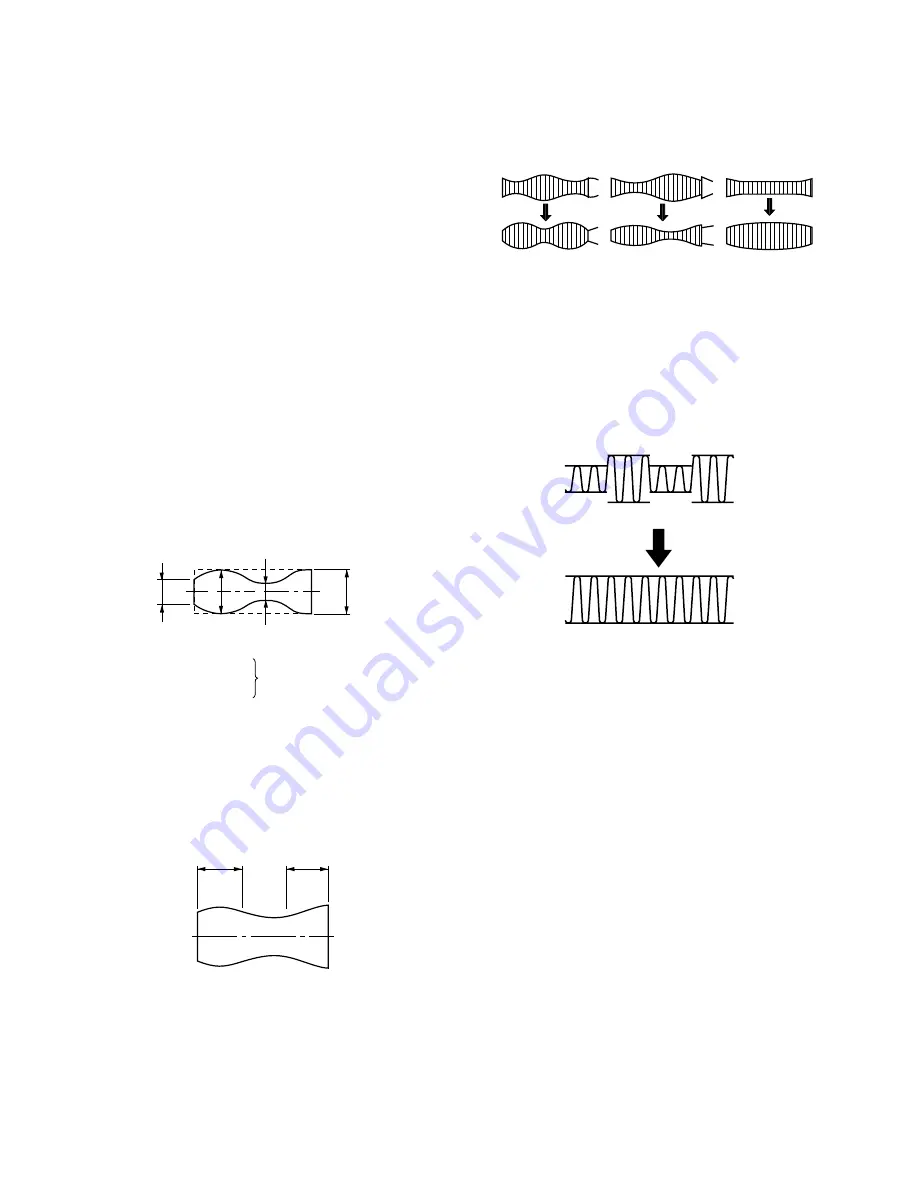
3) Linearity Adjustment
1. Play back the SLP mode white video signal on the
alignment tape.
Note:
• For models SP mode only, use the 2 MHz (A ch)
video signal in the SP mode and other adjustments
are same.
2. Trigger the scope with the switching pulse to issue
the envelope signal output.
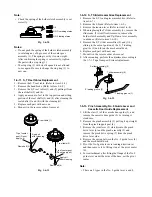
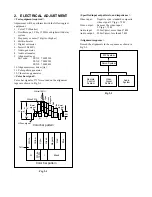
3. Make sure the video envelope waveform (in its
maximum output) meets the specification shown in
Fig. 1-7-7. Again make sure the same by playing back
the SP mode 2 MHz video signal on the alignment
tape. If not satisfied, adjust as follows:
Note:
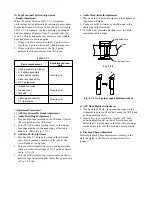
a : maximum output of the video RF envelope
b : minimum output of the video RF envelope at the
entrance side
c : minimum output of the video RF envelope at the
center point of cylinder
d : minimum output of the video RF envelop at the exit
side of cylinder
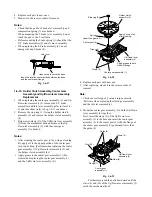
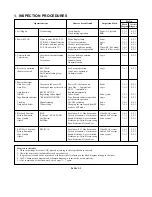
7. If the envelope varies like NG figures as shown in
Fig. 1-7-9, perform the adjustment again since it is
abnormal.
Smooth secondary curves are allowable level.
b
d
a
c
(S-VHS model)
(Non S-VHS model)
c,b,d/a
≥
0.75
b,d/a
≥
0.63
c/a
≥
0.75
Fig. 1-7-7
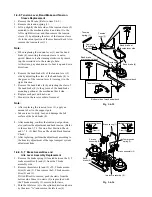
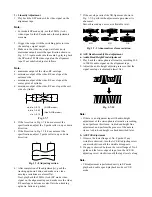
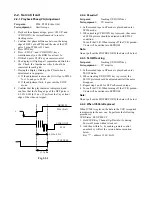
4. If the A section in Fig. 1-7-8 does not meet the
specifications, adjust the S guide roller in up or down
direction.
5. If the B section in Fig. 1-7-8 does not meet the
specifications, adjust T guide roller in up or down
direction.
A
B
Fig. 1-7-8 Adjusting section
6. After completion of the adjustment(s), push the
tracking up/down button and make sure video
envelope variations are almost flat.
Next, playback the 2 MHz (A ch) SP mode video
signal on the alignment tape and make sure the video
RF envelope variations are also flat when tracking
up/down buttons is pushed.
NG
NG
OK
Fig. 1-7-9 Abnormal waveform variation
4) ACE Head Assembly Fine Adjustment
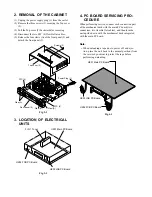
a. Audio Head Height Fine Adjustment
1. Play back the stereophonic alternative recording 300
to 500 Hz audio signal on the alignment tape.
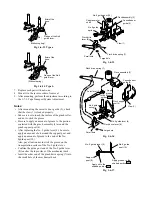
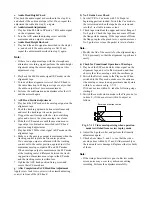
2. Adjust the audio height adjusting screw so that the
signal envelope is obtained almost flat.
Fig. 1-7-10
Note:
• If there is no alignment tape with audio height
adjustment of the stereophonic alternative recording,
do not perform this item a. Audio head height fine
adjustment, and perform the process of the note in
item e. Audio head height re-check described later.
b. ACE Tilt Adjustment
1. Observe the lower flange of No. 8 guide. If any
wrinkle is observed, turn the ACE tilt adjusting screw
counterclockwise until the wrinkle disappears.
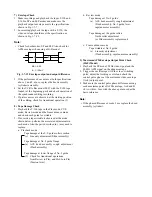
2. If a gap is observed between the lower flange of No. 8
guide and the lower edge of tape, turn the ACE tilt
adjusting screw clockwise until the tape travels along
Note:
• This adjustment is performed easily in SP mode
playback, double speed playback mode or CUE
mode.

