


112
Utilities
Trusted Platform Module (TPM)
Trusted Platform Module (TPM)
This section only applies to systems with TPM.
Your TOSHIBA computer includes the TPM (Trusted Platform
Module), which is a security encryption device for your system’s
internal storage drive. TPM is already included on your system, but
needs to be installed and enabled using the following procedures.
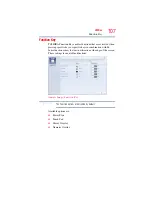
To install TPM:
1
From the Start screen begin typing
Application Installer
, or
while in the Desktop screen double-click the
Desktop Assist
icon.
2
Click
Support & Recovery
.
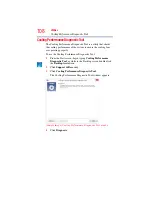
3
Double-click
TOSHIBA Application Installer
and then click
Yes
.
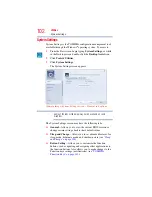
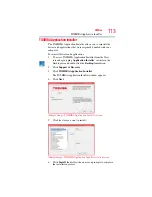
4
In the TOSHIBA Application Installer window, click
Next
.
1
Select
Infineon TPM Software Professional Package
, and
click
Install
.
2
Follow the onscreen instruction.
3
Restart the computer.
4
Follow the onscreen instruction.
For further information on how to set up and use this utility, refer to
the Infineon TPM (Trusted Platform Module) Installation Guide.
NOTE


