background image

© 2004 Fitness Quest® Inc.

All rights reserved. Made in China.

©1998, 1999, 2000, 2001, 2003, 2004 Total Gym Fitness, LLC. All rights reserved. Total Gym

®

is a registered

trademark. U.S. Patents #D405,132, #5,967,955; ROC Patents #ND-060792; PRC Patent #ZL 97 2 28552.0.   

No part of this booklet may be reproduced or utilized in any form, by any means, electronic, mechanical or 

otherwise, without the express written consent of the copyright holder.

e x e r c i s e   s y s t e m

Fitness Quest warrants this product to be free from all 

defects in material and workmanship when used 

according to the manufacturer’s instructions. 

See Limited Warranty Card for details.

If you have any comments or questions contact our 

Customer Service Department, toll free at 1-800-321-9236,

Monday through Friday, 9:00 am to 5:00 pm, EST.

Please record the following information and keep for reference.

Serial #: ___________________

Date Of Purchase: ___________

Save your sales receipt. 

(You may wish to staple it into this manual.)

Dedication to Quality

9/1/04

O W N E R ’ S   M A N U A L

O W N E R ’ S   M A N U A L

For Maximum
Effectiveness and
Safety, Please Read 
This Owner’s Manual
Before Using Your 
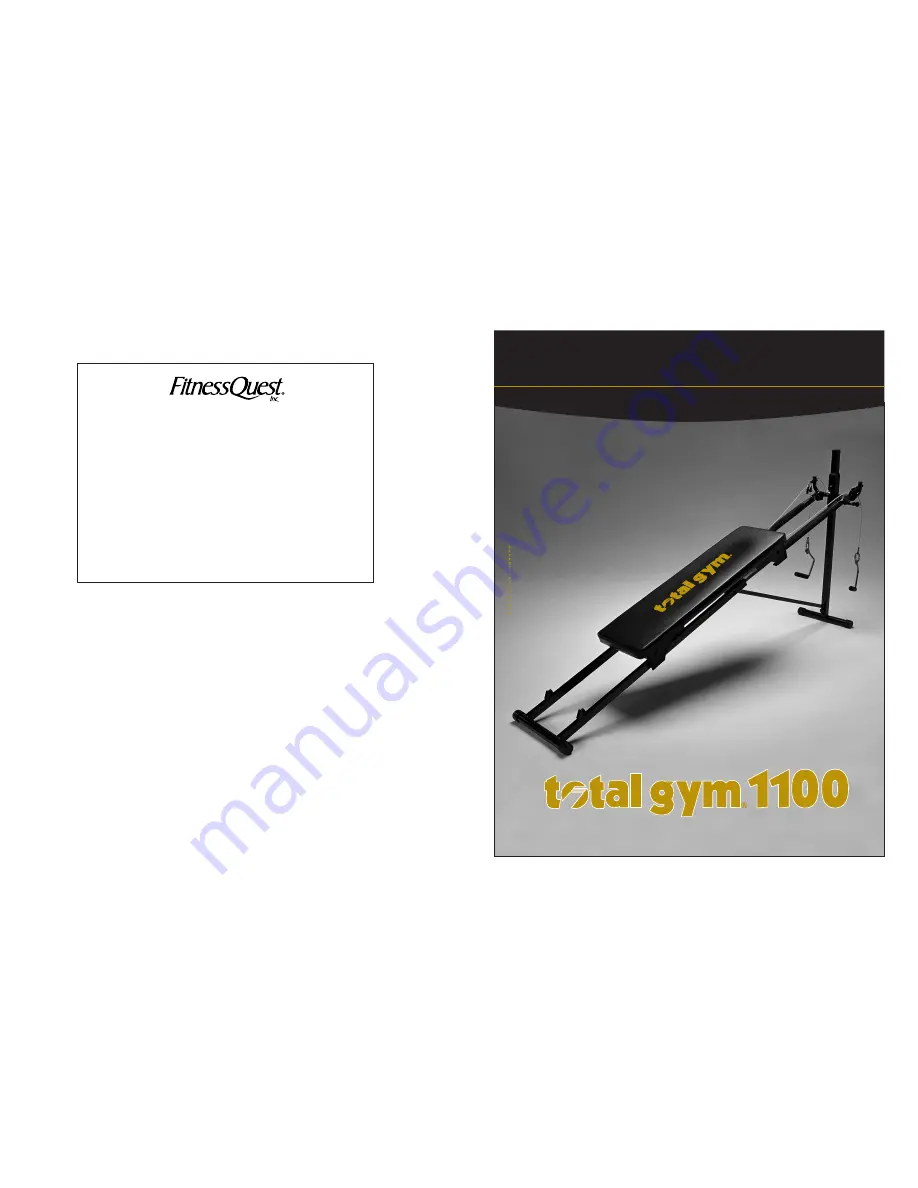
Total Gym 1100.

For Maximum
Effectiveness and
Safety, Please Read 
This Owner’s Manual
Before Using Your 
Total Gym 1100.

Meijer.com

Summary of Contents for Total gym 1100

Page 1: ...kmanship when used according to the manufacturer s instructions See Limited Warranty Card for details If you have any comments or questions contact our Customer Service Department toll free at 1 800 3...

Page 2: ...about your Total Gym 1100 please call Customer Service at 1 800 321 9236 Monday through Friday 9 00 AM to 5 00 PM Eastern Standard Time TABLE OF CONTENTS Safety Instructions Warnings 4 Product Specifi...

Page 3: ...es and pulleys are working properly See pages 12 13 for details on inspection maintenance and storage The exerciser should only be used on a mat or carpeted surface to prevent unexpected movement of t...

Page 4: ...each pulley Make sure the Cable is securely fastened to each Hand Grip Check that the Multi Function Attachment or other accessories are installed correctly when in use Make sure the Glideboard is gli...

Page 5: ...the parts are in place and working properly see page 12 13 for details on inspection maintenance and storage Adult supervision is required at all times NOTE The Rails and Glideboard can be raised to...

Page 6: ...ESSORY KIT 1 Connect the Leg Pulley Bracket to the top of the Vertical Column by aligning Bracket with the hole at the top of the column Be sure bracket is right side up Insert Large Hitch Pin through...

Page 7: ...attachment angled away from the glideboard line up the brackets on the attachment with the desired position holes on the rails 3 Insert the 2 large hitch pins through the holes on the multi function a...

Reviews: