10
11
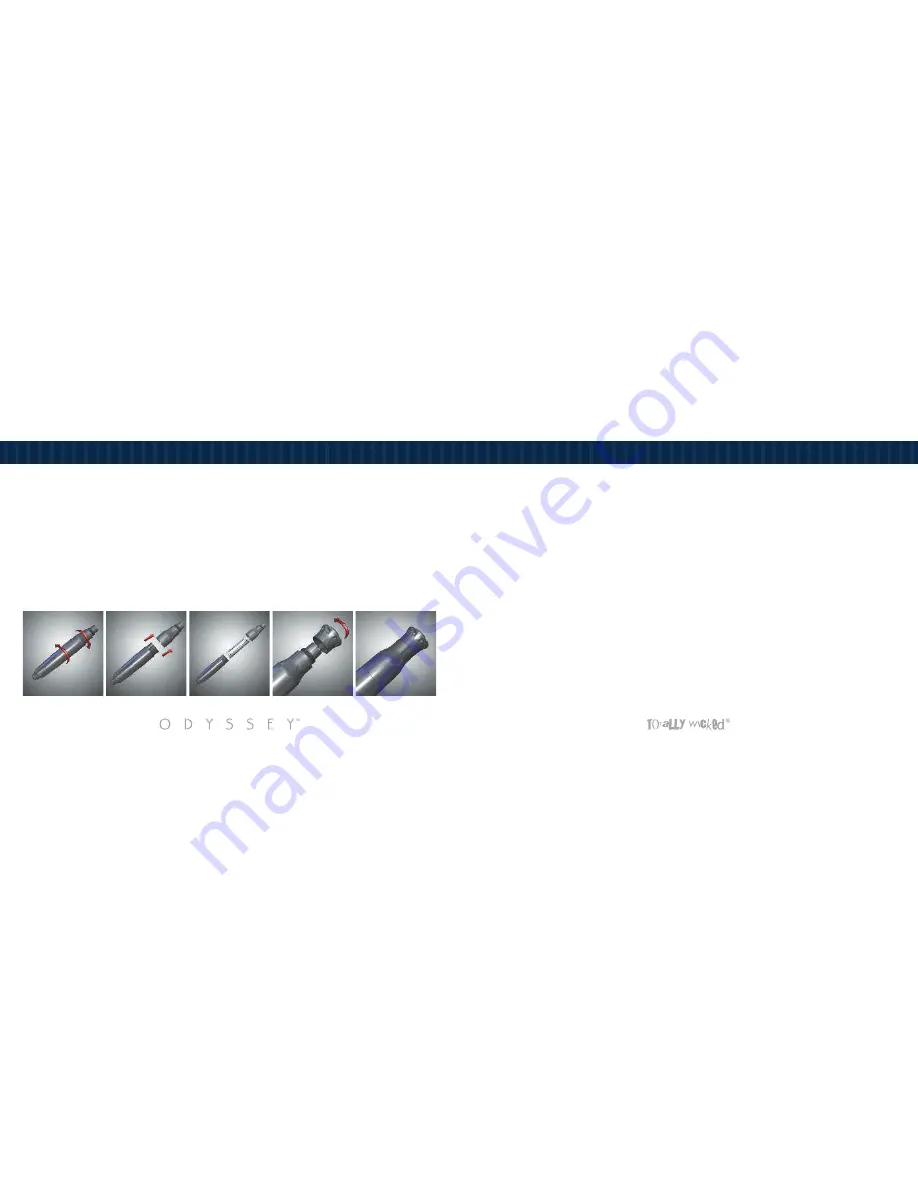
Assembly and operation of your Odyssey™
• Unscrew the top (3) and bottom (2) halves of the Odyssey body. Insert a fully
charged battery into the lower body with the positive (+) terminal towards the
atomizer connector.
• With the battery correctly inserted, screw the lower and upper battery bodies
together until hand tight.
• Take the plinth (4) and screw the plinth, narrow section toward the battery body,
until the plinth is fully seated and hand tight.
Understanding the DCT
The cartomizers supplied with the kit are unique to the Odyssey™. You will notice
that the cartomizer has two holes, each hole is 1mm in diameter and are placed 180
degrees apart. The position of the holes on the tube body has been determined to
ensure the maximum usable capacity of the DCT. Together the design of both the
cartomizer and the DCT has been optimised to provide what we believe to be the best
DCT function available on the market today. The cartomizer is held firmly in the DCT
housing by means of two O-rings: one at the bottom and one at the top of the DCT.
The fit of cartomizer within the DCT is designed intentionally to be tighter than for
other DCTs that you may have used. These seals are vitally important to the operation
of the DCT/cartomizer unit and every care must be taken to prevent damage during,
insertion, extraction and usage. Please follow the instructions provided to ensure that
your DCT achieves its designed performance.
Summary of Contents for Odyssey
Page 1: ...USER MANUAL ...
Page 18: ...34 35 ...


