background image


PREPARATION 

Before beginning assembly or operation of product, make sure all parts are present. Compare parts with 
package contents list and diagram above. If any part is missing or damaged, do not attempt to assemble, 
install or operate the product. Contact customer service for replacement parts. 
 

  Estimated Assembly Time: 5 minutes  

  Tools required for assembly: hacksaw. 

OPERATION INSTRUCTIONS 


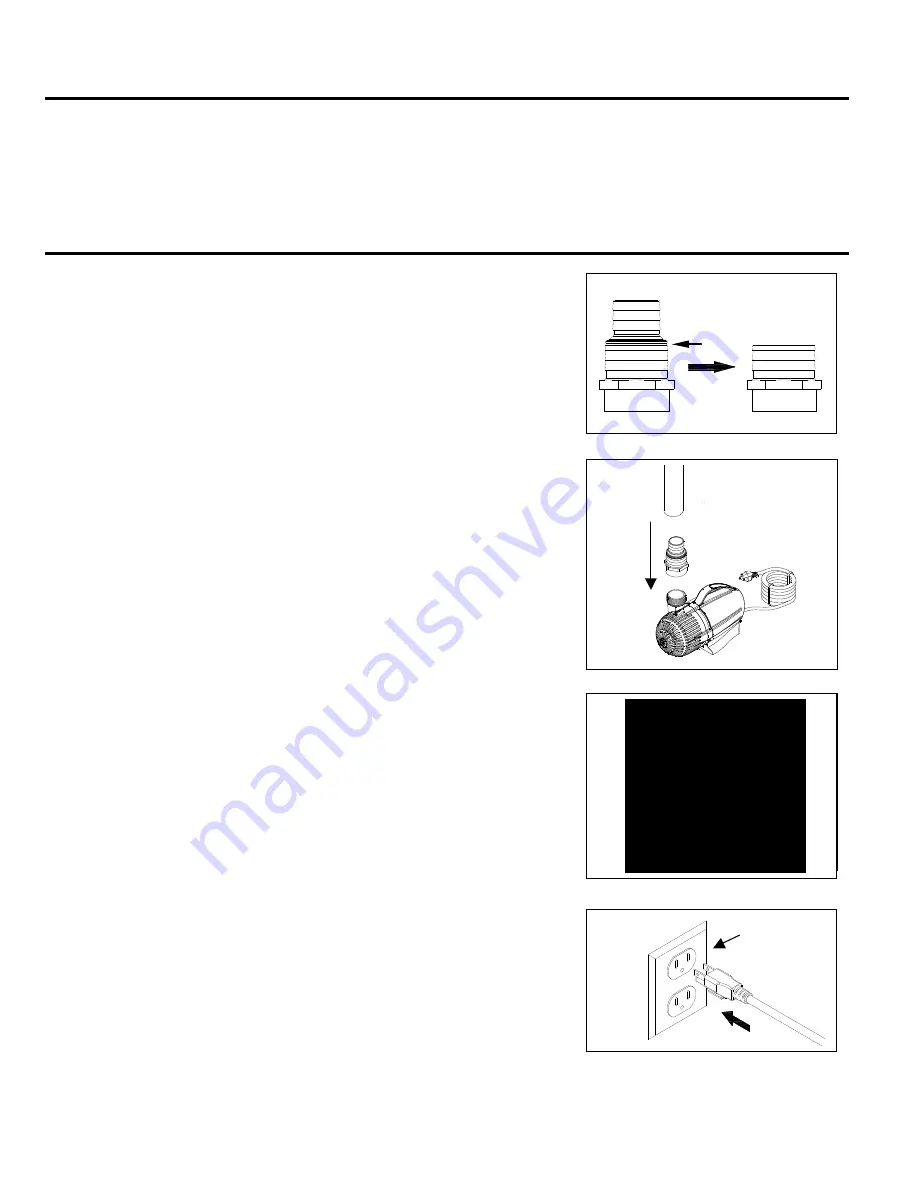
1.  For maximum water flow, it is recommended that the largest 

tubing size for your pump is used.  If using 1-1/2  in. ID tubing, 
proceed to step 2.  If using 2 in. ID tubing, cut the adapter as 
shown using a hacksaw.  Fig. 1 


Fig. 1 

2.  Connect tubing to the outlet of the pump using an adapter.  

Fig. 2 


NOTE: Tubing is NOT INCLUDED. 


  Fig. 2 

3.  Place the pump inside the pump barrier bag.  Pull the 

drawstring until the pump barrier bag is fully closed around 
the tubing and power cord.  Tie a knot in the drawstring. 
Fig. 3 


Fig. 3


4.  Place the pump into the water and connect to a proper power 

source.  Fig. 4 


Fig. 4


Cut ring 


Tubing

Adapter 

Pump 


GFCI 


Summary of Contents for LL3600

Page 1: ...ump has not been investigated for use in swimming pools or marine areas CAUTION This pump has been evaluated for use with water only Use a proper power source as indicated on the pump label Keep the cord away from high temperatures or other heat sources Do not pump heated liquids Do not let the pump run dry Pump must be completely submerged for proper operation and cooling Operate in fresh water o...

Page 2: ... water flow it is recommended that the largest tubing size for your pump is used If using 1 1 2 in ID tubing proceed to step 2 If using 2 in ID tubing cut the adapter as shown using a hacksaw Fig 1 Fig 1 2 Connect tubing to the outlet of the pump using an adapter Fig 2 NOTE Tubing is NOT INCLUDED Fig 2 3 Place the pump inside the pump barrier bag Pull the drawstring until the pump barrier bag is f...

Page 3: ... of the impeller assembly This is normal Likewise when replacing the impeller assembly there will be a strong magnetic force pulling the assembly into the pump to potentially cause injury to fingers and in rare cases damaging the ceramic shaft or rear bearing Use thick gloves when replacing the impeller assembly Use a soft cloth or brush to clean the impeller assembly and the inside of the impelle...

Page 4: ...470 1 080 1 780 3 410 10 581 1 215 2 009 3 580 9 655 1 310 2 240 3 720 8 696 1 426 2 490 3 870 7 792 1 532 2 660 4 020 6 887 1 664 2 850 4 150 5 940 1 770 3 050 4 320 4 1 077 1 849 3 197 4 480 3 1 120 1 940 3 348 4 660 2 1 301 2 034 3 440 4 830 1 1 374 2 134 3 560 5 000 0 1 450 2 250 3 700 5 150 LL1200 LL2000 A LL3600 A LL5100 Waterfall Pumps Printed in China Part Description B 1 1 2 in and 2 in I...

Page 5: ...y does not cover any costs associated with the shipping handling installation or removal of products or parts subject to this warranty For products damaged in transit a claim should be filed with the carrier Disclaimer Any oral statements made about the product by the seller the manufacturer the representatives or any other parties do not constitute warranties should not be relied upon by the user...

Reviews: