background image

Instruction Manual

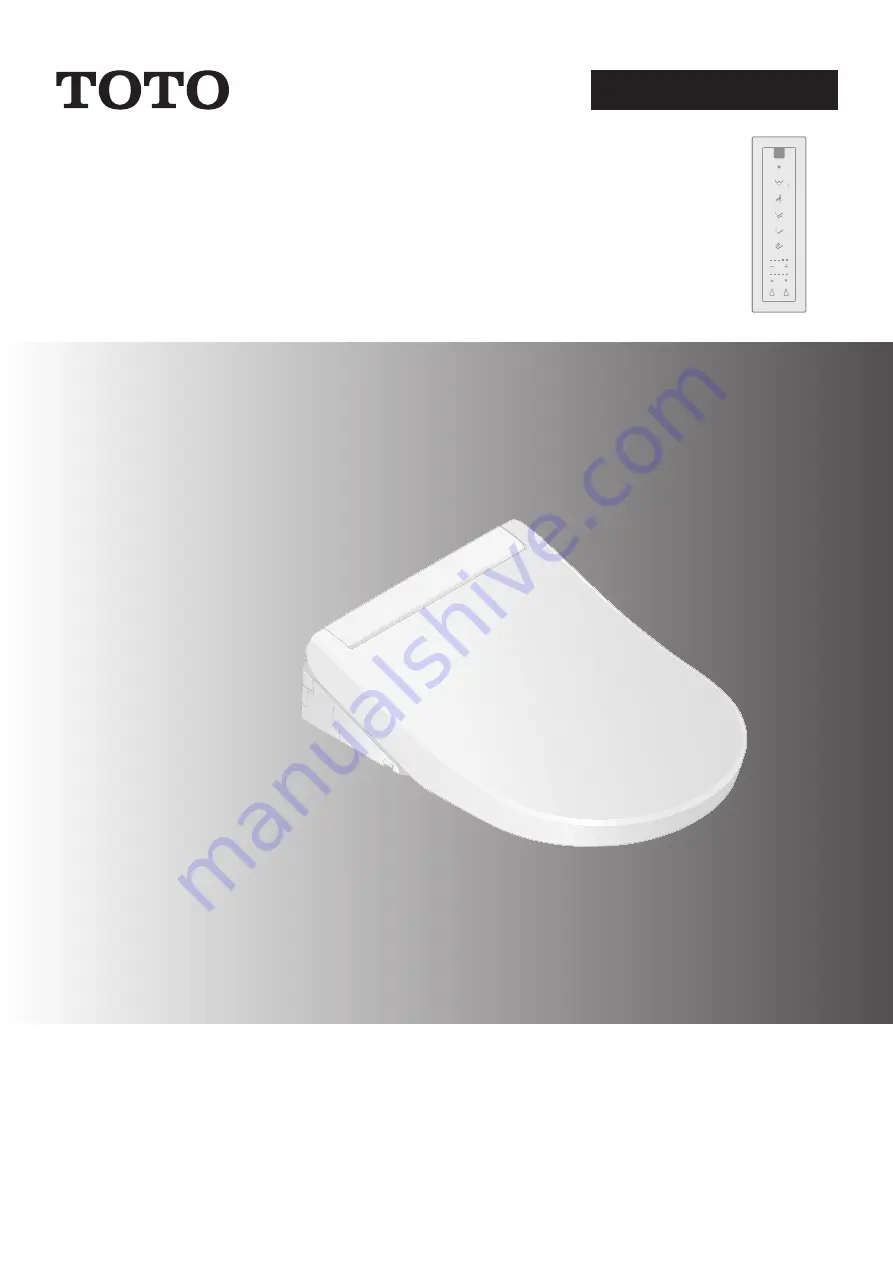
WASHLET RG

Thank you for your recent purchase of this product.
Please read the enclosed information to ensure the safe use of your product.

Be sure to read this Instruction Manual before using your product and keep it in a 
safe place for future reference.

TCF34270GEU
TCF34170GEU
TCF34120GEU
TCF34120GGB

Summary of Contents for WASHLET RG TCF34120GEU

Page 1: ...hase of this product Please read the enclosed information to ensure the safe use of your product Be sure to read this Instruction Manual before using your product and keep it in a safe place for futur...

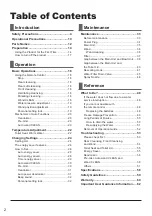
Page 2: ...erature Adjustment 22 Toilet Seat Warm Water 22 Changing Settings 24 Setting List 24 The energy saver features 26 How to Set 28 Auto energy saver 28 Auto energy saver 28 Timer energy saver 29 Auto wan...

Page 3: ...3 Functions Part No 1 TCF34270GEU TCF34170GEU TCF34120GEU TCF34120GGB Deodorizer Pre mist 1 The part no is on the toilet lid label Page 12 The available functions vary according to the part no...

Page 4: ...amage Do not use other water then allowed by the laws and ordinances of the region of use Only Use potable water Do not use seawater or recycled water Doing so may cause irritation to the skin and mal...

Page 5: ...t been validated please consult your healthcare provider for concerns regarding whether these circumstances may apply to you More importantly if you are an individual su ering from any immune deficien...

Page 6: ...ower or bath tub Confirm that the wiring in a and b above is complete If the wiring has not been completed ask the contractor who did the installation to do it TCF34120GEU Do not use a loose or faulty...

Page 7: ...unction These items could damage the water supply hose and cause a water leak To prevent a sudden water leak do not remove the water filter drain valve when the shuto valve is open Doing so will cause...

Page 8: ...d cause the main unit to come loose resulting in injury Make sure of the plus and minus signs on the batteries before inserting them Remove depleted batteries immediately When replacing the batteries...

Page 9: ...an old hose set This appliance is not intended for use by persons including children with reduced physical sensory or mental capabilities or lack of experience and knowledge unless they have been give...

Page 10: ...ipe o any cleaner that remains on the bowl unit Do not use the product with the toilet lid removed Operational Precautions Do not expose to direct sunlight Doing so may cause changes in color irregula...

Page 11: ...ch Built in Gap The toilet seat lowers Switch ON Sit back on the toilet seat The seat switch will not turn on unless you sit on the seat properly Note When a child uses the product the seat switch may...

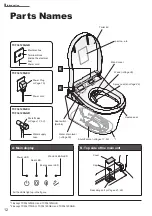
Page 12: ...gure 1 Except TCF34120GEU and TCF34120GGB 2 Except TCF34170GEU TCF34120GEU and TCF34120GGB Power LED Seat LED Energy saver LED Wand CLEAN LED Introduction Water drain lever Page 50 Seat switch Built i...

Page 13: ...t 2 Filter Page 37 Main unit removal button Page 38 Descriptions in this manual are based on the illustration of TCF34270GEU For TCF34120GEU TCF34120GGB Cover Water filter drain valve Page 45 Cover 1...

Page 14: ...tteries Use dry cell alkaline batteries Be sure to follow Safety Precautions to prevent the batteries from rupturing or leaking fluid Pages 5 8 If the remote control is secured to prevent theft 1 Remo...

Page 15: ...rate from the back of remote control Press Power ON OFF button about 3 seconds or longer To operate from the front of remote control Recommended if the remote control is secured to prevent theft etc P...

Page 16: ...control is secured to prevent theft etc Press Oscillating cleansing button about 10 seconds or longer TCF34120GGB 2 1 Switch the breaker on the distribution board to ON The wand extends and then retra...

Page 17: ...TCF34170GEU To turn the power OFF 1 Remove the cover on the right side of the main unit and flip the power switch to OFF The Power LED is unilluminated 2 Reinstall the cover Page 15 TCF34120GEU To tur...

Page 18: ...llating cleansing The wand moves back and forth to cleanse your rear thoroughly Pulsating cleansing Cleanses with the water pressure pulsating between soft and strong The setting changes between ON an...

Page 19: ...on the set position will light for 10 seconds Wand position adjustment You can adjust the washing position to 5 di erent points between the front and the rear using the and buttons After you press the...

Page 20: ...t comes out of the base 2 Note When the Auto wand CLEAN function starts to operate the Wand CLEAN LED flashes Page 12 EWATER can also be used by pressing the remote control button Page 18 Wand CLEAN D...

Page 21: ...sed by pressing the remote control button Page 18 Wand CLEAN 21 3 The pre mist will not spray for about 90 seconds after you stand up from the toilet seat What is meant by EWATER This water containing...

Page 22: ...perature button Warm water temperature button The current temperature level appears Temperature Adjustment Toilet Seat Warm Water 3 Press the button selected in step 2 repeatedly until a desired tempe...

Page 23: ...n selected in step 2 repeatedly until the temperature level is set to OFF The setting changes each time the button is pressed once OFF Low Medium High Lit Lit Lit OFF All LED s Settings complete 1 To...

Page 24: ...28 ON OFF All models Auto energy saver Page 28 ON OFF Timer energy saver Page 29 ON OFF Auto wand CLEAN Page 30 ON OFF Pre mist Page 30 ON OFF TCF34270GEU Deodorizer Page 31 ON OFF Auto power deodori...

Page 25: ...the control panel are flashing 1 All LEDs on the control panel flash 2 A Stop button B Rear cleansing button C Personal setting lock 2 button D Toilet seat temperature button E Timer energy saver butt...

Page 26: ...set to a Low 3 The time period when the toilet seat heater is set to a OFF Note Even if the energy saver is activated with the toilet seat heater set to Low or OFF the toilet seat will be temporarily...

Page 27: ...save the maximum amount of energy possible When both Timer energy saver and Auto energy saver Auto energy saver are set Auto energy saver Auto energy saver operates when Timer energy saver is not ope...

Page 28: ...tton is pressed once When set to Auto energy saver Lit When set to OFF OFF Settings complete Auto energy saver 1 Press Auto energy saver button The setting changes each time the button is pressed once...

Page 29: ...to 7 am for 6 hours 1 When the time of the day reaches 1 00 am at night press Timer energy saver button Press the Timer energy saver button repeatedly until the 6 LED illuminates The setting changes e...

Page 30: ...t to clean the wand automatically When set to ON Short beep When set to OFF Long beep 3 Press Stop button Settings complete Pre mist Set whether or not to spray mist in the bowl unit automatically 1 P...

Page 31: ...sitting on the toilet seat When set to ON Short beep When set to OFF Long beep 3 Press Stop button Settings complete Auto power deodorizer Set whether or not to power deodorize automatically after st...

Page 32: ...beep sound Short beep For not making a beep sound Long beep 3 Press Stop button Settings complete Personal setting lock Set whether or not to use the personal setting lock 1 Press Stop button until a...

Page 33: ...n resulting in a breakdown For safety turn the power OFF before maintenance 2 When the power is turned OFF the Power LED is unilluminated Lit OFF Main unit TCF34270GEU TCF34170GEU To turn the power OF...

Page 34: ...oard to ON The Power LED illuminates Power Plug 1 Dry cloth Wet cloth Approximately once a month 1 Unplug the power plug and wipe it with a dry cloth 2 Insert the power plug The Power LED illuminates...

Page 35: ...with undue force May cause damage or malfunction Wipe the back surface of the toilet seat and the toilet seat cushions with a soft cloth tightly wrung out with water Otherwise adhesion of dirt may re...

Page 36: ...d if the remote control is secured to prevent theft etc 1 Press Stop button until all LEDs on the remote control start flashing about 10 seconds 2 Press Front cleansing button for about 3 seconds or l...

Page 37: ...r Attention Do not pull with undue force Doing so may cause damage or malfunction 3 Clean with a tool such as a toothbrush 1 When washing with water dry o all water before reinserting Toothbrush etc 4...

Page 38: ...2 Remove the main unit a string is attached to the bottom of the main unit 1 Pull the main unit toward you while pressing the Main unit removal button Main unit removal button Base plate Attention Do...

Page 39: ...base plate until a click sound is heard Failure to do so could cause the main unit to come loose resulting in injury 3 After mounting check that the main unit does not detach even when pulled TCF3412...

Page 40: ...e from the tab and pull up C Disconnect the right side Hold with both hands B A C Tab Hinge 3 Wipe with a soft cloth that has been soaked in water and wrung out thoroughly 4 Reinstall the toilet lid D...

Page 41: ...duct name Manufacturer Sidol Universal Entkalker liquid Bref POWER Universal Entkalker liquid Oust ALL PURPOSE DESCALER liquid Henkel AG Co KGaA How to dilute 100 Water 40 50 60 Agent 20 Pour and mix...

Page 42: ...hile the long beep sound is alerting If you have set not making a beep sound be sure to switch to making a beep sound before starting the scale removal mode Page 32 1 and Press Stop button and Wand CL...

Page 43: ...Failure to do so may cause discoloration 4 Insert funnel and pour diluted agent Descaling port Beaker Funnel Attention Please wait until funnel is empty Descaling will not work correctly If any cleani...

Page 44: ...ing you will hear a long beep sound and the LEDs on product main body stop flashing Descaling complete Attention 1 If the spray is still weak after performing Descaling mode Clean the water filter dra...

Page 45: ...Turn the power OFF Pages 33 34 4 Remove the cover on the left side of the main unit and remove the water filter drain valve Loosen the water filter drain valve with a flat head screwdriver and then pu...

Page 46: ...ot pull with undue force May cause damage or malfunction 2 Install a spray nozzle for replacement Gasket Check that the gasket black is attached 1 Hold the wand by hand and slide the replacement spray...

Page 47: ...zle Clean the removed spray nozzle using the descaling agent specified by TOTO Page 41 Descaling agent specified by TOTO Page 41 Other detergents Attention Do not disassemble the spray nozzle May caus...

Page 48: ...in pipe If the low battery warning mark on the back of the remote control is flashing please replace the batteries It is the time to replace the batteries Replacing the batteries 1 Turn the power OFF...

Page 49: ...ssure from the water supply pipe Water comes out from around the wand 3 Turn the power OFF Page 17 4 Remove the cover on the left side of the main unit and remove the water filter drain valve Loosen t...

Page 50: ...nit and remove the water filter drain valve Loosen the water filter drain valve with a flat head screwdriver and then pull it Water filter drain valve Flat head screwdriver Cover 5 When water draining...

Page 51: ...g down the left side of the toilet seat 2 Press Rear cleansing button to discharge water from the wand Catch the water in a paper cup or other receptacle 3 Press Stop button Soft cloth soaked in water...

Page 52: ...he hanger Page 14 3 Remove the hanger and operation guide Hanger Operation guide Phillips screwdriver Screw 4 Screw the hanger on the wall 5 Mount the remote control in the hanger 6 Turn the power ON...

Page 53: ...urned OFF Is the power switch flipped to OFF 1 Flip it to ON Page 15 step 2 2 2 Is the Power ON OFF setting OFF Switch it to ON with the remote control Page 15 step 2 2 2 B Is the Energy saver LED lit...

Page 54: ...n EWATER comes out from the vicinity of the wand to clean the wand To clean the wand with it extended perform Wand cleaning Page 36 The wand extends but the cleansing water does not come out The clean...

Page 55: ...starts reducing and after about 1 hour the toilet seat heater is turned OFF Stand up from the seat and then use again Is a toilet lid or seat cover installed Remove any covers Page 10 Energy Saver Tro...

Page 56: ...d Wand CLEAN Trouble Please check Pre mist is weak Perform Descaling mode Page 41 Pre mist is not sprayed Is Pre mist set to OFF Set to ON Page 30 Perform Descaling mode Page 41 The Wand CLEAN LED doe...

Page 57: ...e g Rear cleansing and Front cleansing for about 8 hours you will hear that the wand is cleaned with EWATER and then the remaining water is drained from inside the product You can turn it OFF Page 30...

Page 58: ...ure Water temperature Adjustable temperature range OFF about 35 40 C Heater capacity 1200 1428 W Safety device Temperature fuse Backflow prevention device Air gap according to EN1717 Vacuum breaker He...

Page 59: ...me is expired may deteriorate the electric components producing smoke or resulting in a fire If any abnormality of the product is observed stop using it and consult the installer seller or the contact...

Page 60: ...der the guarantee valid A claim based on this guarantee takes for granted that the products for which notification of defects has been provided were installed and used properly and in accordance with...

Page 61: ...he ultimate consumer for the costs that are actually incurred material labour and travelling In the event that the ultimate consumer holds the view that he she has additional claims as a result of oth...

Page 62: ...ith general household waste Dispose of this product properly according to laws and regulations in your country Disposed of used batteries properly Do not dispose of them together with general househol...

Page 63: ...63...

Page 64: ...fice TOTO Europe GmbH Zollhof 2 40221 D sseldorf Germany Tel 49 0 700 8686 0700 E Mail teu information toto com You are advised to record the following information to allow quick service Date of purch...

Reviews: