– 25 –
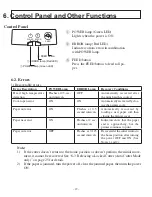
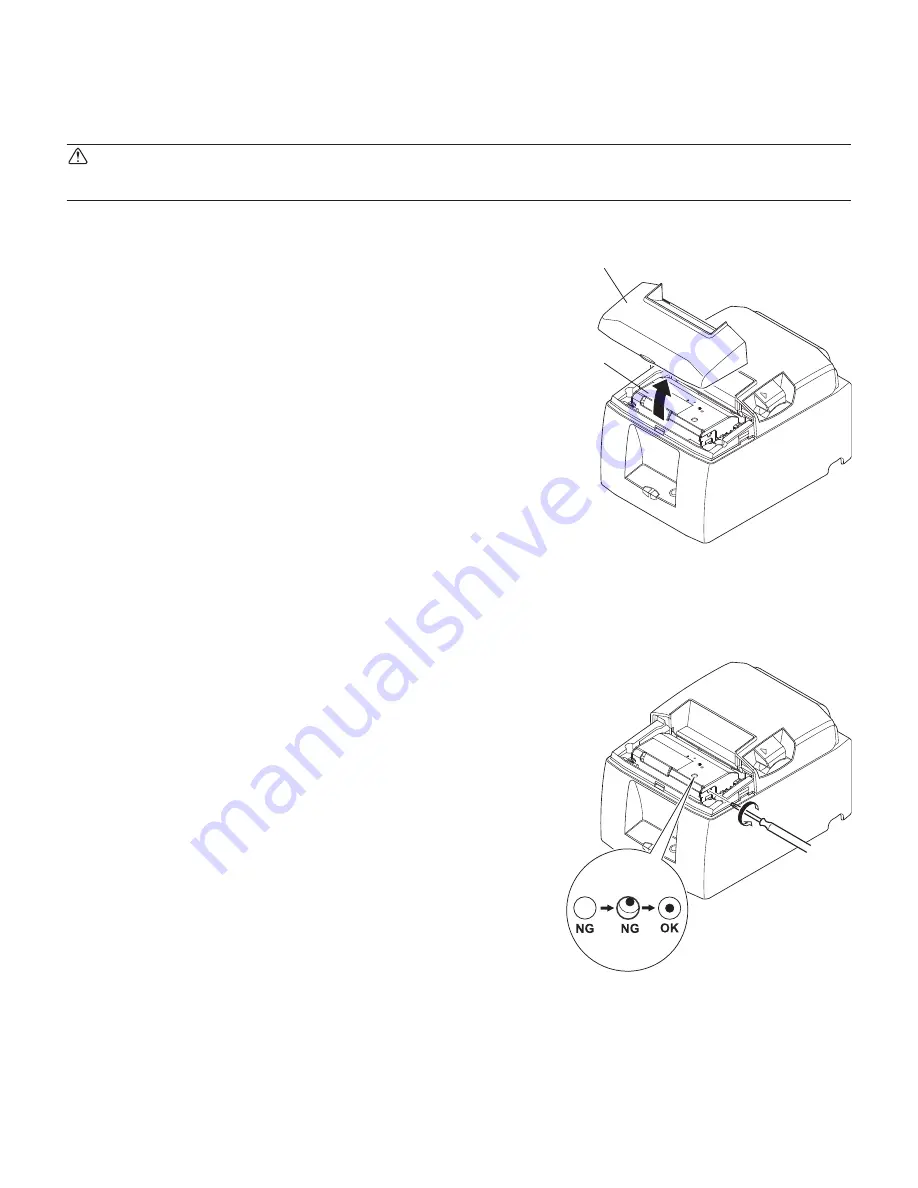
Auto cutter
Front cover
8-3. Releasing a Locked Cutter (Auto Cutter Mode only)
If the auto cutter locks up or fails to cut the paper, follow the steps below.
WARNING
Since working on the cutter may be dangerous, be sure to turn off the printer first.
(4) If the cutter is locked, insert a Philips screwdriver
into the Philips screw hole on the side of the cutter,
and turn it in the direction of the arrow shown on
the right, in order to return the cutter to its normal
position.
(5) Open the printer cover, remove any jammed paper,
and then reinstall the paper roll.
(6) Install the front cover, and then set the power
switch to ON.
(1) Set the power switch to OFF to turn off the print-
er.
(2) Remove the front cover to reveal the auto cutter.
(3) Remove any jammed paper.
Note: Be careful not to damage the printer while
removing any jammed paper.
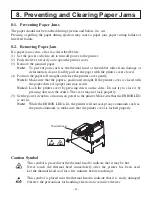
Since the thermal print head is particularly
sensitive, be sure not to touch it.

