background image

4

Virtuo Test Fixture Installation Guide
Assembling the Rest of the Virtuo Test Station

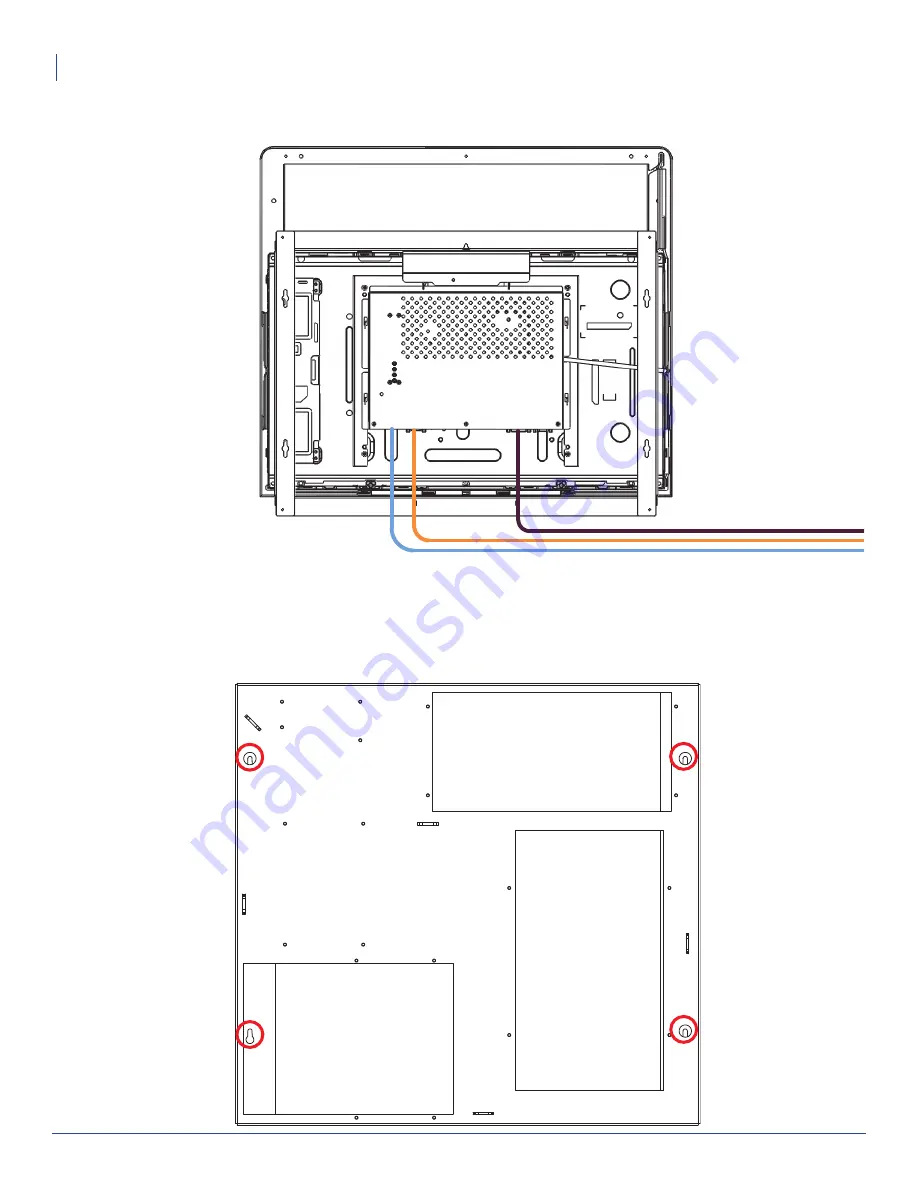
3. Connect and fasten the Video, Serial and Power cables to the back of the Virtuo monitor:

Assembling the Rest of the Virtuo Test Station

1. Mount the main bracket to your wall or mounting structure using four (4) appropriate mounting screws (not 

provided) in the four (4) mounting holes along the sides of the bracket.

Summary of Contents for Virtuo Test Fixture

Page 1: ...quired Tools and Equipment Hex ratchet with M4 socket Mounting screws or bolts for mounting the fixture to a wall or other mounting structure Appropriate tool to fasten the mounting screws or bolts Po...

Page 2: ...e You Start Find a suitable area in your warehouse or workshop where both halves of the Virtuo test fixture can be installed close to one another Ensure that the wall or other structure onto which you...

Page 3: ...screws not provided in the indicated mounting holes 2 The Virtuo Touchscreen fastens to the monitor bracket using seven 7 locking hex nuts provided Note An alignment guide is included on the bottom pa...

Page 4: ...nd fasten the Video Serial and Power cables to the back of the Virtuo monitor Assembling the Rest of the Virtuo Test Station 1 Mount the main bracket to your wall or mounting structure using four 4 ap...

Page 5: ...xture Installation Guide Assembling the Rest of the Virtuo Test Station 2 Fasten the power supply computer amplifier I O board and ID chip to the main bracket using eighteen 18 locking hex nuts provid...

Page 6: ...below Note Refer to the full Virtuo connection diagram also provided with your kit if needed 2 Use tie wraps provided to bundle cables together for a tidier test station and to make it easier to acce...

Page 7: ...al 4 If the screen remains black while the computer still appears to be functional press the red PWR button on the I O board in order to bring the Virtuo test station out of standby mode You should no...

Reviews: