9
10
Setting the Operating Function
The instrument has 3 operating functions:
Cross-line (horizontal and vertical laser lines)
Horizontal line only
Vertical line only
1.
To activate the Cross-Line Function, Power ON the instrument. This is a default function,
and it is automatically activated when the instrument is Powered ON.
2.
To activate the Horizontal Line Function, press the H/V Laser Beam Selector Button
6
one time.
3.
To activate the Vertical Line Function, press the H/V Laser Beam Selector Button
6
second time.
4.
To return to the Cross-Line Function, press the H/V Laser Beam Selector Button
6
once again.
All functions can be selected both in the
Self-Levelling Mode
and in the
Pendulum-
Locked Mode
.
QuickSet
®
Rotating Mount and Ceiling Bracket
The QuickSet
®
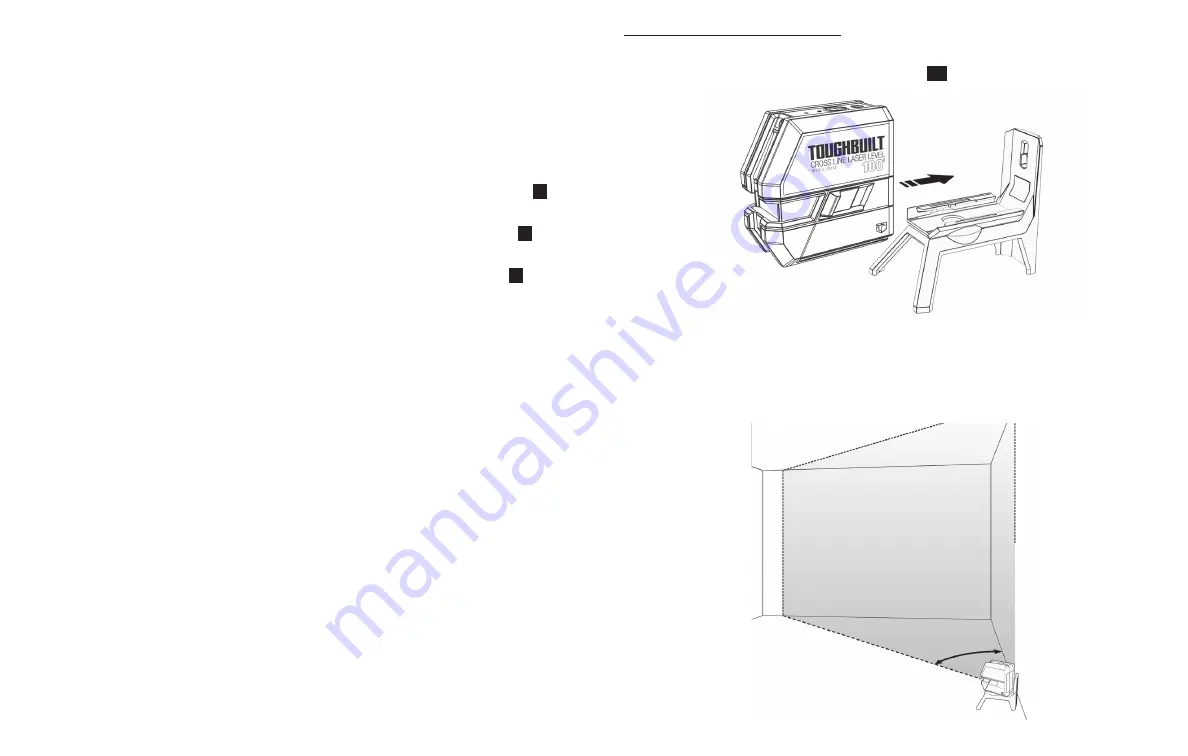
Rotating Mount and Ceiling Bracket allow mounting the laser instrument to
project the laser beam lines in the desired positions.
They can be attached to various upright surfaces such as steel and wood framing studs,
steel door frames, I-beams, angle iron or acoustical ceiling grid.
Only use ToughBuilt
®
accessories that are designed for this product.
Using QuickSet Rotating Mount
1.
To attach the laser instrument to the QuickSet
®
Rotating Mount, slide the rear side
of the laser instrument into the QuickSet
®
Rails
12
.
2.
Place the QuickSet
®
Rotating Mount with an instrument on a flat surface.
3.
To adjust the position of the projected vertical laser line, rotate the instrument
to the left or to the right.
®
Summary of Contents for TB-H2-LL-100-L2
Page 14: ...23 24...


