The HDMI 4K Series Camera Help Manual
6 / 26
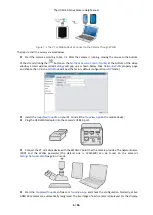
Figure 7-2 The PC or Mobile Device Connect to the Camera through WLAN
The steps to start the camera are listed below:
Start the camera according to Sec. 7.1. After the camera is running, moving the mouse to the bottom
of the UI and clicking the
button on the
Synthesis Camera Control Toolbar
at the bottom of the video
window, a small window called
Settings
will pop up as shown below. Click
Network>WLAN
property page
and choose the
AP
in the
WiFi Mode
edit box(The factory default configuration is
AP
mode ).
Install the
ToupView/ToupLite
on your PC or install the
ToupView App
on the mobile device;
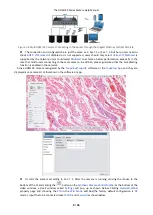
Plug the USB WLAN adapter into the camera’s USB3.0 port;
Connect the PC or mobile device with the WLAN
AP
point that the camera provides; The network name
(SSID) and the WLAN password (The default one is 12345678) can be found on the camera’s
Setting>Network>WLAN
page in
AP
mode
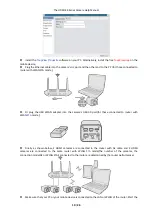
Start the
ToupView
/
ToupLite
software or
ToupView App
and check the configuration. Normally, active
HDMI 4K cameras are automatically recognized. The live image of each camera is displayed. For the display,


