21
❏
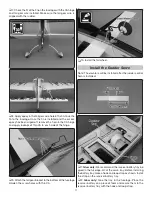
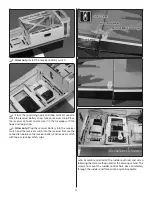
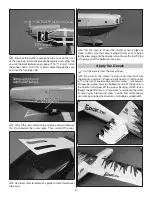
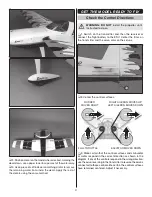
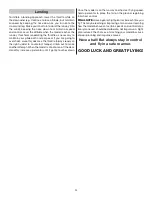
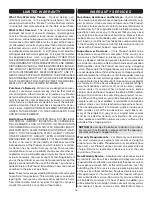
3. Position decal on the model where desired. Holding the
decal down, use a paper towel to wipe most of the water away.
❏
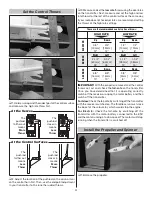
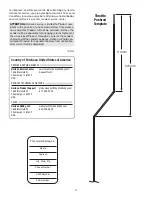
4. Use a piece of soft balsa or something similar to remove
the remaining water from under the decal. Apply the rest of
the decals using the same method.
GET THE MODEL READY TO FLY
Check the Control Directions
WARNING: DO NOT
install the propeller until
instructed to do so.
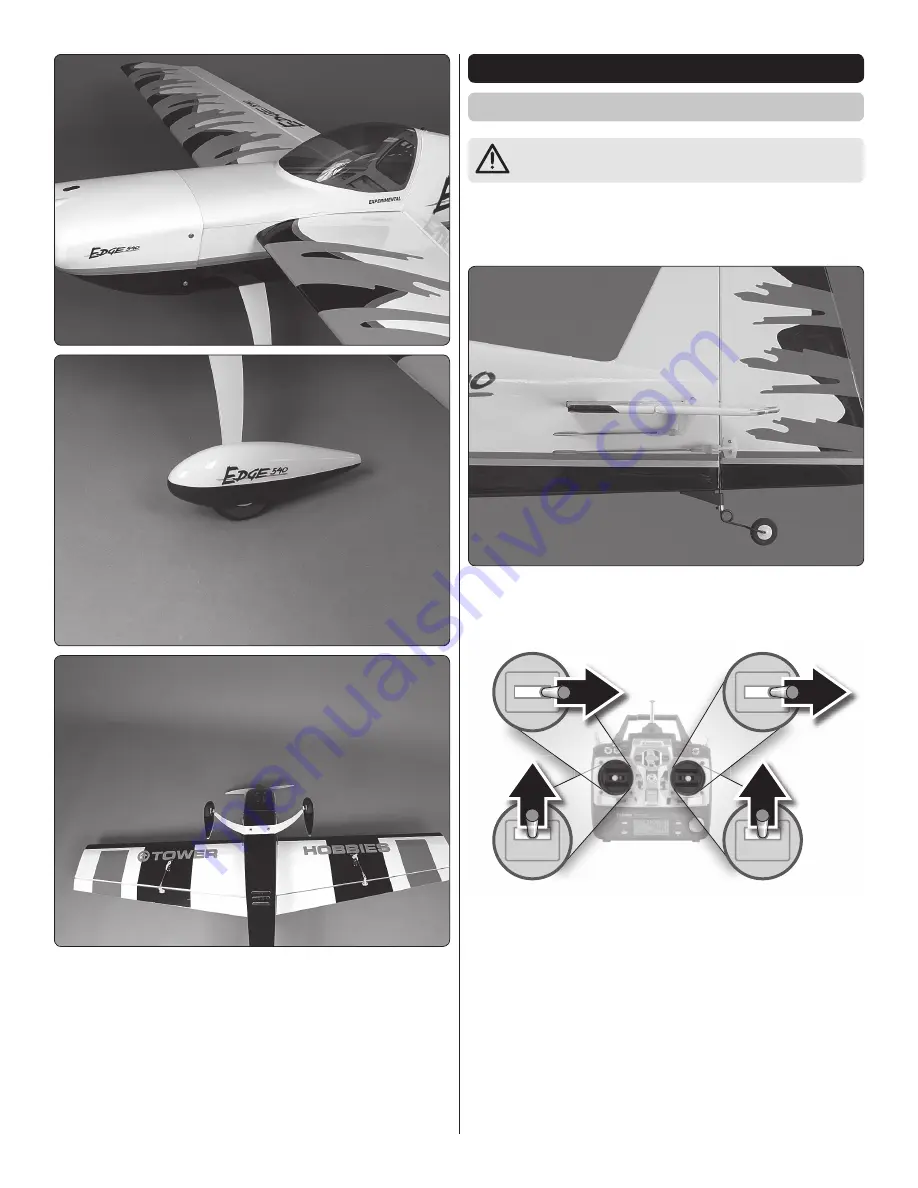
❏
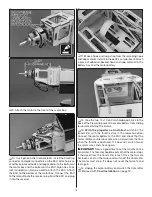
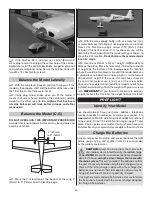
1. Switch on the transmitter and then the receiver or
connect the fl ight battery to the ESC. Center the trims on
the transmitter and the servo arms on the servos.
❏
2. Center the control surfaces.
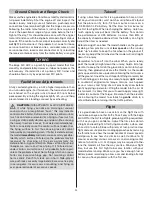
FULL THROTTLE
RUDDER
MOVES RIGHT
ELEVATOR MOVES DOWN
RIGHT AILERON MOVES UP
LEFT AILERON MOVES DOWN
❏
3. Make certain that the control surfaces and carburetor
or motor respond in the correct direction as shown in the
diagram. If any of the controls respond in the wrong direction,
use the servo reversing in the transmitter to reverse the servos
connected to those controls. Be certain the control surfaces
have remained centered. Adjust if necessary.

