23
❏
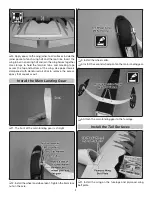
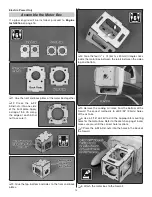
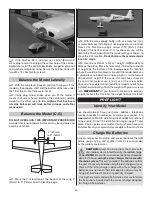
2. If the RimFire .32 is installed, use a 5/16" (8mm) drill
bit or prop reamer to enlarge the center hole of the spinner
backplate. Install the spinner backplate, propeller, prop nut
and washer and spinner cone. Secure the spinner cone with
two M3 x 12 sheet metal screws.
Balance the Model Laterally
❏
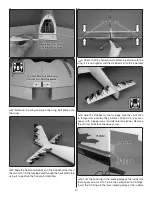
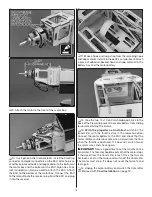
1. With the wing level, have an assistant help you lift the
model by the propeller shaft and the bottom of the fuse under
the TE of the fi n. Do this several times.
❏
2. If one wing always drops when you lift the model, it
means that side is heavy. Balance the airplane by adding
weight to the other wing tip.
An airplane that has been
laterally balanced will track better in loops and other
maneuvers.
Balance the Model (C.G.)
DO NOT OVERLOOK THIS IMPORTANT PROCEDURE.
A model that is not properly balanced may be unstable and
possibly unfl yable.
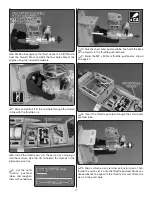
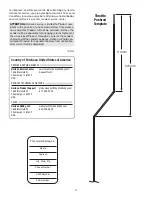
2" (51mm)
to 3" (76mm)
❏
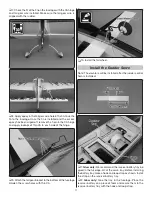
1. Mark the C.G location on the bottom of the wing 2"
(51mm) to 3" (76mm) from the leading edge.
❏
2. With the plane
ready to fl y
, with an empty fuel tank
or motor batteries installed but not plugged in, use a Great
Planes C.G. Machine or apply narrow (1/16" [2mm]) strips
of tape at the front and rear C.G. locations so you will be
able to feel them when lifting the model with your fi ngers to
check the C.G. location.
Do not balance the model outside
this C.G. range
.
❏
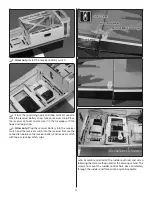
3. Use Great Planes “stickon” weight (GPMQ4485) to
balance the plane. Place incrementally increasing amounts
of weight on the bottom of the fuselage over the location
where it would be mounted inside until the model balances.
A good place to add stick-on nose weight is to the fi rewall.
Do not attach weight to the cowl—this will cause stress on
the cowl and could cause it to crack at the screw holes.
Once you have determined if additional weight needs to be
installed, permanently attach the weight with glue or screws.
❏
4.
IMPORTANT:
If you found it necessary to add any
weight, recheck the C.G. after the weight has been installed.
PREFLIGHT
Identify Your Model
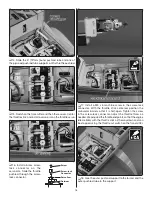
You should always have your name, address, telephone
number and AMA number on or inside your model. It is
required
at all AMA R/C club fl ying sites and AMA-sanctioned
fl ying events. Fill out the identifi cation tag on page 27 and
place it on or inside your model. You must also have your
FAA number on your plane and accessible without any tools.
Charge the Batteries
Always charge your transmitter and receiver batteries the night
before you go fl ying, and at other times as recommended
by the radio manufacturer.
CAUTION:
Unless the instructions that came with
your radio system state differently, the
initial
charge
on
new NiMH
transmitter and receiver batteries should be
done for 15 hours
using the slow-charger that came with
the radio system
. This will “condition” the batteries so that
the next charge may be done using the fast-charger of your
choice. If the initial charge is done with a fast-charger the
batteries may not reach their full capacity and you may be
fl ying with batteries that are only partially charged.
If using the recommended LiFe batteries, be sure to follow
the instructions included with the correct charger designed
to charge LiFe batteries.

