❍
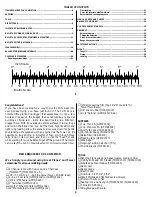
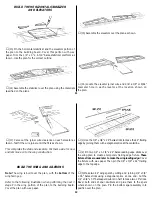
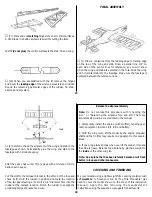
(17) Mark and cut matching hinge slots on all control surfaces.
A #11 blade in a hobby knife works well for cutting the slots.
Test fit (do not glue) the control surfaces to the stab, fin and wing.
❍
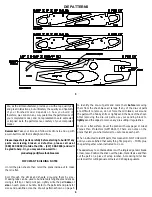
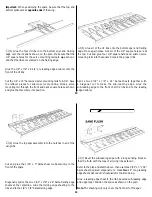
(18) When you are satisfied with the fit, remove the hinges
and bevel the leading edge of the ailerons, elevators and rudder.
Round the remaining perimeter edges of the rudder, fin, stab,
ailerons and elevators.
FINAL ASSEMBLY
❍
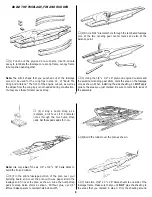
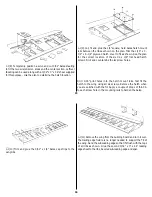
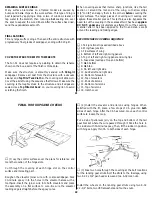
(1) Draw a centerline from the leading edge to trailing edge
on the top of the wing and stab. Draw a parallel line 1/4" on
each side of the center lines for reference, so you will know
when the wing and stab are centered in the fuse. Slide the wing
and horizontal stab into the fuselage. Make sure the fuselage is
centered between the reference lines.
19
❍
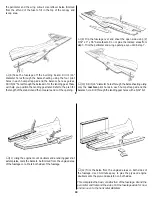
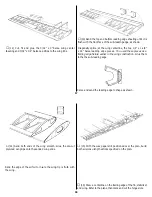
(2) Carefully check the alignment of the wing and stab to the
fuselage as shown. Permanently glue the wing and stab to the
fuselage with 30-minute epoxy.
After the epoxy has cured, fill any gaps with a mixture of micro
balloons and epoxy.
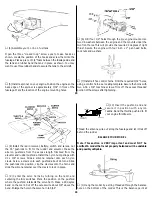
Cut the slot for the tail gear bracket in the aft end of the fuse and
check its fit. Hold the rudder in position and mark the location
of the tail gear steering arm. Drill a 1/8" diameter hole into the
rudder at the marked location. Notch the rudder to accept the
protruding tail gear bracket and wire.
COVERING AND FINISHING
We recommend using a light-weight film covering material such
as TowerKote
™
to finish your Fun 51 (Top Flite MonoKote
®
was
used to cover the model shown on the cover of this instruction
manual). Apply the film following the manufacturer’s
instructions using the sequence we suggest for best results.
Balance the airplane laterally
Note: Do not confuse this procedure with “checking the
C.G.” or “balancing the airplane fore and aft.” That very
important step will be covered later in the manual.
1. Temporarily install the engine (with muffler), landing gear,
radio equipment, fuel tank (3/4 full) and battery.
2. With the wing level, lift the model by the engine propeller
shaft and the fin (this may require two people). Do this several
times.
3. If one wing always drops when you lift the model, it means
that side is heavy. Balance the airplane by gluing a weight to
the inside of the other wing tip.
Note: An airplane that has been laterally balanced will track
better in loops and other maneuvers.
20


