12
❏
4. Cut a 2-1/4" x 4-1/2" [55 x 115mm] sheet from a piece
of 1/4" [6mm] RC foam rubber to cushion the bottom of the
fuel tank. Install the fuel tank straps under and up through
the slots in both sides of the fuel tank fl oor, place the foam
rubber sheet, install the tank with the lines through the hole
in the fi rewall, and then tightly strap the tank into place.
NOTE:
There is a hatch in the fuel tank fl oor through which
nose weight or the receiver battery may be installed. For now,
cover the hatch with the included lite-ply cover and install
the fuel tank. Later, if it is determined that nose ballast is
required, the tank may be removed for access to the hatch.
❏
5. Cut one of the fuel lines (from either of the two tubes
on the bottom of the tank) to the correct length to fi t the
carburetor. Leave the other two lines (one for fueling/defueling,
the other for the pressure/vent line from the muffl er) the length
they are now – we’ll cut them later after the cowl has been
cut and fi tted.
Proceed to
Cut the Cowl
on page 14. EP Version
Assemble the EP Motor Mount Box
❏
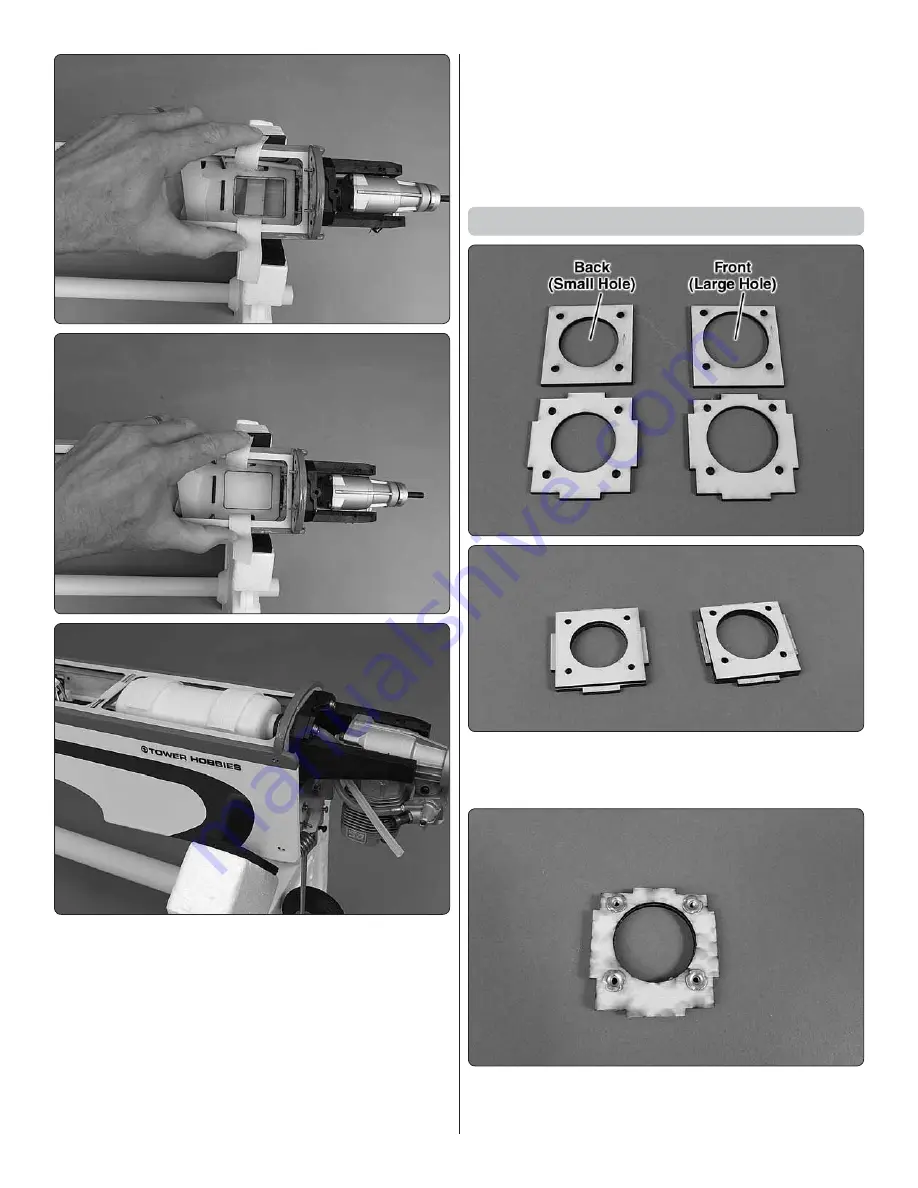
1. Glue together two pieces of the front and back of the EP
motor mount box with the arrows pointing up and the holes
and edges in each half aligned with each other.
❏
2. Place the front of the motor mount box on your workbench
with the back (the surface with the tabs) facing upward as
shown. Press M3 blind nuts into the back.


