11
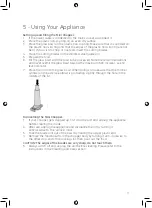
Setting up and filling the Mini Chopper:
1. If the power cable is connected to the mains socket, disconnect it.
2. Place the plastic non-slip ring on an even, dry surface.
3. Place the glass bowl on the plastic non-slip ring. Make sure that it is centred on
the plastic non-slip ring and that the edges of the plastic non-slip ring are not
bent. If you wish to chop or mix food, insert the cutting blades.
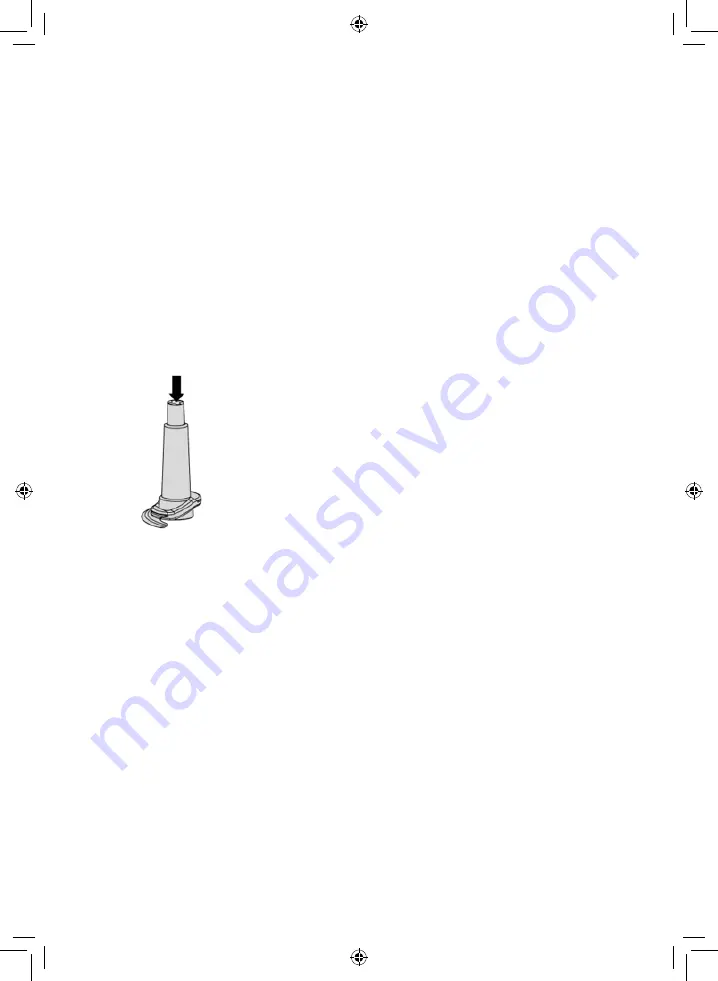
4. Place the cutting blades on the stainless steel guide pin.
5. Prepare the food.
6. Fill the glass bowl with the food to be processed. Note the recommendations
and never overfill the glass bowl beyond the maximum 500 ml level - see fill
level indicator
7. Place the lid on to the glass bowl. When doing so, make sure that the thinner
cylinder on the axle (see arrow) is protruding slightly through the hole in the
middle of the lid.
Dismantling the Mini Chopper:
1. If your chopper gets clogged up, first stop the unit and unplug the appliance
before clearing the inside.
2. After use, unplug the appliance and dismantle the lid by turning it
anticlockwise to the “unlock” mark.
3. Take the blade unit out of the bowl by holding the upper plastic end.
4. Remove the food bowl from the chopper body by turning it anti-clockwise to
the other stop-end of the locking slot; then pour out the food.
CAUTION!
The edges of the blades are very sharp, do not touch them.
5. Always switch off and unplug the unit before cleaning. Please refer to the
instructions in the Cleaning and Care section.
5 - Using Your Appliance


