❍
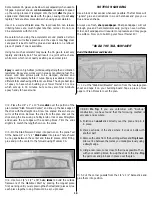
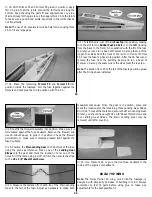
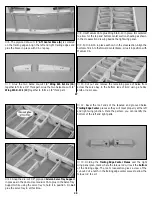
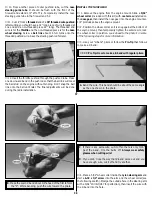
10. From another piece of outer pushrod tube, cut the nose
steering guide tube. It should be flush with the front of the
firewall and extend 1/2" aft of F-2. Temporarily install the nose
steering guide tube in the firewall and F-2.
❍
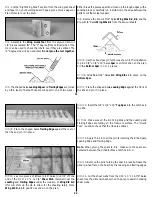
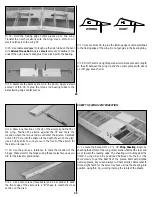
11. Cut 14" from a threaded end of a 36" threaded wire pushrod
(after cutting you should have a 14" long piece of wire threaded at
one end and a non-threaded piece 22" long). The threaded end
wire is for the throttle and the non-threaded piece is for the nose
wheel steering. Screw a ball link about 14 full turns onto the
threaded pushrod wire. Save the steering pushrod for later.
❍
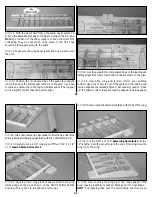
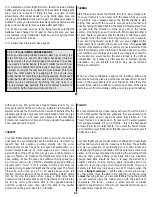
12. Insert the throttle pushrod through the pushrod tube. Make
one downward bend in the pushrod so that the ball link will meet
the ball stud on the engine without binding. Don't snap the ball
link onto the ball until later. The final adjustments will be done
during the radio installation.
INSTALL THE NOSE GEAR
❍
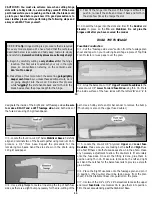
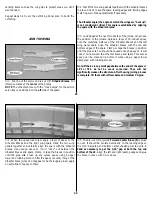
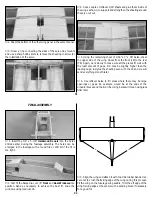
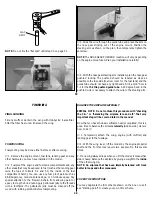
1. Remove the engine from the engine mount. Slide a 5/32"
wheel collar (included with this kit) with a set screw installed on
the nose gear, then install the nose gear into the engine mount so
1/4" protrudes above the engine mount.
❍
2. Position the wheel collar so it is snug against the bottom of
the engine mount, then temporarily tighten the set screw to lock
the wheel collar in position.
Look ahead to the photo's in some
of the following steps for more information.
❍
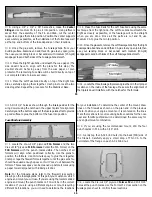
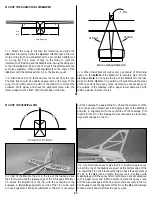
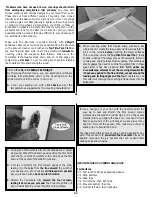
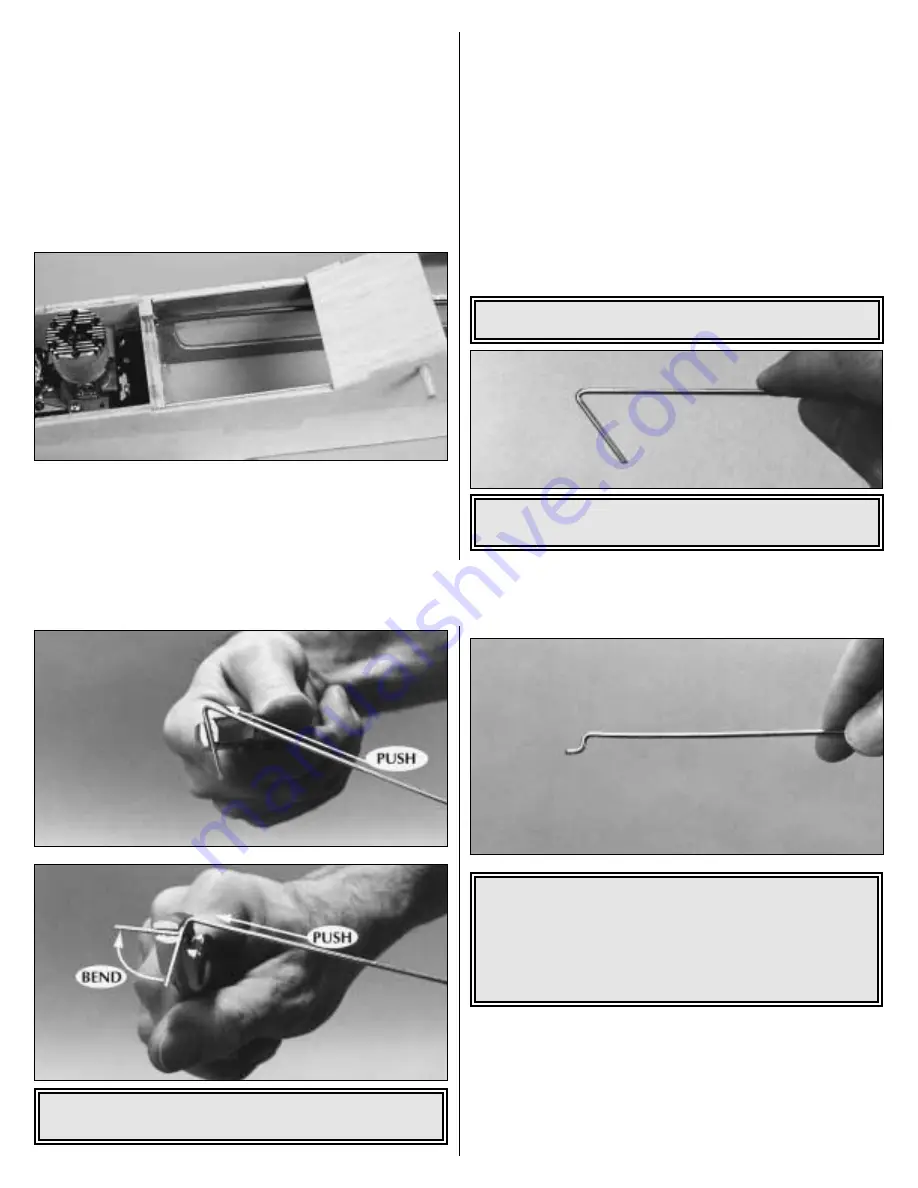
3. Use your "Z-bend" pliers or follow the Pro-Tip that follows
to make a Z-bend.
A. Bend the wire. This bend should be about the same angle
as the one shown in the photo.
★★★★
Pro Tip: How to make a Z-bend with regular pliers.
37
❍
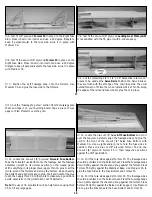
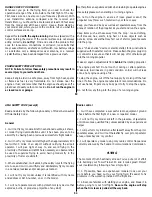
4. Place a 5/32" wheel collar inside the nylon steering arm and
start a 6-32 x 1/4" screw into the arm and the wheel collar (see
the following sketch). Enlarge the outside hole in the steering arm
with a 5/64" drill bit (#47 for perfection), then insert the wire with
the Z-bend into the hole.
C. If there is any extra wire, cut it off so there is only 3/16"
past the bend. File the burrs off. Always wear safety
glasses when cutting wire!
D. If you didn't like the way
that Z-bend came out and you
have enough wire, cut it off and try another.
B. Make the second bend about 1/8" ahead of the first to form
the "Z". While bending, push the wire toward the pliers.
38

