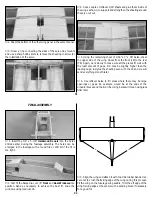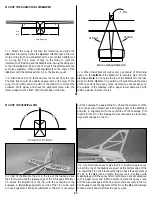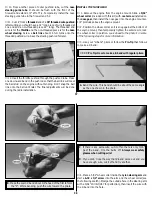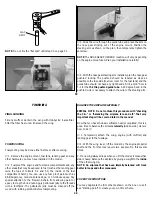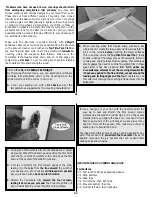
Control throw adjustment: If you move the clevis at the control
horn on the control surface toward the outermost hole, you will
decrease the amount of throw. If you move the clevis to a hole
nearer the control surface you will increase the amount of
throw. If these adjustments do not provide the desired throws,
you may need to work with a combination of adjustments by
repositioning the pushrod at the servo. If you move the pushrod
toward the splined shaft on the servo arm, it will decreases the
control surface throw – outward will increase it.
GROUND STANCE
❍
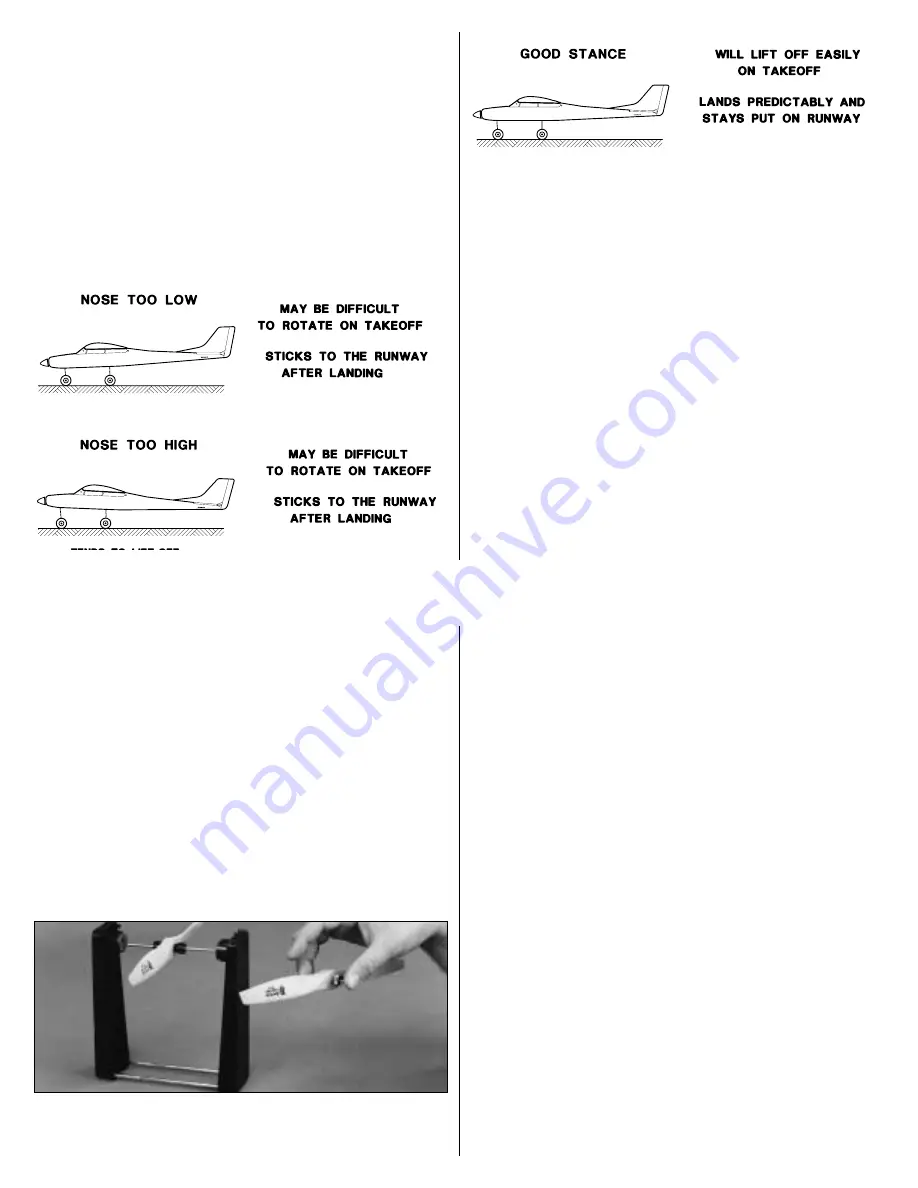
1. "Eyeball" the side of the fuselage from 6 - 10 feet away. If
necessary adjust the height of the nose by raising or lowering the
nose gear wire so that your model will sit pretty much level, as
shown in the previous sketches.
❍
2. Once the correct ground stance is established, grind the flat
spot on the nose gear wire to lock the bottom wheel collar in
position. Use thread lock on the set screw.
❍
3. When everything is aligned and the model sits correctly,
tighten the screw on the steering arm tight enough to leave a
mark on the nose gear wire. Remove the nose gear from the
engine mount and file the flat spot.
❍
4. Reassemble the nose gear and install it into the engine mount.
Tighten the steering arm screw directly over the flat.
It is a good practice to periodically check the ground stance of
your Tower Trainer 40 – especially after a hard landing. The wire
landing gear is designed to absorb shock from rough landings
but occasionally may need to be bent back into position.
51
PREFLIGHT
CHARGE THE BATTERIES
Follow the battery charging procedures in your radio instruction
manual. You should always charge your transmitter and receiver
batteries the night before you go flying, and at other times as
recommended by the radio manufacturer.
BALANCE THE PROPELLER
Balance your propellers carefully before flying. An unbalanced
prop is the single most significant cause of vibration. Not only
will engine mounting screws and bolts vibrate out, possibly with
disastrous effect, but vibration will also damage your radio
receiver and battery. Vibration will cause your fuel to foam,
which will, in turn, cause your engine to run lean or quit.
We use a Top Flite Precision Magnetic Prop Balancer (#TOPQ5700)
in the workshop and keep a Great Planes Fingertip Balancer
(#GPMQ5000) in our flight box.
FIND A SAFE PLACE TO FLY
The best place to fly your R/C model is an AMA (Academy of
Model Aeronautics) chartered club field. Ask your hobby shop
dealer if there is such a club in your area and join. Club fields
are set up for R/C flying and that makes your outing safer and
more enjoyable. The AMA also can tell you the name of a club
in your area. We recommend that you join AMA and a local club
so you can have a safe place to fly and have insurance to cover
you in case of a flying accident (The AMA address is listed on
page 3 of this instruction book).
If a club and its flying site are not available, you need to find a
large, grassy area at least 6 miles away from any other R/C radio
operation like R/C boats and R/C cars and away from houses,
buildings and streets. A schoolyard may look inviting but it is too
close to people, power lines and possible radio interference.
GROUND CHECK THE MODEL
If you are not thoroughly familiar with the operation of R/C
models, ask an experienced modeler to check that you have
installed the radio correctly and all the control surfaces do what
they are supposed to. The engine operation also must be checked
and the engine "broken-in" on the ground by running the engine
for at least two tanks of fuel. Follow the engine manufacturer's
recommendations for break-in. Check to make sure all screws
remain tight, that the hinges are secure and that the prop is on
tight.
52

