❍
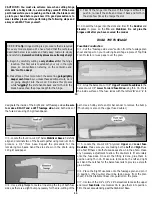
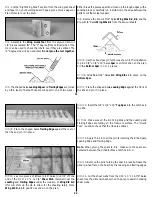
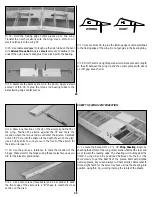
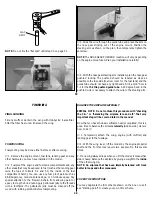
6. Cut and install the Stab Bracing using 1/4" x 1/4" x 36" balsa
sticks. Note: It is best to start with the straight pieces, then go to
the angled pieces. The alignment of each piece to the plan is not
critical, just as long as it is close and fits snugly into position.
❍
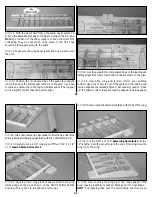
7. Remove the Stabilizer from your building surface. Examine
and add thick CA glue to any open joints, then use your sanding
block with medium (150-grit) sandpaper to sand both sides of the
Stabilizer framework smooth.
❍
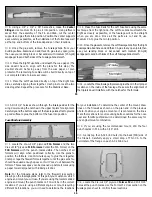
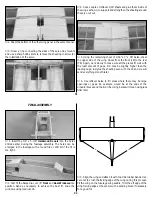
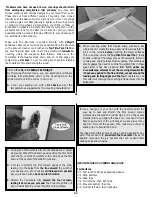
8. Cut the Elevator from the 1/4" x 1-3/8" x 30" balsa stick. Save
the remaining section for making the Rudder.
❍
9. Use your sanding block with medium (150-grit) sandpaper
to sand both sides of the Elevator smooth. Round the corners of
both pieces as shown on the plan.
BUILD THE FIN AND RUDDER
❍
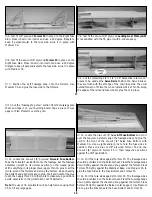
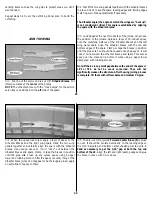
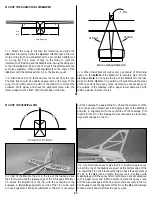
1. Cut the "Fin/Rudder" section from the fuselage plan sheet
and tape it on your building board. Tape a piece of wax paper or
Plan Protector over the plan. Build the frame of the Fin using a
1/4" x 1/2" x 36" balsa stick.
❍
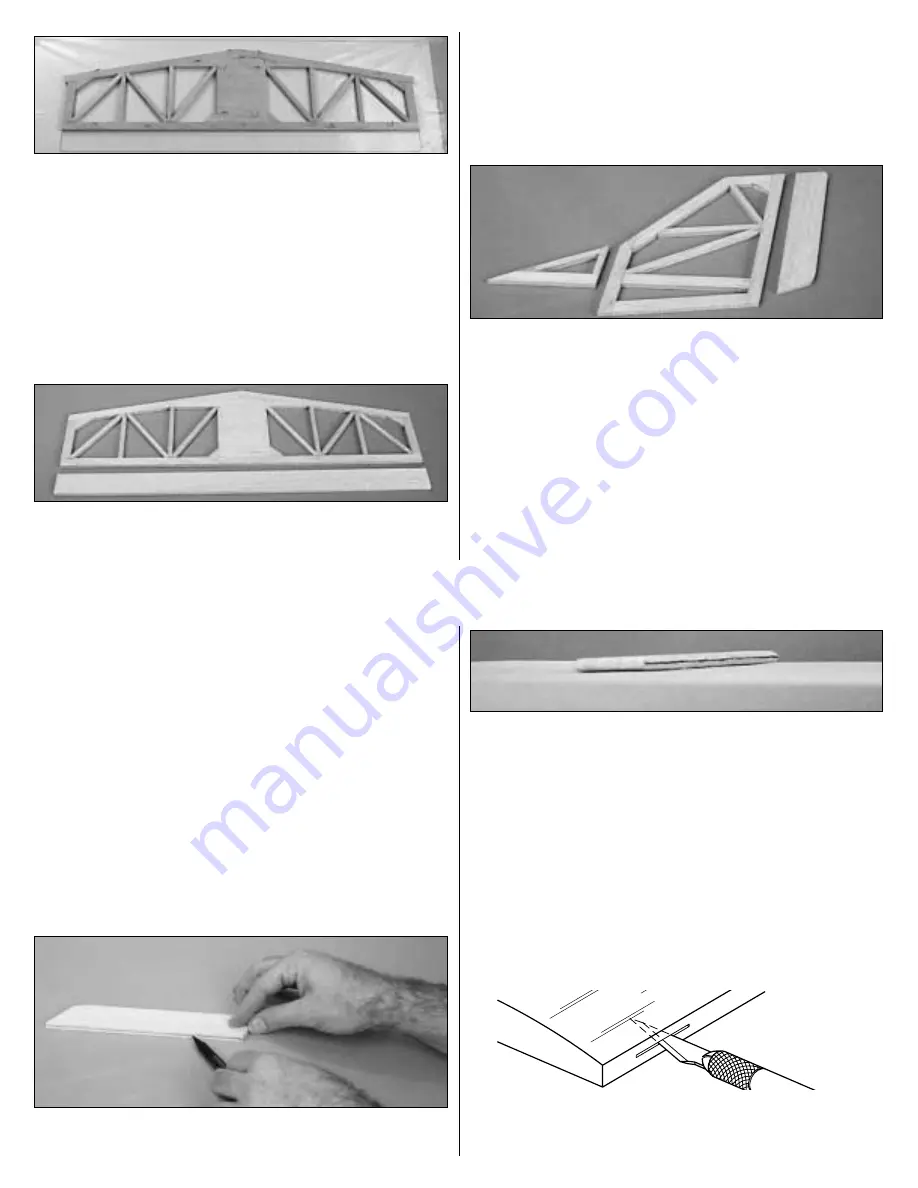
2. Install the Inner Framework of the Fin using 1/4" x 1/4" x 36"
balsa. Cut and install the corner gusset from the remaining
1/4" x 1/2" balsa.
❍
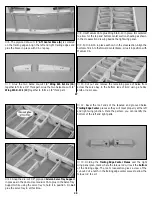
3. Remove the Fin from your building surface. Examine and
add thick CA glue to any open joints, then use your sanding block
or bar sander with medium (150-grit) sandpaper to sand both
sides of the Fin smooth.
❍
4. Build the Dorsal Fin from the remaining 1/4" x 1/2" and 1/4"
x 1/4" pieces. Examine and add thick CA glue to any open joints,
then use your sanding block or bar sander with medium
(150-grit) sandpaper to sand both sides of the Dorsal Fin smooth.
11
❍
5. Use the remaining section of 1/4" x 1-3/8" x 30" balsa to
make the Rudder.
❍
6. Place the Fin, Dorsal Fin and Rudder flat on your work surface
and sand them flat using a sanding block or bar sander and
120-grit sandpaper. Don’t forget to sand both sides smooth. Once
they are sanded, round the corners of the fin, dorsal fin and rudder
to match the plans.
Note: The Dorsal Fin will be glued in place after the Fin is
attached to the fuselage.
Bevel the Elevator and Rudder
❍
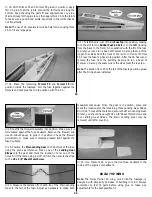
1. Use a smooth ball point pen to draw a centerline along the
leading edge of the Elevator and Rudder.
❍
2. Refering to the cross sections on the plan, carefully block
sand the elevator and rudder leading edges to a "V" shape. The
centerlines you drew earlier should remain for hinging later.
❍
3. Using 180-grit sandpaper, round the leading edge and tips
of both the Fin and Stabilizer. Leave the trailing edges square.
INSTALLING THE HINGES
❍
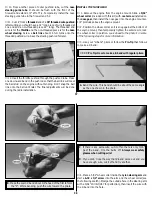
1. Use a smooth ball point pen to draw a centerline along the
trailing edge of the Stabilizer and Fin. Lay the Fin and Stabilizer on
the plan and mark the hinge locations. Place the Rudder against
the Fin TE and transfer the marks onto the Fin. Place the Elevator
against the Stabilizer and transfer the marks onto the Stabilizer.
❍
2. Cut the hinge slots on the accurate centerlines which you
previously drew, using a hobby knife or a slotting fork and slotting
hook. (The recommended hinge slotting technique is listed below).
12

