26
❏
4. Mount the cockpit hatch to the fuselage with a rubber
band around the hooks, or cut the covering from the screw
holes in the fuselage sides for the hatch screws and mount
the cockpit with two M3 x 14 Phillips screws and washers.
❏
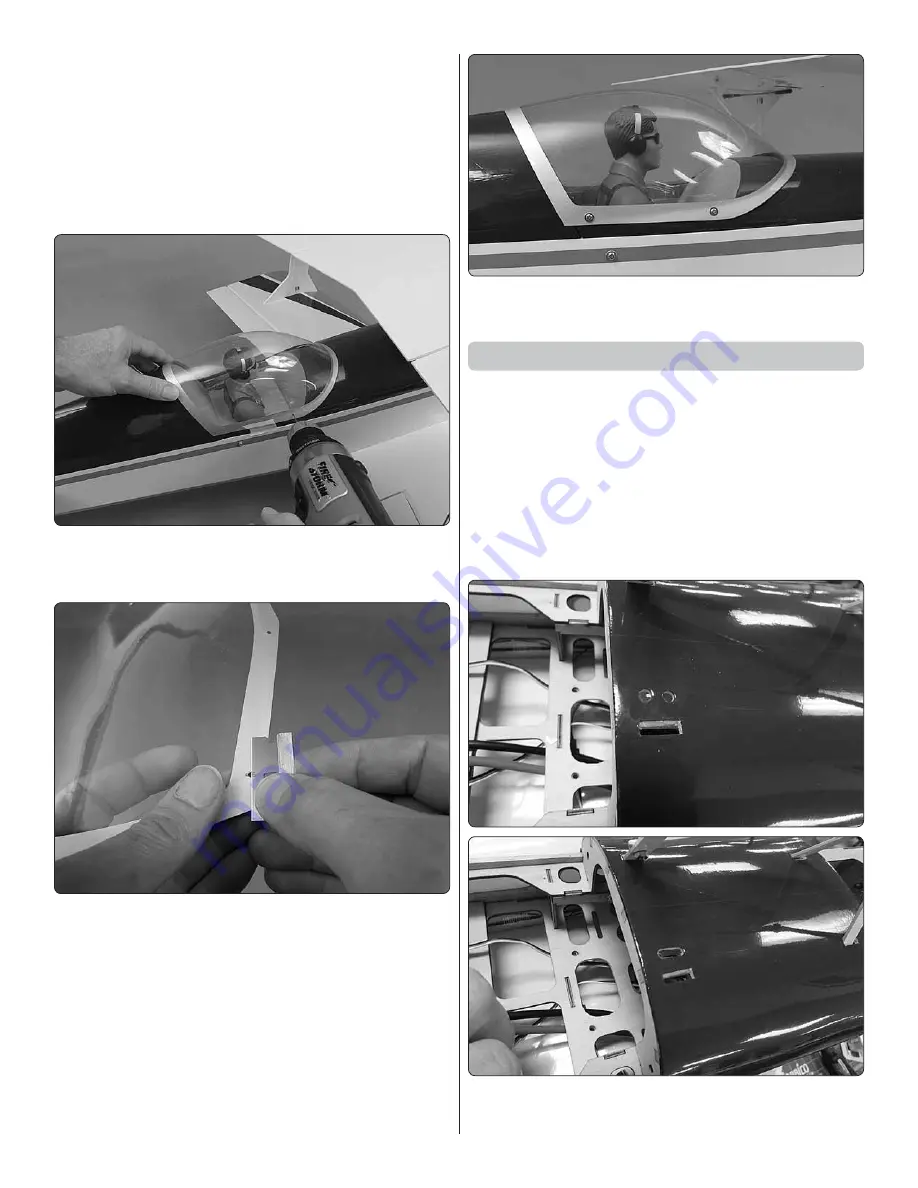
5. Tape the canopy to the cockpit making sure it is centered
all the way around—pay particular attention to the back of
the canopy where it covers the gap between the turtledeck
and the former at the back of the hatch to make sure that
gap is covered.
❏
6. Drill 1/16" [1.6mm] holes through the canopy into
the hatch over the four hardwood screw doublers inside
the cockpit.
❏
7. Carefully remove the tape and take off the canopy.
Enlarge the holes in the canopy with a 3/32" [2.4mm] drill. Trim
any fl ashing from the inside of the canopy around the holes.
❏
8. If the canopy needs cleaning, wash in warm, soapy
water, then dry.
❏
9. Fasten the canopy with four M2.6 x 8 washer-head
Phillips wood screws.
Mount the Wings
NOTE:
Whenever removing the wings in the future, the
bottom wing cannot be easily removed without fi rst removing
the top wing with the outer wing struts attached to it, so
whenever the wings require removal, undo the aluminum
thumb nuts holding the bottom of the struts to the bottom
wing, then remove the top wing fi rst taking the struts with it.
❏
1. If you’ve installed servos in the top wing, review the
wing mounting procedure and look at the images to think
about how you will route the aileron servo wire(s) from the
top wing into the fuselage and to the receiver.
❏
2. It will be easier to cut the hole in the top of the fuselage
for the aileron wire now, before the cabanes are in position.


