16
❏
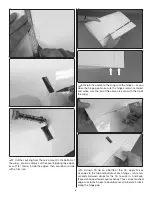
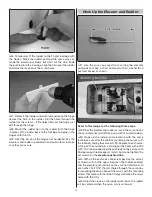
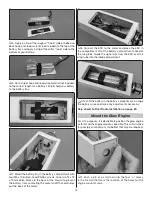
5. Apply a strip of the rougher, “hook” side of adhesive-
back hook-and-loop material (not included) to the top of the
battery tray and apply a strip of the softer, “loop” side to the
bottom of your battery.
❏
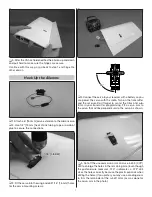
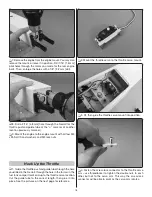
6. Cut a strip of hook-and-loop strap material (not included)
to the correct length for a battery strap to hold your battery
to the battery tray.
❏
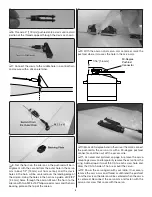
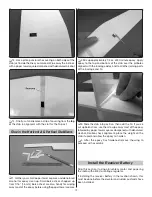
7. Mount the battery tray in the battery compartment with
four M3 x 10 button-head Phillips screws. Glue two 12 x 12
x 12 mm balsa blocks to the back of the fi rewall to prevent
the battery from contacting the motor shaft that protrudes
out the back of the motor.
❏
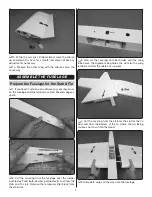
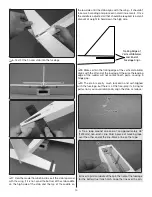
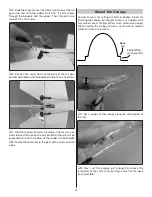
8. Connect the ESC to the motor and place the ESC in
the compartment aft of the battery compartment ahead of
the wing tube. Guide the signal wire from the ESC over the
wing tube into the radio compartment.
❏
9. Test-fi t the battery in the battery compartment. Arrange
the battery wires and make any adjustments necessary.
Skip ahead to Final Radio Installation on page 20.
Mount the Glow Engine
For C.G. purposes, it is desirable to position the glow engine
as far aft on the engine mount as possible. This will minimize
(or possibly eliminate) any tail ballast that may be required.
❏
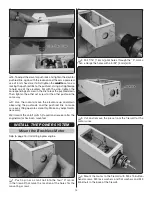
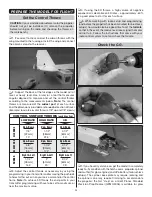
1. Push a pin or a small nail into the four “
+
” marks
in the fi rewall that mark the location of the holes for the
engine mount screws.

