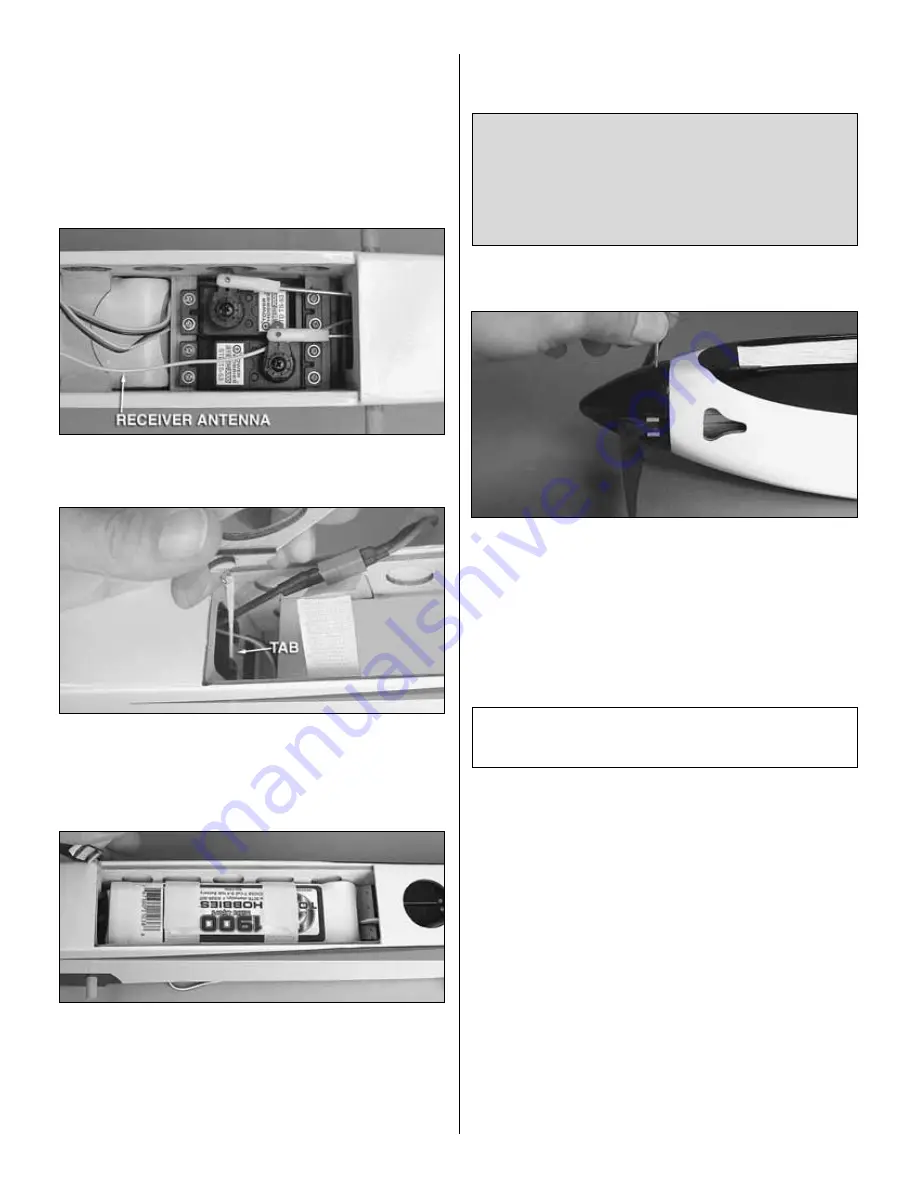
hold it in place by cutting the 1/8" x 3/8" x 8" [3 x 9.5 x 200mm]
balsa stick to the correct length and gluing to the fuselage
sides across the receiver to hold it in place. Note: For future
reference, in most types of models mounting a receiver with
Velcro alone typically is not secure enough and may not
provide enough protection from potentially damaging engine
vibration. However, for a moderate-performance, 2-meter
motor glider such as this, mounting the receiver with Velcro
is acceptable.
❍
4. After mounting the receiver, use hemostats or small
needle-nose pliers to guide the antenna down and out the
antenna tube in the fuselage.
❍
5. Use the leftover pushrod wire hook you made before to
loop the small rubber band around the hole and back
around the tab in the former at the forward wing dowel.
Connect the rubber bands to the hook on the inside of the
battery hatch.
❍
6. Tuck the wires and battery connectors into the
compartment where the ESC is. Then, use the Velcro strips
to mount the battery to the battery tray in the fuselage. Do
not connect the motor battery until instructed to do so
when setting up the radio system later.
❍
7. Fit the battery hatch into position.
GET THE MODEL READY TO FLY
Check the ESC
❍
1. Until the radio system has been properly set up and
you are familiar with the operation of your motor and ESC,
the propeller should be removed from the model to prevent
injury if the motor is inadvertently powered up and the
propeller turns. Use the small hex wrench included with this
model to loosen the set screw inside the propeller spinner
and take off the propeller.
❍
2. Set the reversing function for the throttle control in your
transmitter to reverse.
❍
3. Center the trims on the transmitter and lower the
throttle stick all the way.
❍
4. Swing the radio hatch to the side so you can see the ESC.
❍
5. Take the servo arms off of the servos. With the propeller
off the motor, connect the battery to the ESC (the battery does
not have to be inside the model–you may just set it to the side).
Turn on the transmitter, then the receiver switch located on the
side of the fuselage.
The following steps will require charged batteries. If you
haven’t yet done so, charge the motor battery and the
batteries in your transmitter.
ATTENTION!!!
Great care must always be used when working on
electric-powered models. Unlike glow engines, electric
motors can turn on unexpectedly if you aren’t paying
attention and inadvertently activate the throttle. Follow
these instructions to operate the motor correctly and be
certain it is properly set up.
11


