2
UNPACK THE STOVE
Carefully cut the straps and lift the box up over the top of the stove. Remove the packing
from round the outside of the stove,
leaving the plastic cover on if building work is still
in progress, it is important to protect the paint finish from any damage, water, dust or
fire
cement
. Using a 17mm spanner, remove the two bolts attaching the stove to the pallet,
and then replace the bolts into the stove legs, these are used as levelling bolts if required.
Open the stove door and remove the grey packaging from inside the stove, there is some
behind the baffle, and the heavy one inside the stove contains the spigot and blank for the
flue outlets. Remove the bag inside the ashpan, this contains the operating tool,
instructions, and a pair of stove gloves.
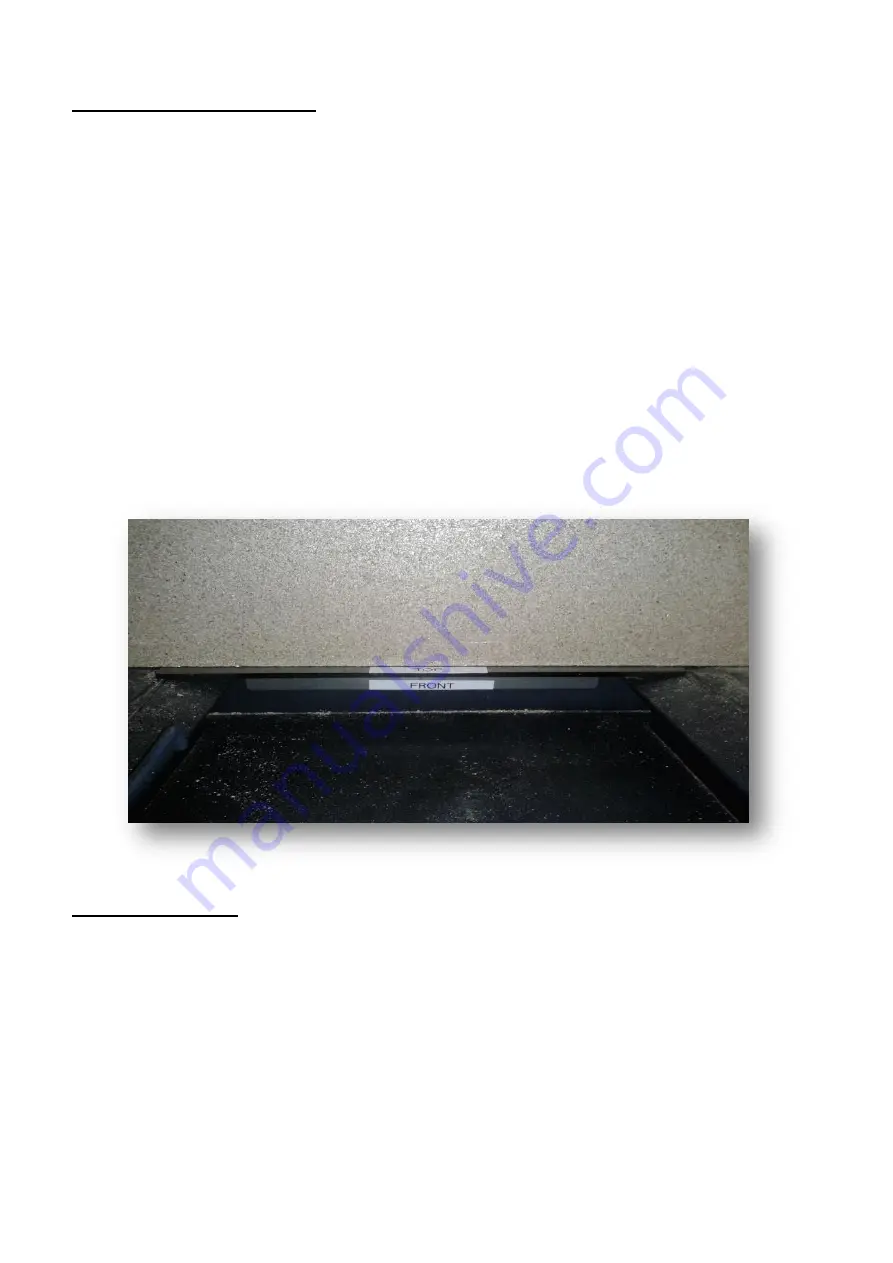
The Little Thurlow is supplied with a rear brick support – this is assembled in the stove
during production. Occasionally it can slip forward into the ashpan during delivery/
installation. The picture below shows the correct positioning of the rear brick support if it
needs re locating.
CLEARANCES
The Little Thurlow needs to be sited next to and on a non-combustible surface. A minimum
clearance of 150mm at the sides, 300mm above and 50mm from the back of the stove body
will allow air circulation and not impede the performance of the stove. If it is necessary to
site the stove near a combustible surface a minimum of 350mm at the back, and 450mm at
the sides must be maintained. It is recommended that this appliance is installed on a solid,
level, non-combustible hearth conforming to current Building Regulations


