4
Town Food Service Equipment Company, Inc.
718/388-5650 outside New York State 800/221-5032
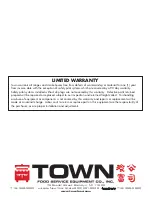
figure 2
pilot valve
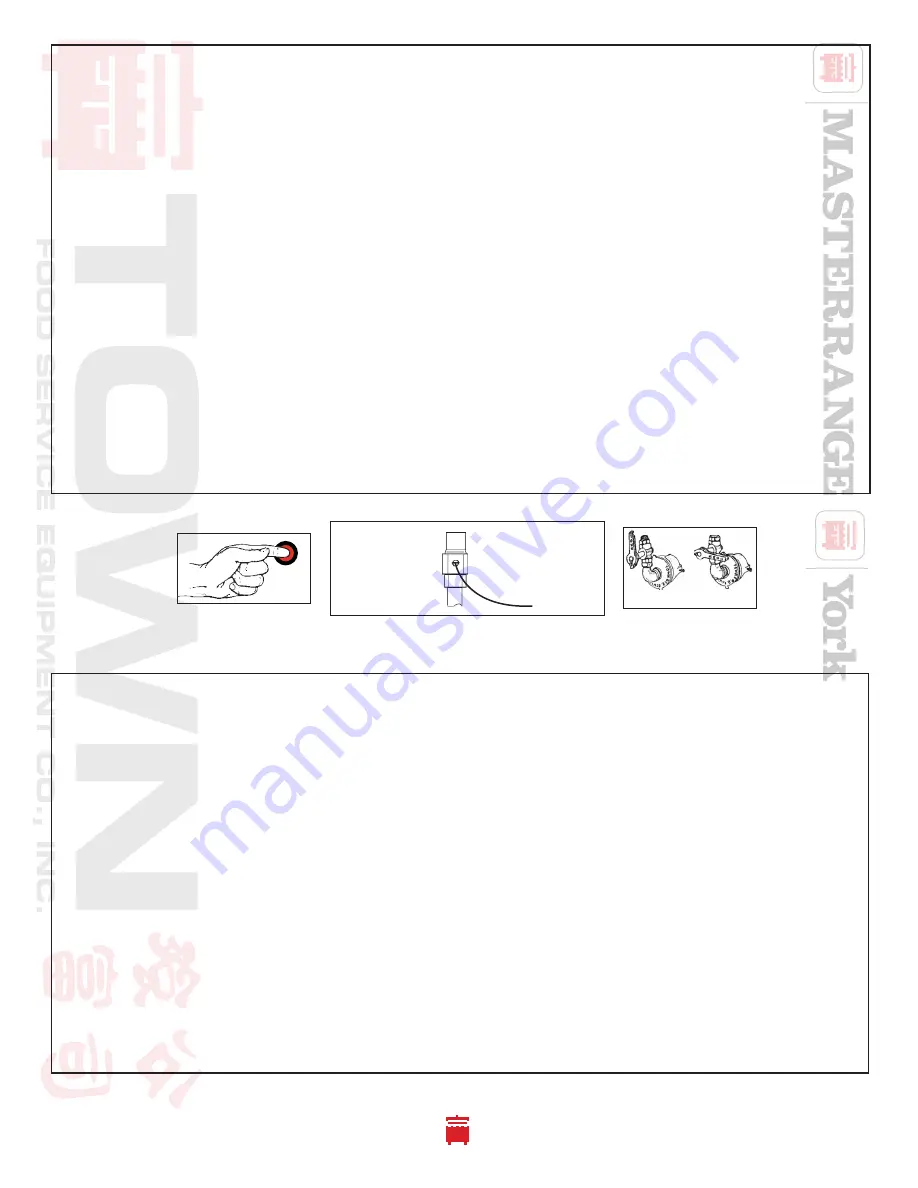
figure 1
safety pilot button
put lit match to pilot
burner, depress and
hold red button
uNITS WITH SaFETY ValVES
lIGHTING aNd SHuT dOWN INSTRuCTIONS
Always follow these lighting and shutdown instructions when operating your unit.
A 5 minute complete shutoff period is required before lighting or relighting pilot. See diagrams above.
1)
Check that all gas valves on the unit are turned
off
(lever handles in horizontal position) before turning
on
main gas line. Check for leaks using soapy water or other suitable leak detector.
DO NOT USE OPEN FLAME FOR TESTING
2)
Main burner valve should be in
off
position (figure 3). Place a burning match by the pilot burner in the
combustion chamber of the range. Depress red safety pilot button on (figure 1) and light pilot.
3)
The pilot should light. Continue to hold the button for 1 minute or until the pilot stays lit.
TEMPORaRY aNd ExTENdEd SHuTdOWN
For temporary shut down turn all burner valves to
off
position.
For an extended period of time, turn all burner valves
off
and also turn off gas supply to the range.
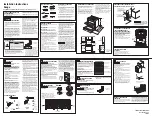
ON position
turn clockwise
until screw
cannot be turned
OFF position
turn counter-clockwise
pilot screw
OFF position
ON position
uNITS WITHOuT SaFETY ValVES
lIGHTING aNd SHuT dOWN INSTRuCTIONS
Be sure that all piping is gas tight and that all air is purged from lines. With main burner valve in
off
position
(figure 3), using a screw driver turn pilot screw counter clockwise to
on
(figure 2) and light pilot located in the
combustion chamber. Make sure the pilot stays lit.
All units are equipped with fixed orifices which cannot be adjusted for gas flow. Only ring burners have
adjustable air mixers to adjust the air/gas mixture.
Turn right hand burner valve to full
on
position (figure 3) and adjust air shutter until proper blue flame is
burning on both inner rings. Repeat operation for left hand valve only if your range is equipped with 3
ring burners.
SHuTdOWN
Turn burner valves to
off
position (figure 3) and turn the pilot screw clockwise (figure 2) until it cannot be
turned further. Repeat this step for each chamber.
INSTallaTION aREa MuST BE FREE aNd ClEaR FROM COMBuSTIBlES
LOCAL SAFETY CODES SHOULD BE COMPLIED WITH IN RESPECT TO FIRE AvOIDANCE
air shutter
(ring burners only)
figure 3
main burner valve
4


