CELICA
U
87
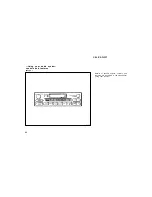
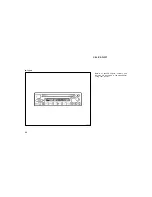
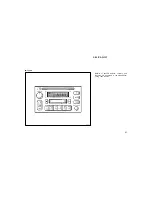
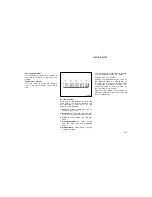
1 2 3 4 5 6 (Preset buttons)
These buttons are used to preset and
tune in radio stations.
To preset a station to a button: Tune in
the desired station (see “TUNE” button).
Push and hold down the button until you
hear a beep
⎯
this will set the station to
the button. The button number will appear
on the display.
To tune in to a preset station: Push the
button for the station you want. The but-
ton number and station frequency will ap-
pear on the display.
These systems can store one AM and two
FM stations for each button (The display
will show “AM”, “FM1” or “FM2” when you
push “AM·FM”).
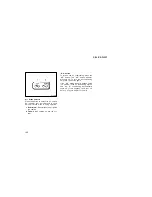
(Eject button)
Push this button to eject a compact disc.
After you turn the ignition to “LOCK”, you
will be able to eject a disc but you will
not be able to reinsert it.
(Reverse/Fast forward buttons)
If you want to fast forward or reverse
through a compact disc track, push and
hold in the fast forward or reverse button.
When you release the button, the compact
disc player will resume playing.
AM F M
Push “AM FM” to switch between the AM
and FM bands. “AM”, “FM1” or “FM2” will
appear on the display. These systems al-
low you to set twelve FM stations, two for
each button.
If the audio system is off, you can turn
on the radio by pushing “AM FM”. Also,
push “AM FM” to switch from compact disc
operation to radio operation.
AUDIO CONTROL / MODE
Manual tone adjustment function—
This knob is used to adjust the tone
manually.
For low
−
pitch tone adjustment, push
“AUDIO CONTROL / MODE” repeatedly
until “BAS” appears on the display. Then
turn the knob to suit your preference.
The display will show the range from
“BAS
−
5” to “BAS 5”.
With middle
−
pitch tone—
For middle
−
pitch tone adjustment, push
“AUDIO CONTROL / MODE” repeatedly
until “MId” appears on the display. Then
turn the knob to suit your preference.
The display will show the range from
“MId
−
5” to “MId 5”.
For high
−
pitch tone adjustment, push
“AUDIO CONTROL / MODE” repeatedly
until “TRE” appears on the display. Then
turn the knob to suit your preference.
The display will show the range from
“TRE
−
5” to “TRE 5”.
Summary of Contents for 1998 Celica
Page 6: ...CELICA U 6...
Page 60: ...CELICA U 60...
Page 76: ...CELICA U 76...
Page 106: ...CELICA U 106...
Page 122: ...CELICA U 122...
Page 152: ...CELICA U 152...
Page 164: ...CELICA U 164...
Page 167: ...CELICA U 167 Fuse locations Spare fuses Canada only...
Page 180: ...CELICA U 180...
Page 190: ...CELICA U 190 Front side marker lights Use a Phillips head screwdriver...
Page 194: ...CELICA U 194 High mounted stoplight liftback...
Page 202: ...CELICA U 202...

