P14805
P14786
10
9
8
7
6
5
4
3
2
1
Z15490
Painted Mark
Front
90
˚
Z14823
Front
Mark
(Cavity)
Front
P14778
Front
Mark
EM--80
--
ENGINE MECHANICAL
CYLINDER BLOCK (2RZ--FE, 3RZ--F)
(b)
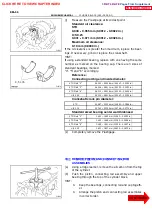
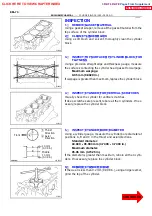
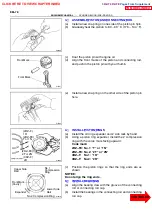
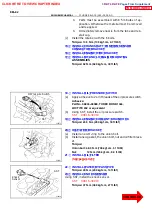
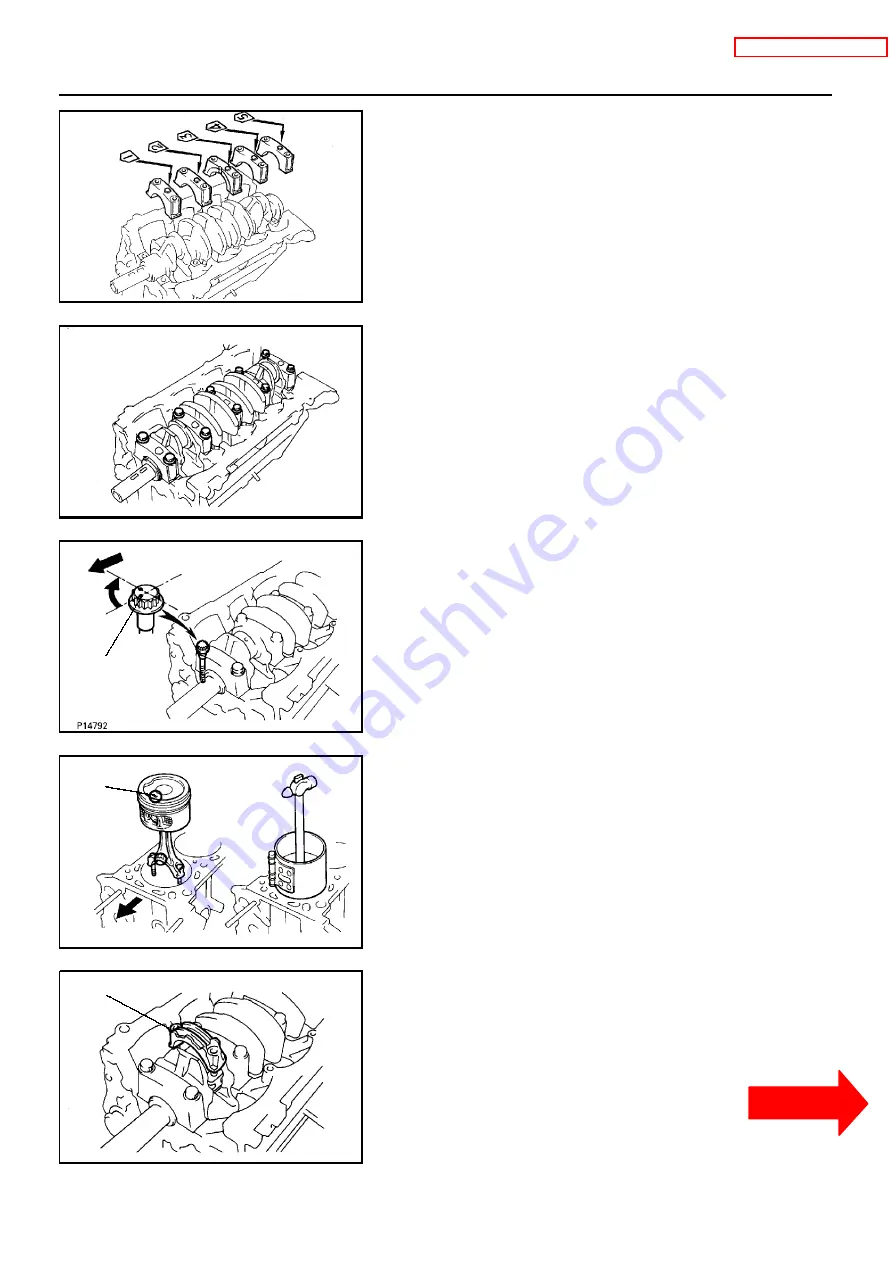
Install the 5 main bearing caps in their proper locations.
HINT:
Each bearing cap has a number and front mark.
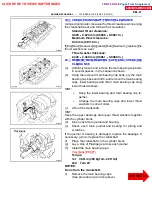
1 0 . I NS TALL MAI N BE ARI NG CAP BO LT S
HINT:
S
The main bearing cap bolts are tightened in 2 progressive
steps (steps (b) and (d)).
S
If any of the main bearing cap bolts is broken or deformed,
replace it.
(a)
Apply a light coat of engine oil on the threads and under
the heads of the main bearing cap bolts.
(b)
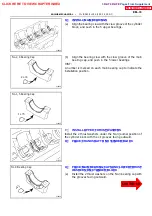
Install and uniformly tighten the 10 bolts of the main bear-
ing caps, in several passes, in the sequence shown.
Torque:
39 N
∙
m (400 kgf
∙
cm, 29 ft
∙
lbf)
If any one of the main bearing cap bolts does not meet the
torque specification, replace the main bearing cap bolt.
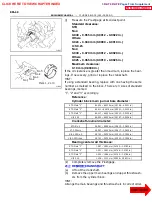
(c)
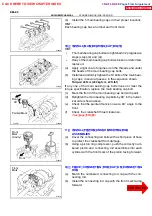
Mark the front of the main bearing cap bolt with paint.
(d)
Retighten the main bearing cap bolts by 90
˚
in the numer-
ical order shown above.
(e)
Check that the painted mark is now at a 90
˚
angle to the
front.
(f)
Check the crankshaft thrust clearance.
11 . I NS TALL P I S TO N AND CO NNE CTI NG RO D
ASSEMBLIES
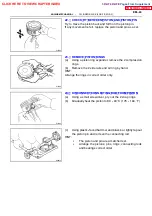
(a)
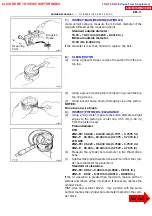
Cover the connecting rod bolts with a short piece of hose
to protect the crankshaft from damage.
(b)
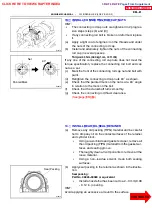
Using a piston ring compressor, push the correctly num-
bered piston and connecting rod assemblies into each
cylinder with the front mark of the piston facing forward.
1 2 . P L ACE CO NNE CTI NG RO D CAP O N CO NNE CTI NG
RO D
(a)
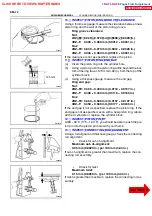
Match the numbered connecting rod cap with the con-
necting rod.
(b)
Install the connecting rod cap with the front mark facing
forward.
CLICK HERE TO VIEW CHAPTER INDEX
Pages From Supplement
3RZ-F,3RZ-FE

