P25590
ST03V--01
P25594
Wear
P25595
SST
A01647
Short
Long
Protrusion
Indentation
(1.0kW)
(1.2kW, 1.4kW)
(1.0kW, 1.2kW, 1.4kW)
(1.0kW)
(1.2kW, 1.4kW, 2.0kW)
(2)
(1)
(3)
(4)
(7)
(8)
(6)
(5)
ST--10
--
STARTING
STARTER
REPLACEMENT
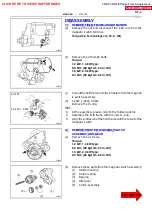
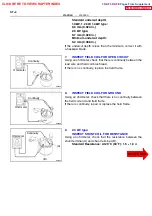
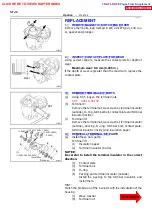
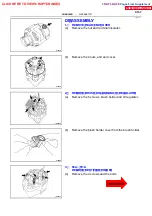
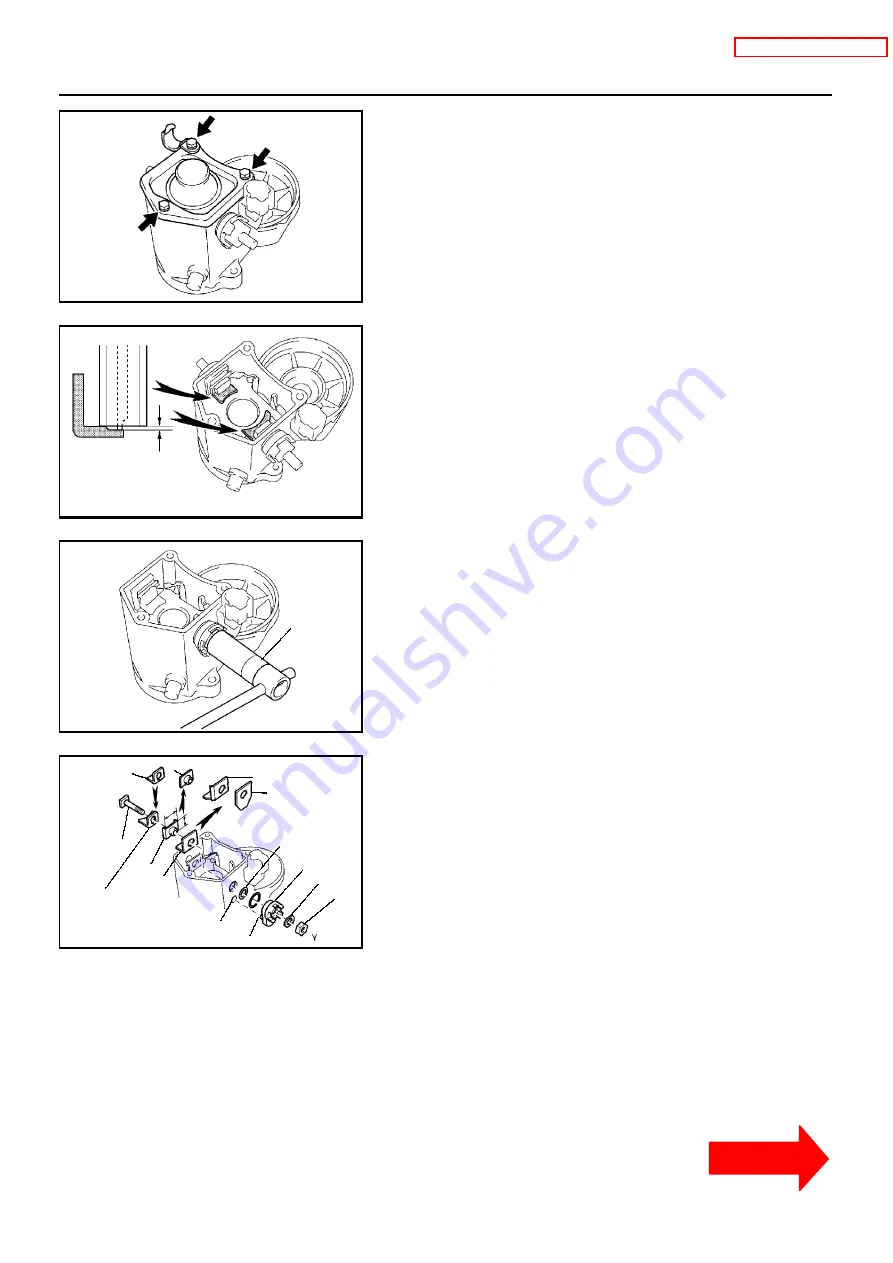
1. REMOVE MAGNETIC SWITCH END COVER
Remove the 3 bolts, lead clamp(1.0 kW, 2.0 kW type:), end cov-
er, gasket and plunger.
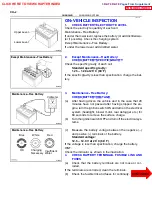
2. INSPECT CONTACT PLATE FOR WEAR
Using vernier calipers, measure the contact plate for depth of
wear.
Maximum wear: 0.9 mm (0.035 in.)
If the depth of wear is greater than the maximum, replace the
contact plate.
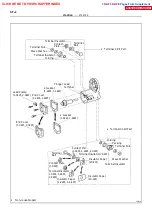
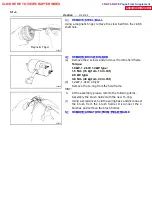
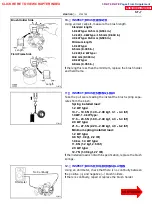
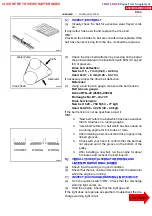
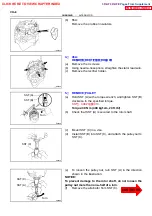
3 . RE MO V E TE RMI NAL KI T PARTS
(a)
Using SST, loosen the terminal nuts.
(b)
Terminal C:
Remove the terminal nut, wave washer, terminal insulator
(outside), O--ring, terminal bolt, contact plate and terminal
insulator (inside).
(c)
Terminal 30:
Remove the terminal nut, wave washer, terminal insulator
(outside), packing, O--ring, terminal bolt, contact plate,
terminal insulator (inside) and insulation paper.
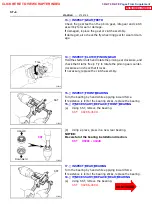
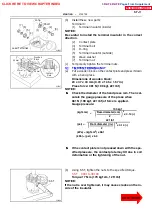
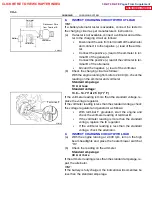
4 . RE I NS TALL T E RMI NAL KI T PARTS
(a)
Install these new parts:
Terminal 30:
(1)
Insulation paper
(2)
Terminal insulator (inside)
NOTICE:
Be careful to install the terminal insulator in the correct
direction.
(3)
Contact plate
(4)
Terminal bolt
(5)
O--ring
(6)
Packing and terminal insulator (outside)
Install the packing to the terminal insulator, and
install them.
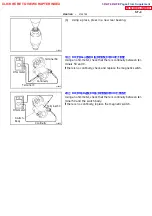
HINT:
Match the protrusion of the insulator with the indentation of the
housing.
(7)
Wave washer
(8)
Terminal nut
Pages From Supplement
3RZ-F,3RZ-FE

