ENGLISH
,
2
SECTION B:
SAFETY TIPS FOR OPERATION
CAUTION:
Heater and vent pipe system must be properly installed before operation.
Please follow instructions under “Installation”, Section I.
1. Children should be supervised to ensure that they do not play with
the appliance.
2. DO NOT move the heater when it is burning or still hot.
DO NOT refill nor service the heater when it is burning or still hot.
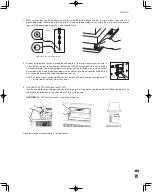
3. Position the front of the heater at a distance of minimum 1.5 m from
walls, curtains, furniture, spray can and gas cylinder. DO NOT store
the fuel tank near the heater.
4. DO NOT use the heater in dusty rooms. You will not have optimum
burning in such rooms. DO NOT use the heater in the immediate
surrounding of a bath, a shower or a swimmingpool.
5. Switch off the heater, before you leave or go sleeping. Unplug the heater as well, when you go away for a
longer period of time (e.g. holidays).
6. Store and move fuel only in suitable tanks and jerrycans.
7. Make sure that the fuel is not exposed to heat or extreme temperature changes. ALWAYS store the fuel in a
cool, dry and dark place (sunlight will affect the quality).
8. NEVER use the heater in places where harmful gasses or fumes may be present (e.g. exhaust gasses or paint
fumes).
9. Be aware that the grid and the top plate become hot. If the appliance is covered there is a risk of fire.
10. ALWAYS make sure that there is sufficient ventilation.
11. This appliance is not intended for use by persons (including children) with reduced physical, sensory or mental
capabilities, or lack of experience and knowledge, unless they have been given supervision or instruction
concerning use of the appliance by a person responsible for their safety.
12. This appliance can be used by children aged from 8 years and above and persons with reduced physical,
sensory or mental capabilities or lack of experience and knowledge if they have been given supervision or
instruction concerning use of the appliance in a safe way and understand the hazards involved.
13. Children shall not play with the appliance.
14. Cleaning and user maintenance shall not be made by children without supervision.
15. DO NOT stay near the heater for a long time.
16. Due to high surface temperatures, keep heater away from children, furniture and clothing while in operation.
17. DO NOT insert the fingers or other objects into the heat chamber or guard.
18. NEVER use any fuel other than Paraffin. NEVER USE GASOLINE. Use of
gasoline can lead to uncontrollable flames, resulting in destructive fire.
19. To prevent abnormal operation and prolong heater life, be sure to perform
routine maintenance. (See Section F)
20. NEVER store or transport fuel in other than a metal or plastic container that is
acceptable for fuel and clearly marked “PARAFFIN”. NEVER store fuel in the
living space. Defective electrical devices and batteries must be kept separate
from household waste. Ensure that there is effective recycling where possible.
Ask your local council or dealer for expert advice on recycling.
SECTION C:
FUEL GUIDE
The heater is designed for use with Paraffin. Use of low-quality fuel will cause burner performance to drop, leading
to abnormal combustion and reduced heater life.
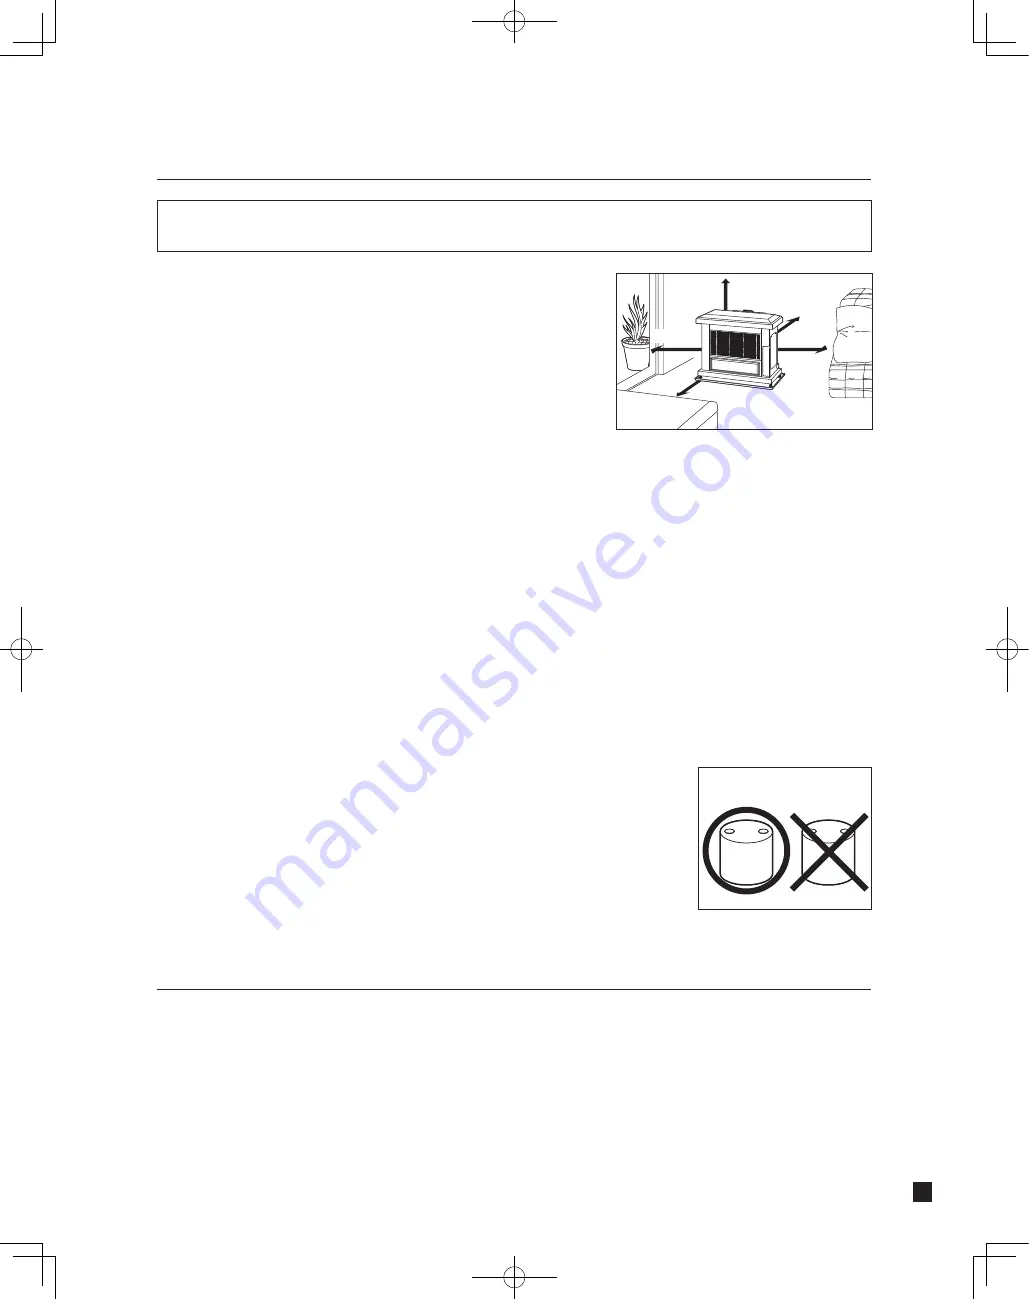
Purchase only Paraffin, in non-red cans reserved exclusively for fuel and marked accordingly with the word
“PARAFFIN”. Always store your fuel in a separate area from where you store gasoline for your power equipment to
avoid accidental use of gasoline in your heater.
What to Buy . . .
ALWAYS: Clean and high-quality Paraffin.
ALWAYS: Fuel free of contaminants, water or cloudiness.
NEVER:
Gasoline, alcohol, white gas, camp stove fuel or additives.
NEVER:
Yellow or sour-smelling fuel.
More than
150 cm
More than
60 cm
More than
30 cm
More than
10 cm
More than
30 cm
RIGHT
PARAFFIN
WRONG
GAS