7
Chapter 2
Set Up Internet Connection
2. 1. Position Your Access Point
• The product should not be located in a place where it will be exposed to moisture or
excessive heat.
• Place the access point in a location where it can be connected to various devices as
well as to a power source.
• Make sure the cables and power cord are safely placed out of the way so they do not
create a tripping hazard.
• The access point can be placed on a shelf or desktop.
• Keep the access point away from devices with strong electromagnetic interference,
such as Bluetooth devices, cordless phones and microwaves.
2. 2. Set Up Your Access Point
There are four operation modes supported by this access point: Access Point, Range
Extender, Client, and Multi-SSID. Please determine which operation mode you need and
complete the corresponding setup.
2. 2. 1. Access Point Mode (Default)
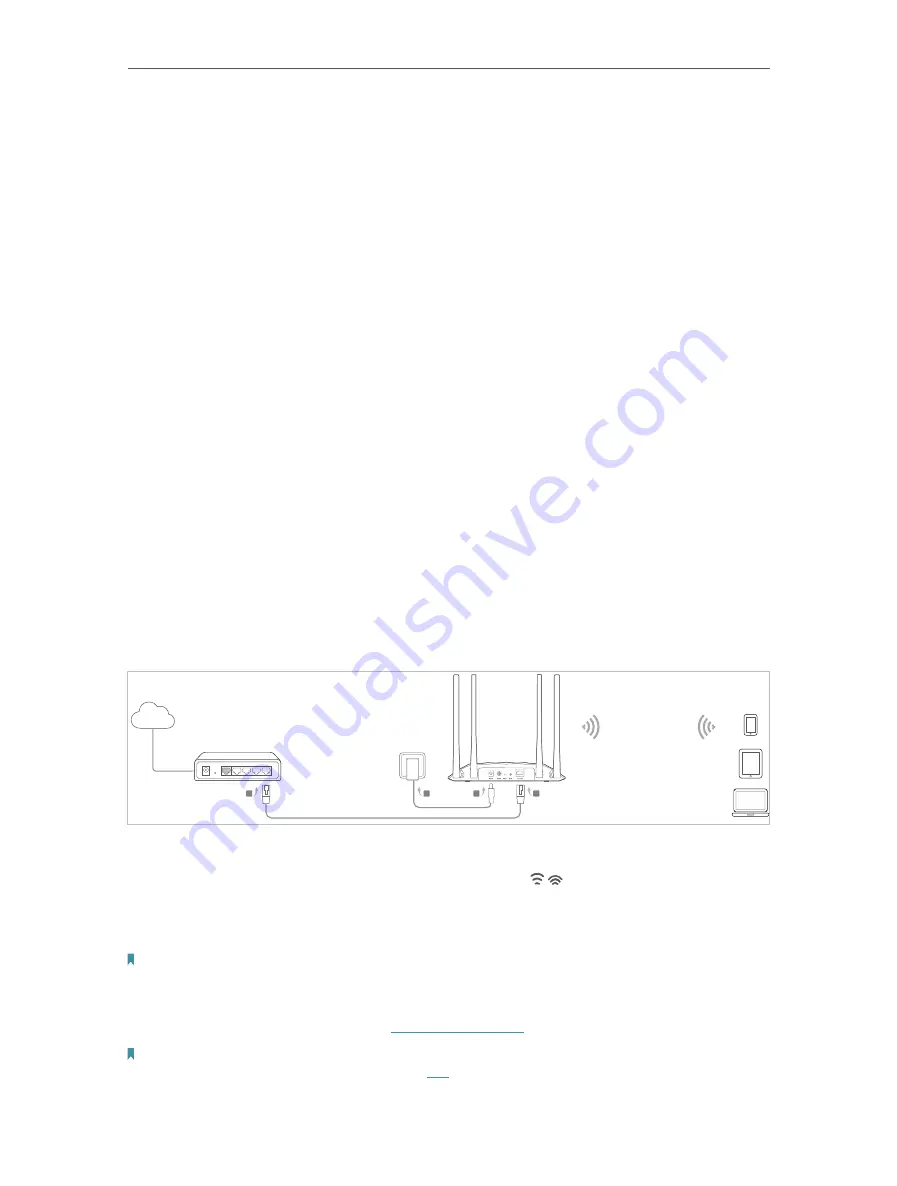
In this mode, the access point transforms your existing wired network to a wireless one.
This mode is suitable for dorm rooms or homes where there’s already a wired router but
you need a wireless network.
Existing Router
Internet
A
B
C
D
TL-WA1201’s SSID
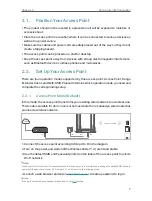
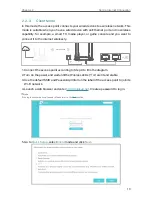
1. Connect the access point according to Step A to D in the diagram.
2. Turn on the power, and wait until the Wireless LEDs ( ) are lit and stable.
3. Use the default SSID and Password printed on the label of the access point to join its
Wi-Fi network.
Note:
You can surf the internet now. For your wireless network security, it is recommended to change the default SSID (network
name) and the password of your Wi-Fi network. To do so, perform the following steps.
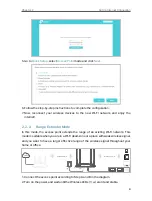
4. Launch a web browser and enter
. Create a password to log in.
Note:
If the login window does not appear, please refer to the
section.


