20
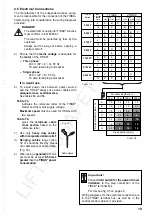
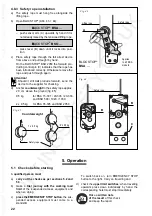
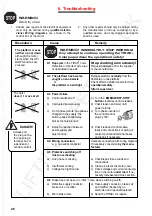
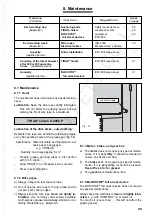
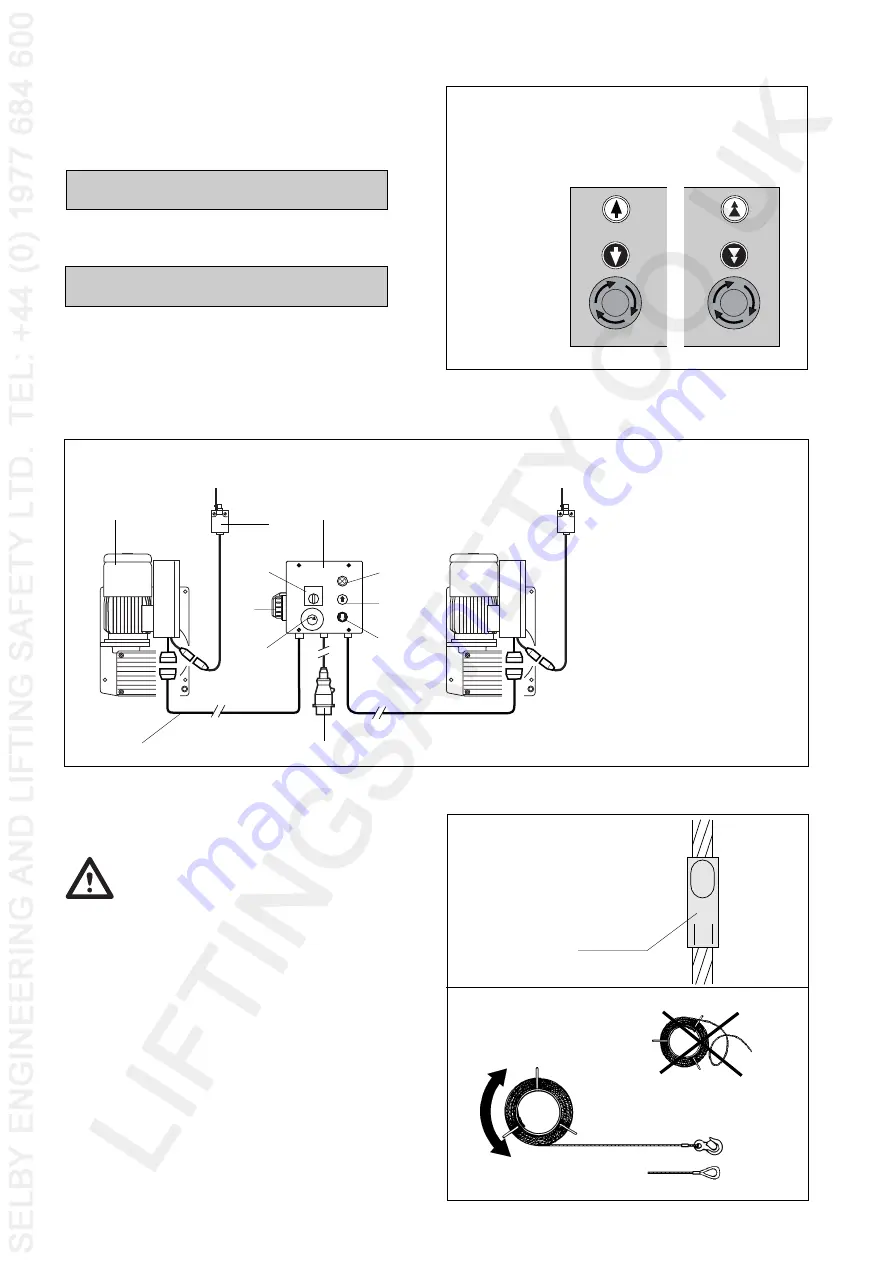
4.7.2 Example of a central control:
1+2
1 2
N O T
A
U S
Fig. 35
1
2
3
d
c
h
e
f
1 TIRAK
®
2 Central control
a UP-Button
b DOWN-Button
c EMERGENCY STOP-Button
d Select-button for single or
common operation
of the hoists
e Control cable to the
hoists
f Power supply cable
g Warning light “overload”
h 230 V connections
for lamps or tools
3 Upper limit switch
a
g
b
4.8
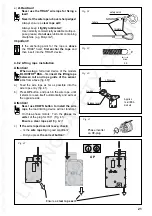
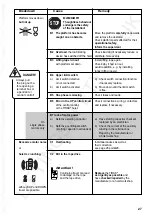
Wire rope installation
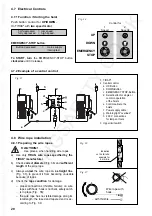
4.8.1 Preparing the wire ropes
CAUTION!
Use gloves, when handling wire ropes.
a)
Use only TIRAK
®
wire ropes specified by the
TIRAK
®
manufacturer.
b)
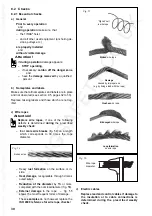
Check correct diameter (Fig. 36) and sufficient
length of the wire rope.
c)
Always unreel the wire rope in a straight line
(Fig. 37), to prevent it from becoming unusable
because of loops.
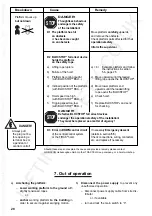
d)
Check the rope condition for damage:
– proper connections (thimble, ferrule); on wire
ropes with hook: hook is not bent, safety catch
is in place (Fig. 38);
– the wire rope has no visible damage along its
total length; the fused and tapered end is ac-
cording to Fig. 39.
Fig. 37
Wire rope with
hook …
… with thimble
Fig. 36
Indication
on the ferrulle:
example for
8 mm dia.
DIN
G
B
8
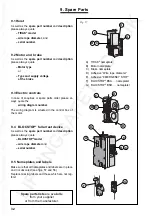
Fig. 34
Control for
1
2
Speed
Speeds
UP
DOWN
EMERGENCY
STOP
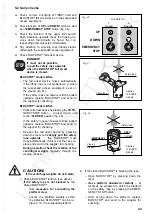
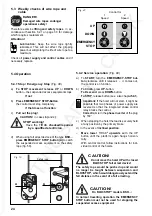
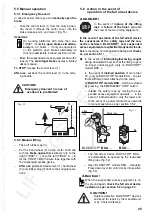
4.7 Electrical Controls
4.7.1 Function / Starting the hoist
Push button control for UP/DOWN.
On TIRAK
®
with two speed motor:
half depressed
= low speed
fully depressed
= high speed.
EMERGENCY-STOP button:
Button depressed
=
mains supply
interrupted.
To START, turn the EMERGENCY-STOP button
clockwise until it releases.


