www.TrailFX.com
Page
2
of
11
Rev 062816
2b.
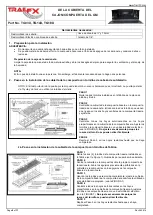
Tailgate Cover Installation Steps with Factory Screws
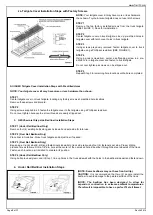
All ISUZU Tailgate Cover Installation Steps with Predrilled Holes
NOTE: Your tailgate cover kit may have more or less hardware than shown.
STEP 1
Center tailgate cover on truck tailgate, locating any factory screws at predrilled hole locations.
Remove these screws and discard.
STEP 2
Using screws supplied in kit, fasten the tailgate cover to the tailgate using a Phillips screwdriver.
Do not over tighten because the screw threads are easily stripped out.
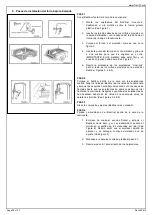
3. GM/Chevrolet Step side Bed liner Installation Steps
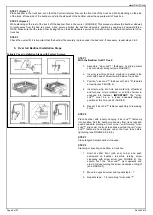
STEP 1 (Under Rail Bed liner Only)
Remove four (4) existing bolts along each sidewall and set aside for later use.
STEP 2 (Over Rail Bedliner Only)
Place liner in truck box. Close truck tailgate and adjust liner if needed.
STEP 3 (Over Rail Bedliner Only)
Beginning at truck cab end, drill and fasten liner sidewalls to truck side rails using four (4) fasteners per side. Proper drilling
procedure is as follows: Drill a 1/8" dia. hole at the center of the oversized hole in bedliner through the steel sidewall of the truck.
Fasten each location as it is drilled to maintain its position.
STEP 4 (Under Rail Bedliner Only)
Using bolts previously removed in Step 1, line up holes in the truck sidewall with the holes in the bedliner sidewall and fasten down.
4. Under Rail Bedliner Installation Steps
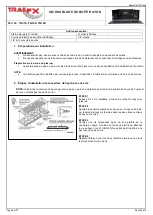
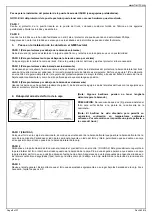
NOTE:
Your tailgate cover kit may have more or less hardware
than shown. Toyota & Isuzu tailgate does not use latch screws.
STEP 1
Remove the two factory installed screws from the truck tailgate
(SEE FIGURE 1). Save for reinstallation.
STEP 2
Center tailgate cover on truck tailgate. Line up pre-drilled holes in
tailgate cover with latch cover holes in truck tailgate.
STEP 3
Using screws previously removed, fasten tailgate cover to truck
tailgate using a Phillips screwdriver (SEE FIGURE 1).
STEP 4
Using a power screwdriver, center a self-tapping screw in a pre-
drilled hole in tailgate cover and fasten to truck tailgate.
Do not over tighten as screws can be stripped out.
STEP 5
Repeat Step 3 to remaining hole locations until all are completed.
(NOTE: Some bedliners may not have front rail lip.)
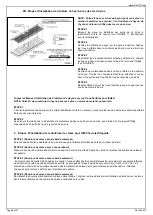
CAUTION:
It is recommended that two (2) people install the
bedliner to avoid damage to the painted surface of the truck
(NOTE: The bedliner has been designed to allow for
expansion/ contraction in extreme ambient temperatures.
Therefore it is impossible to have a perfect fit at all times.)


