119
TRAK Machine Tools
Southwestern Industries, Inc.
ProtoTRAK SMX, K2, K3 & K4 & Retrofit Safety, Installation, Maintenance, Service and Parts List Manual
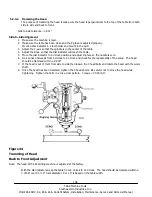
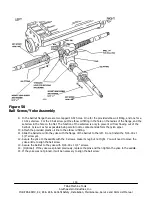
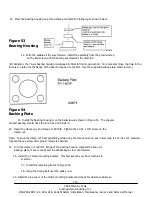
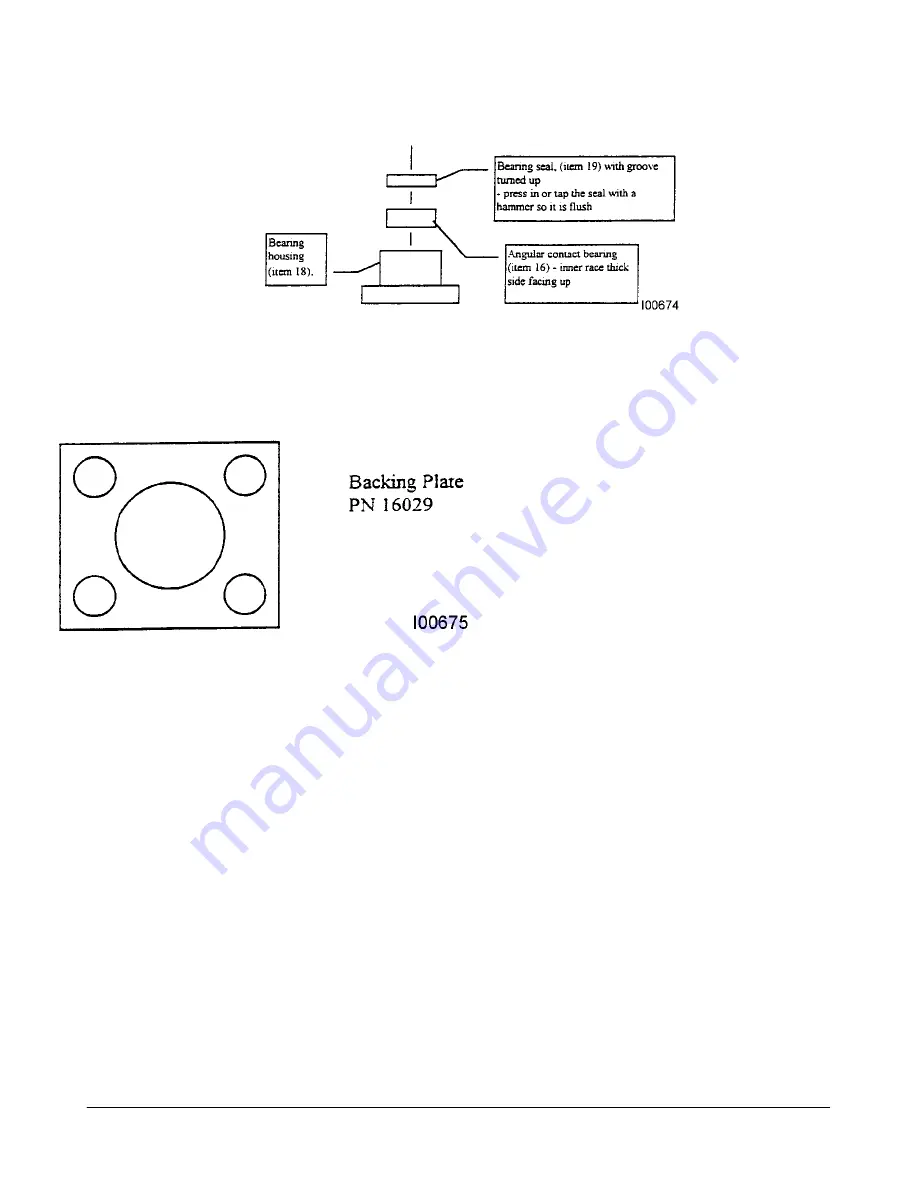
21. Place the bearing housing on a flat surface and install the following as shown below:
Figure 53
Bearing Housing
22. With the saddle all the way forward, install the assembly from the previous step
on the ball screw with the bearing seal towards the machine.
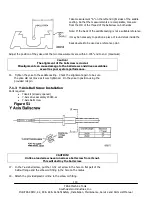
(Kit Variation: the Y-Axis bearing housing is designed to float to find its own center. For some machines, the hole in the
knee is too large for the flange of the bearing housing to contact. Use the supplied backing plate shown below.)
Figure 54
Backing Plate
23.
Install the bearing housing A on the ballscrews as shown in Figure 53. The angular
contact bearing should have the inner race, thin side in.
24. Install the clamp nut and torque to 50 ft/lb. Tighten the 10-32 x 3/4” screw on the
clamp nut.
Note: To keep the clamp nut from expanding while using the torque wrench, put in and snug the 10-32 x 3/4 setscrew.
Tighten the cap screw after proper torque is obtained.
25. Turn the clamp nut until the flange of the bearing housing contacts the knee (or
backing plate, if one is used) and the saddle begins to move forward.
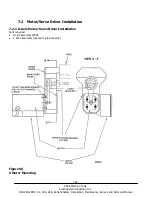
26.
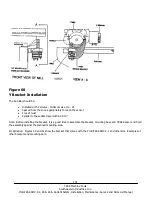
Install the Y motor mounting bracket. This bracket can vary from machine to
machine.
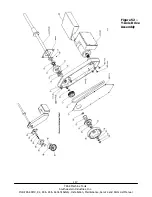
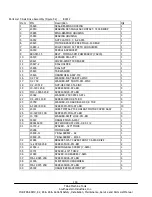
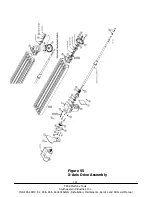
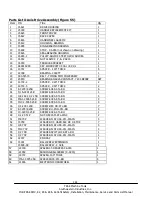
27. Install the remaining items on Figure 52.
28. Hang the timing belt over the pulley now.
29.
Install the top cover of the motor mounting bracket and check for clearance between

