38
TRAK Machine Tools
Southwestern Industries, Inc.
ProtoTRAK SMX, K2, K3 & K4 & Retrofit Safety, Installation, Maintenance, Service and Parts List Manual
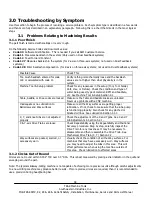
3.0 Troubleshooting by Symptom
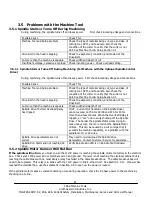
Use this section to begin the process of resolving a service problem. Each symptom type is described in a few words
and then more fully described in an explanatory paragraph. Following this is a chart that directs in the most logical
steps
3.1 Problems Relating to Machining Results
3.1.1 Poor Finish
The part finish is marred with scallops or is very rough.
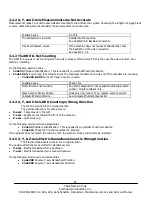
Do the following Service Codes and document values:
Code 33
Software Identification. This is needed if you call SWI Customer Service.
Code 11
Measures backlash in the system (Only used on Dual Feedback systems)
Code 12
Feed Forward Constant
Code 127
Measures backlash in the system (for Z-axis on three-axis systems; not used on Dual Feedback
systems,)
Code 128
Enter backlash compensation (for Z-axis on three-axis systems; not used on Dual Feedback systems)
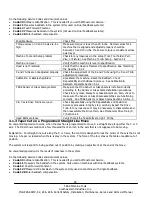
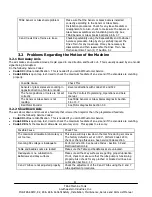
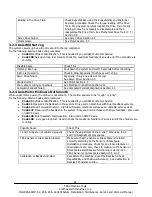
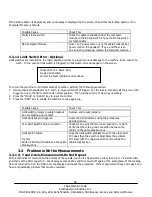
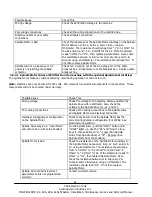
Possible Cause
Check This
Too much backlash entered for code
128 or calculated with code 11.
Verify nothing is mechanically loose and the backlash
values are not higher than what physically is in the
system.
Machine Tool & Setup problem
Check for any looseness in the setup (Tool, Tool holder,
Part, Vise, or Fixture). Check the condition and type of
cutter being used, type of material, RPM and Feedrate,
etc. See Machine Tool & Setup Section 4.1
Table, Saddle, or Knee Locks are locked Make sure the Table and Saddle Locks are unlocked.
Never use gib locks with a CNC machine.
Inadequate or no Lubrication to
Ballscrews and Way surfaces
Make sure all the Way surfaces are getting proper
lubrication. If not, check to make sure that the lube pump
is functioning properly. Also check for any pinched or
blocked oil lines. See Lubrication Section 4.1.3
X, Y, and knee Gibs are not adjusted
properly
Check the adjustment of the X and Y gibs. See X and Y
Gib Adjustments in Section 5.2.1.
X & Y-axis Drive Trains are loose
Check Repeatability using the Repeatability and Positional
Accuracy procedure. Step by step, carefully inspect the
Drive Train for any looseness. It may be necessary to
disassemble and then reassemble the Drive Train. See
Mechanical Drive Train (X, Y) Section 4.2
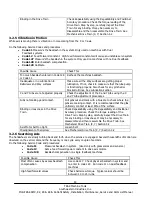
Way surfaces are pocked, scarred, or
excessively worn
Visually check the condition of all the Way surfaces. For
machines that may have excessively worn Way surfaces
you may need to adjust the Gibs in this area. This will
affect performance when using the machine outside of
this area. Check lubrication to affected areas.
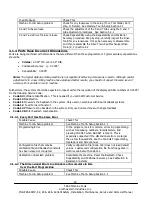
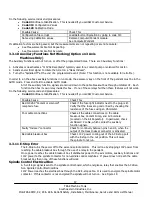
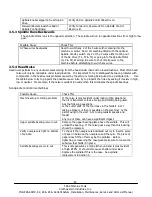
3.1.2
Circles Out of Round
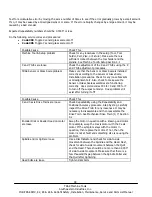
Circles are not round within 0.002” TIR over 3.0” DIA. This is best measured by placing a dial indicator in the quill and
sweeping around the part.
Note: The typical slideway-milling machine is not capable of achieving more precise results although careful adjustments
to a new milling machine may produce better results. If more precise circles are required, then it is recommended to
use a precision boring head/boring bar.

