CLCH-SVX06A-EN •
T-Series Climate Changer Air Handler IOM
29
Installation-Mechanical
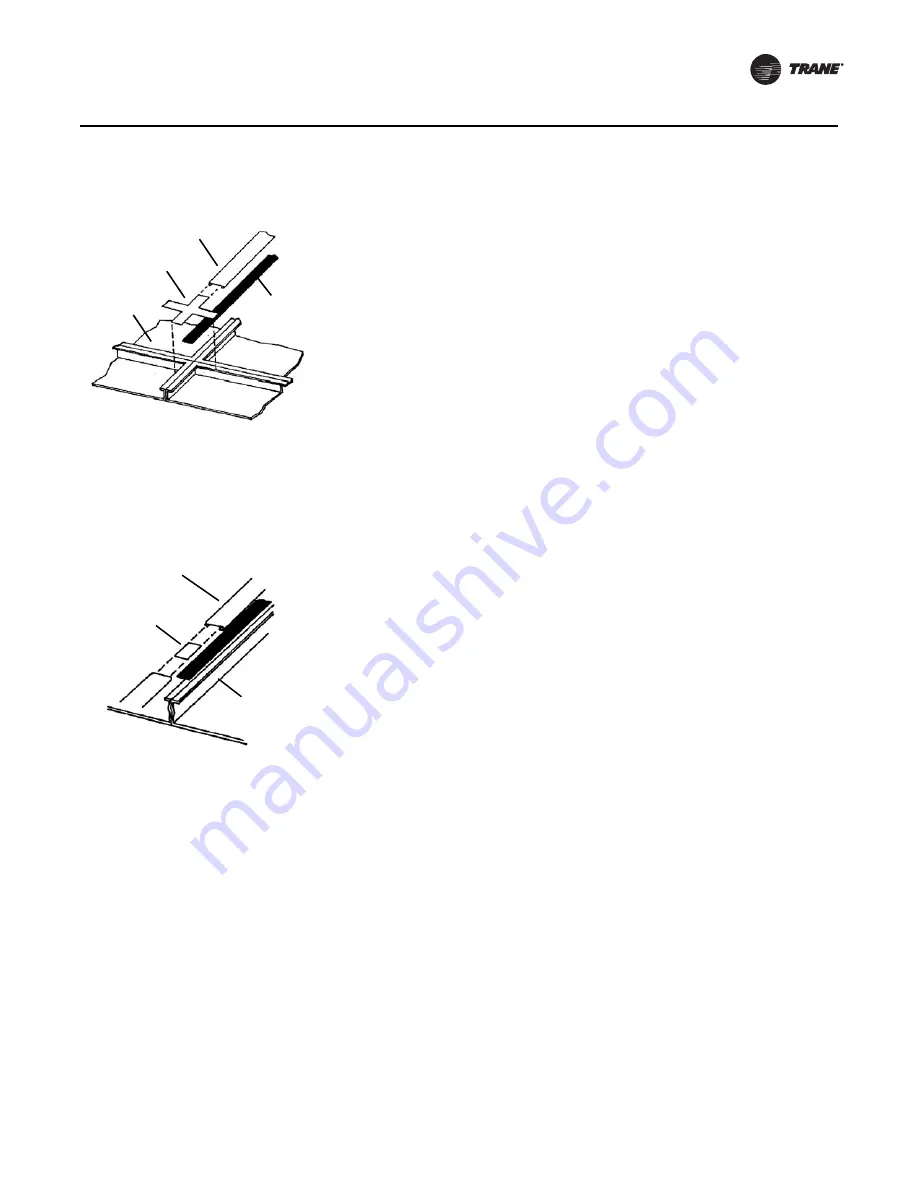
Figure 11. Roof assembly joints (unit size 40 to 100)
1.
See drawing MS2998-3686-0200 in the hardware package.
2. Apply butyl tape along four roof panel seams where they come
together.
3. Join the panels together at the seams and secure them in place with
5/16 X 3/4-inch screws and nuts.
4. Apply a strip of butyl tape along the center of the joint and place the
cross cover directly over it as shown in
Figure 11
.
5. Slide the three roof joint strips (one long and two short) along the flat
flange formed by the joined roof panels in the three directions shown,
allowing 4-inch overhang at the ends.
6. Crimp down the three overhanging ends and secure with #10-16 x
3/4-inch self-drilling screws.
Roof joint strip
Cross cover
Outer roof
panel
Butyl
tape
Figure 12. Roof assembly at section splits (unit sizes 3-35)
1.
See drawing MS2998-3686-0200 in the hardware package.
2. Apply two rows of butyl tape at the roof seams, covering the hole
pattern.
3. Align the roof panels together at the seams and bring the two sections
together. Secure the roof panels in place with 5/16 X 3/4-inch screws
and 5/16-inch nuts.
4. Slide the roof joint strip along the flat flange formed by the joined roof
panels, allowing 4-inch hang on the ends.
5. For unit sizes 3 to 35, when the roof joint strip is in two pieces: Apply
a piece of butyl tape where the strips come together and place a cover
directly over the tape. Then slide the two strips on the roof panels as
shown in
Figure 12
.
6. Crimp down the two overhanging ends and
secure with 10-16 x 3/4-inch
sheet metal screws.
Roof joint strip
(in 2 pieces)
Cover
Outer
roof panel


