CTV-SVX009D-GB
45
11
UNT-PRC002-GB
Sound power levels
Discharge
Measurement conditions:
Measurements taken in a room adjacent to the room containing the FWD, at the outlet of the rectangular duct (1.5 m
long) fixed to its discharge opening.
Fan
Power level in dB(A), per Hz frequency band
Overall power
Unit
speed
125
250
500
1000
2000
4000
8000
dB(A)
1
55
50
42
37
37
31
30
46
FWD 08
2
57
54
47
40
30
38
40
50
3
58
57
50
42
32
40
43
53
1
57
51
45
42
34
33
28
48
FWD 10
2
58
54
48
45
38
39
35
51
3
60
58
50
48
40
42
39
54
1
57
51
45
42
34
33
28
48
FWD 12
2
58
54
48
45
38
39
35
51
3
60
58
50
48
40
42
39
54
1
56
62
50
48
39
38
36
56
FWD 14
2
61
66
55
53
47
46
45
60
3
63
69
58
56
50
50
49
63
1
57
63
51
49
40
39
37
57
FWD 20
2
61
66
55
53
47
46
45
60
3
63
69
58
56
50
50
49
63
Intake
Measurement conditions:
Measurements taken at the horizontal air intake.
Fan
Power level in dB(A), per Hz frequency band
Overall power
Unit
speed
125
250
500
1000
2000
4000
8000
dB(A)
1
56
55
55
53
46
45
42
57
FWD 08
2
63
62
60
60
53
53
53
64
3
66
65
63
62
56
55
57
67
1
62
58
55
58
51
48
44
61
FWD 10
2
66
63
60
62
56
55
52
66
3
70
67
63
65
59
59
57
69
1
62
58
55
58
51
48
44
61
FWD 12
2
66
63
60
62
56
55
52
66
3
70
67
63
65
59
59
57
69
1
66
65
65
65
57
50
46
68
FWD 14
2
73
72
69
71
64
59
57
74
3
78
76
73
75
69
64
63
78
1
68
72
64
64
56
52
50
69
FWD 20
2
76
76
68
71
65
61
61
75
3
78
79
71
74
69
66
66
78
4. Turn power on by closing the unit supply-power fused-
disconnect switch.
5. Read the phase sequence on the indicator. The ABC LED
of the phase indicator will glow.
CAUTION!
Humidity : Do not leave compressor
uncovered
If the compressor is installed in a humid environment, drip
trays may be required to collect condensate. Insulation
should be installed on the suction valve/piping and the end
cap as this is where condensation is most likely to form.
It is recommended to fit an end cap insulator in a humid
environment.
In humid environments, the bell housing of the compressor
should be insulated. A bell housing cover thermal insulator
is available as a compressor accessory.
WARNING! It is imperative that L1, L2, and L3 in the starter
be connected in the A-BC phase sequence to prevent
equipment damage due to reverse rotation.
WARNING!To prevent injury or death due to electrocution,
take extreme care when performing service procedures with
electrical power energized.
CAUTION! Do not interchange any load leads that are from
the unit contactors or the motor terminals. Doing so may
damage the equipment.
Water System Flow Rates
Establish a balanced chilled-water flow through the
evaporator. The flow rates should be between the
minimum and maximum values given on the pressure
drop curves.
Water System Pressure Drop
Measure the water-pressure drop through the evaporator
on the field installed pressure taps on the system water
piping. Use the same gauge for each measurement. Do
not include valves, strainers, or fittings in the pressure
drop readings.
Integrated Pump Package (Optional)
Before starting up the pump, the pipe system must be
thoroughly cleaned, flushed and filled with clean water.
Do not start the pump until it has been vented. To ensure
correct venting, open the vent screw located on the
pump housing on the suction side (see next figure).
CAUTION!
When using freeze inhibitor, never fill the
system with pure glycol; this will damage the shaft seal.
Always fill the system with diluted solution. Maximum
concentration of glycol is 45% for unit with pump
package.
If the chiller is installed in a humid environment or a
location with high air humidity, the bottom drain hole
on the pump motor should be opened. The enclosure
class of the motor is then changed from IP55 to IP44. The
function of the drain holes is to drain off water which has
entered the stator housing with air humidity.
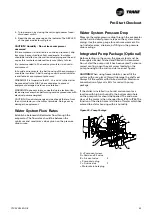
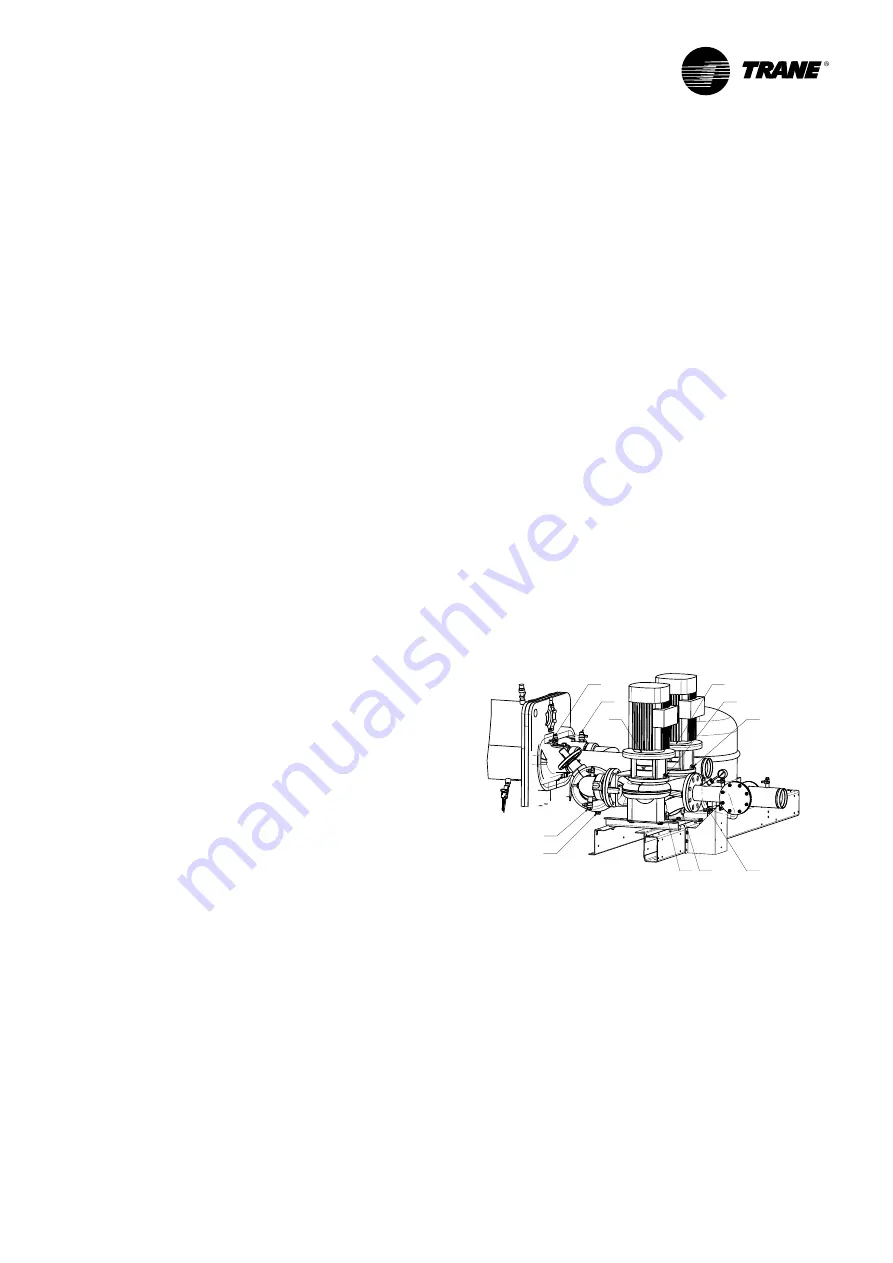
Figure 22
–
Pump Package
A
B
C
C
B
D
E E
F
F
A
A = Pump vent screw
D= Drain and fill valve
B = Air vent valve
E
= Pump drain plug
C = Drain valve
F
= Motor drain hole plug
Pre-Start Checkout

