124
RTAA-IOM-3
1. Turn the Chiller Switch on the UCM
to the STOP/RESET position.
2. Open the electrical disconnect or
circuit protection switch that
provides line power to the line power
terminal block(s) in the starter panel
(or to the unit-mounted disconnect).
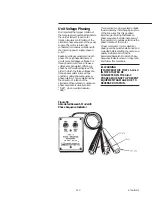
3. Connect the phase sequence
indicator leads to the line power
terminal block, as follows:
Phase Seq. Lead
Terminal
Black (Phase A) .................. L1
Red (Phase B) .................... L2
Yellow (Phase C) ................ L3
4. Turn power on by closing the unit
supply power fused- disconnect
switch.
5. Read the phase sequence on the
indicator. The “ABC” LED on the face
of the phase indicator will glow if
phase is “ABC”.
WARNING: To prevent injury or
death due to electrocution, take
extreme care when performing
service procedures with electrical
power energized.
6. If the “CBA” indicator glows instead,
open the unit main power disconnect
and switch two line leads on the line
power terminal block(s) (or the unit
mounted disconnect). Reclose the
main power disconnect and recheck
the phasing.
Caution: Do not interchange any
load leads that are from the unit
contactors or the motor terminals.
7. Reopen the unit disconnect and
disconnect the phase indicator.
Water System
Flow Rates
Establish a balanced chilled water flow
through the evaporator. The flow rates
should fall between the minimum and
maximum values given in Table 1.
Chilled water flow rates below the
minimum values will result in laminar
flow, which reduces heat transfer and
causes either loss of EXV control or
repeated nuisance, low temperature
cutouts. Flow rates that are too high
can cause tube erosion and damage to
the tube supports and baffles in the
evaporator.
Caution: Once the evaporator and
Domestic Water Heater (optional)
are filled with water, the heat tapes
must be energized to protect the
evaporator from freezing and
bursting if the outdoor air
temperature drops below freezing.
Water System
Pressure Drop
Measure chilled water pressure drop
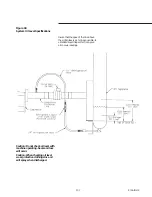
through the evaporator at the field-
installed pressure taps on the system
water piping. See Figure 22. Use the
same gauge for each measurement. Do
not include valves, strainers fittings in
the pressure drop readings.
Measure the water pressure drop
through the Domestic Water Heater at
the field installed vent and drain
connections. See Figure 24. Use the
same gauge for each measurement. Do
not include valves, strainers, fittings in
pressure drop readings.
Pressure drop readings should be
approximately those shown in the
Pressure Drop Charts, Figure 23 for the
evaporator and Figure 25 for the
Domestic Water Heater (optional).
UCM Set-up
Refer to “Menu Function Descriptions
and Selection” for instruction on the
set-up of the UCM.
Summary of Contents for RTAA-130
Page 2: ... American Standard Inc 1991 ...
Page 8: ...8 RTAA IOM 3 ...
Page 24: ...24 RTAA IOM 3 ...
Page 50: ...50 RTAA IOM 3 Figure 30 Refrigerant Circuit Identification ...
Page 52: ...52 RTAA IOM 3 Figure 31 Remote Evaporator Piping Example ...
Page 59: ...59 RTAA IOM 3 Continued from Previous Page See Notes on Next Page ...
Page 63: ...63 RTAA IOM 3 Continued from Previous Page See Notes on Page 61 ...
Page 65: ...65 RTAA IOM 3 Continued from Previous Page See Notes on Page 61 ...
Page 76: ...76 RTAA IOM 3 ...
Page 92: ...92 RTAA IOM 3 Figure 51 Operator Interface Controls ...
Page 120: ...120 RTAA IOM 3 ...
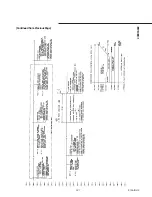
Page 127: ...127 RTAA IOM 3 Continued from Previous Page 2307 1566C ...
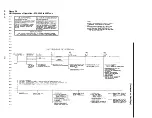
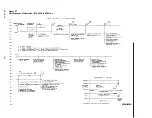
Page 128: ...128 RTAA IOM 3 Figure 57 Unit Sequence of Operation RTAA 130 to 200 Tons 2306 9122A ...
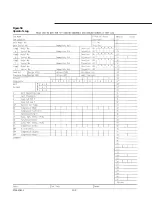
Page 132: ...132 RTAA IOM 3 Figure 58 Operator s Log ...
Page 138: ...138 RTAA IOM 3 ...

