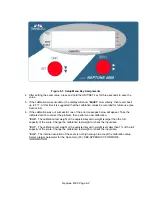
CHAPTER 3: CONFIGURATION
3.1 CONFIGURATION
OVERVIEW
The indicator contains two main setup menus: The Setup (“F”) menu, which configures the indicator
to your weigh platform and the User (“A”) menu, which configures the serial communication port
and enables some user options. The Setup and User menus consist of several menu selections, each with
its own sub-menu of choices.
To set up the indicator, you must first enter the appropriate menu mode. Once there, the front panel keys
become directional navigators to move around in the menus, and one key is used to save or SET the
selections.
3.2
SETUP (“F”) MENU
3.2.1
ENTERING THE SETUP MENU – STAINLESS STEEL ENCLOSURE
1. Power off the indicator.
2. Locate the slide switch on the rear cover and move it to the right.
NOTE:
A metal plate held on by two drilled-head screws may conceal the slide switch.
3. Power on the indicator. The indicator shows ” F 1” to indicate that you are in Setup
Menu mode.
Note 1:
Access to the back cover is inhibited if the indicator has been sealed for commercial
use. For more information, please refer to Chapter 8.
3.2.2 NAVIGATING IN THE SETUP MENU
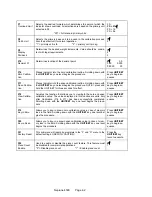
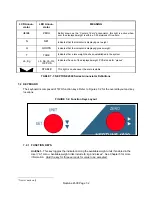
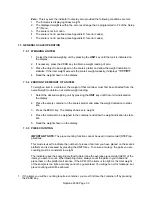
Use the directional keys shown in Figure 3-1 to move around in the Setup Menu Chart
shown in Figure 3-2 on the following page.
1.
To move to a new “F” heading, use the ZERO (left) key to move in the Setup Menu
Chart.
2.
To move to the selection level, press the UNIT/SET (down) key once. The current
saved selection is shown.
3.
To view the available selections for the current “F” heading, use the ZERO (left) key to
move through the selection field.
4.
To save/exit a new selection, press the UNIT/SET key .To exit without saving, press
the UNITS (up) key to return to the current “F” heading.
5.
Repeat Steps 1 through 4 until the Setup Menu is programmed.
Neptune 4500 Page 3-1


