


LED Master 64 manual
15
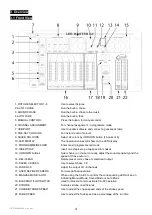
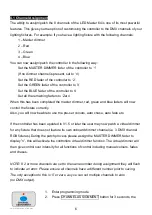
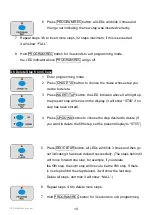
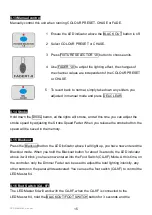
4.13 Manual control
Manually control this unit when running COLOUR PRESET, CHASE or FADE.
1 Ensure the LED indicator above the BLACK OUT button is off.
2 Select COLOUR PRESET or CHASE.
3 Press FIXTURE SELECTOR 1-8 button to choose units.
4 Use FADER 1-8 to adjust the lighting effect, the changes of
the channel values are independent of the COLOUR PRESET
or CHASE.
5 To revert back to normal, simply take down any sliders you
adjusted in manual mode and press DEL/CLEAR.
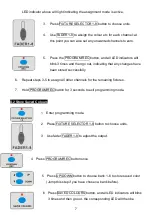
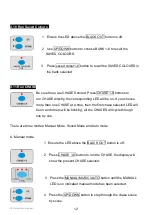
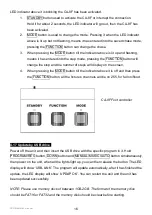
4.14 Strobe
Hold down the Strobe button, all the lights will strobe, and at this time you can adjust the
strobe speed by adjusting the Strobe Speed Fader. When you release the strobe button, the
speed will be saved in the memory.
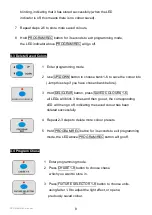
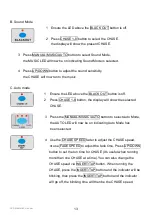
4.15 Blackout
Press the Blackout button, the LED indicator above it will light up, you have now entered the
Blackout mode. When you hold the Blackout button for about 3 seconds, the LED indicator
above it will blink, you have now entered into the Foot Switch (CA-8F) Mode. At this time, on
the controller, only the Dimmer Fader can be used to adjust the total lighting intensity, any
other button on the panel will deactivated. You can use the foot switch (CA-8F) to control the
LED Master 64.
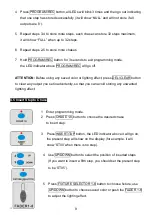
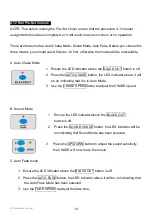
4.16 Foot Switch (CA- 8F)
The LED Master 64 will work with the CA-8F, when the CA-8F is connected to the
LED Master 64, hold the BLACKOUT/FOOT SWITCH button for 3 seconds and the