13
3. Connecting the listening loop
Select how you wish to listen to the sound. Wearers of hearing instruments can listen
via the chair loop supplied or via our neck loop which can be purchased as an accessory.
Listening option B: Neck loop (accessory)
Our neck loop with volume control is an alternative to the chair loop. Sold separately. Fitted as set out in step 1 and
2 above and worn round the neck. Set the hearing instrument to the T or MT position.
Synchronization of sound - the DELAY knob
Unsynchronized sound can be found in certain LCD or PLASMA TV sets. If the
sound is not synchronized with the image (the sound precedes the image) you can
adjust this with the knob marked “DELAY” on the backside of AutoMini. Increase
the delay of the sound by turning the DELAY knob clockwise until you find that the
sound is synchronized with the image. This should only be needed to do once.
�����
����
MI���IN�
��
�
����
Y
1. Turn the volume down to minimum (0) so that the sound level is not too
high at the outset. The DELAY knob should be in OFF mode.
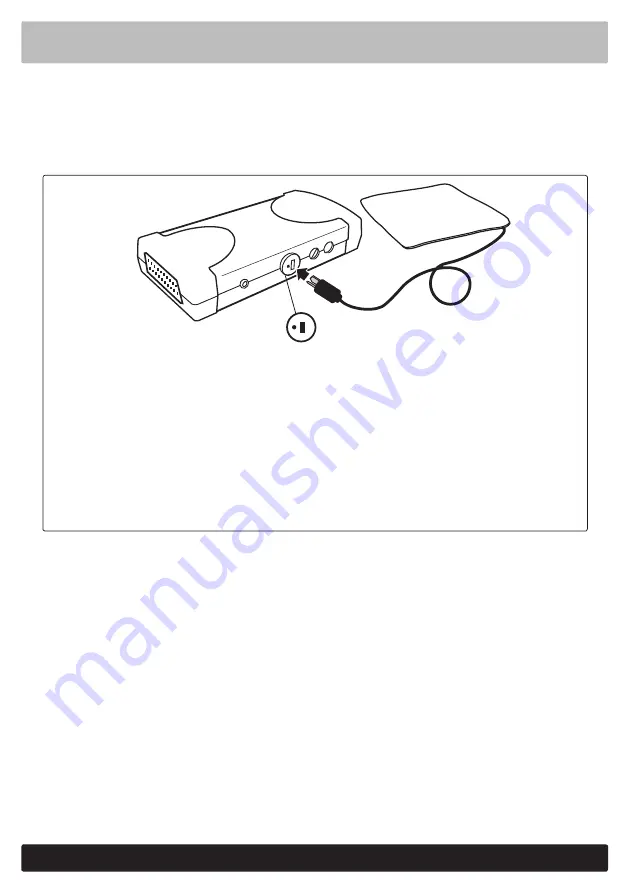
2. Insert the chair loop connector in the amplifier’s LOOP socket. The green
LOOP OK lamp comes on.
3. Place the chair loop on the seat, either below or above the seat cushion.
4. Lay the cord supplied along the wall. Make sure that the cord is positioned so
that you cannot trip up on it.
5. Set the hearing instrument to the T or MT position.
6. Adjust the volume control to a comfortable level and sit on the chair loop
when listening.
Listening option A: Chair loop
ENGLISH


