6
GB
7
GB
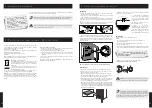
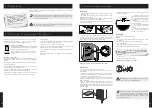
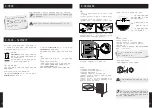
The wine cabinet’s power lead has a plug, to be plugged into a standard earthed outlet to prevent
any risk of electric shock.
Have the power supply socket checked by a qualified electrician who will check that it is
correctly earthed and will carry out, if necessary, work to ensure that the socket
complies with current standards.
If you are moving to a foreign country, check that the supply characteristics of the cabinet
correspond to the country (voltage, frequency).
Spare parts for our appliances are available for 11 years. For further
information, contact your stockist. For France, contact our customer
service department. Contact details at www.eurocave.com
Disposal of packaging
All packaging used by Transtherm is made from recyclable
materials (except the expanded polystyrene high density
base and the lower hinge protector).
After unpacking your cabinet, take the packaging to
a refuse collection point. For the most part, it will be
recycled.
Recycling: a caring gesture
Electrical and electronic equipment can have a harmful effect on the
environment and human health owing to the presence of hazardous
substances.
You should never therefore trash electronic and electrical equipment with
unsorted municipal waste.
When purchasing a new Transtherm product, you can entrust recycling of
your old appliance to your Transtherm retailer.
Speak to your Transtherm retailer. He will explain the removal and
collection arrangements set up in the Transtherm network.
In compliance with legislation relating to protecting and caring for the
environment, your wine cabinet does not contain C.F.C.s or H.C.F.Cs.
To save energy
• Install your wine cabinet in a suitable location (see following page) and
observe the recommended temperature ranges.
• Keep the door open for as short a time as possible.
• Ensure that the door seal is in good working order and that it is not
damaged. If it is, contact your Transtherm retailer.
• We recommend that you fill your wine cabinet to at least 75% of its
total capacity.
Disable any unusable appliances by unplugging them and cutting off the
power lead.
For your personal saf
ety, the wine
cabinet must be cor
rectly earthed.
Ensure that the sock
et is correctl
y
earthed and that y
our installation is
protected by a cir
cuit breaker
(30 mA*)
*Not applicable to some countries.
2 - p
oWer
supply
3 - p
rotecting
the
environment
- e
coDesign
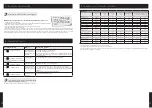
Bottles must be arranged so that they do not come into contact
with the back wall. If this happens, the condensation created on
the wall may trickle onto the shelves and damage the bottle
labels. In addition, contact with the cold wall may create a frost point,
which is harmful to your wine.
4 - i
nstAlling
your
Wine
cABinet
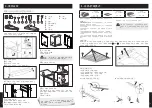
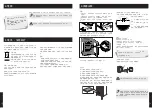
Unpacking
•
When your cabinet is delivered, check the outside for signs of damage
(impact, warping…).
•
Open the door and check that the various elements inside are intact
(walls, hinges, bottle support…).
•
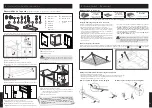
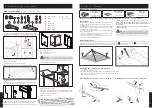
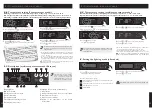
Remove the protective elements found inside and outside your cabinet
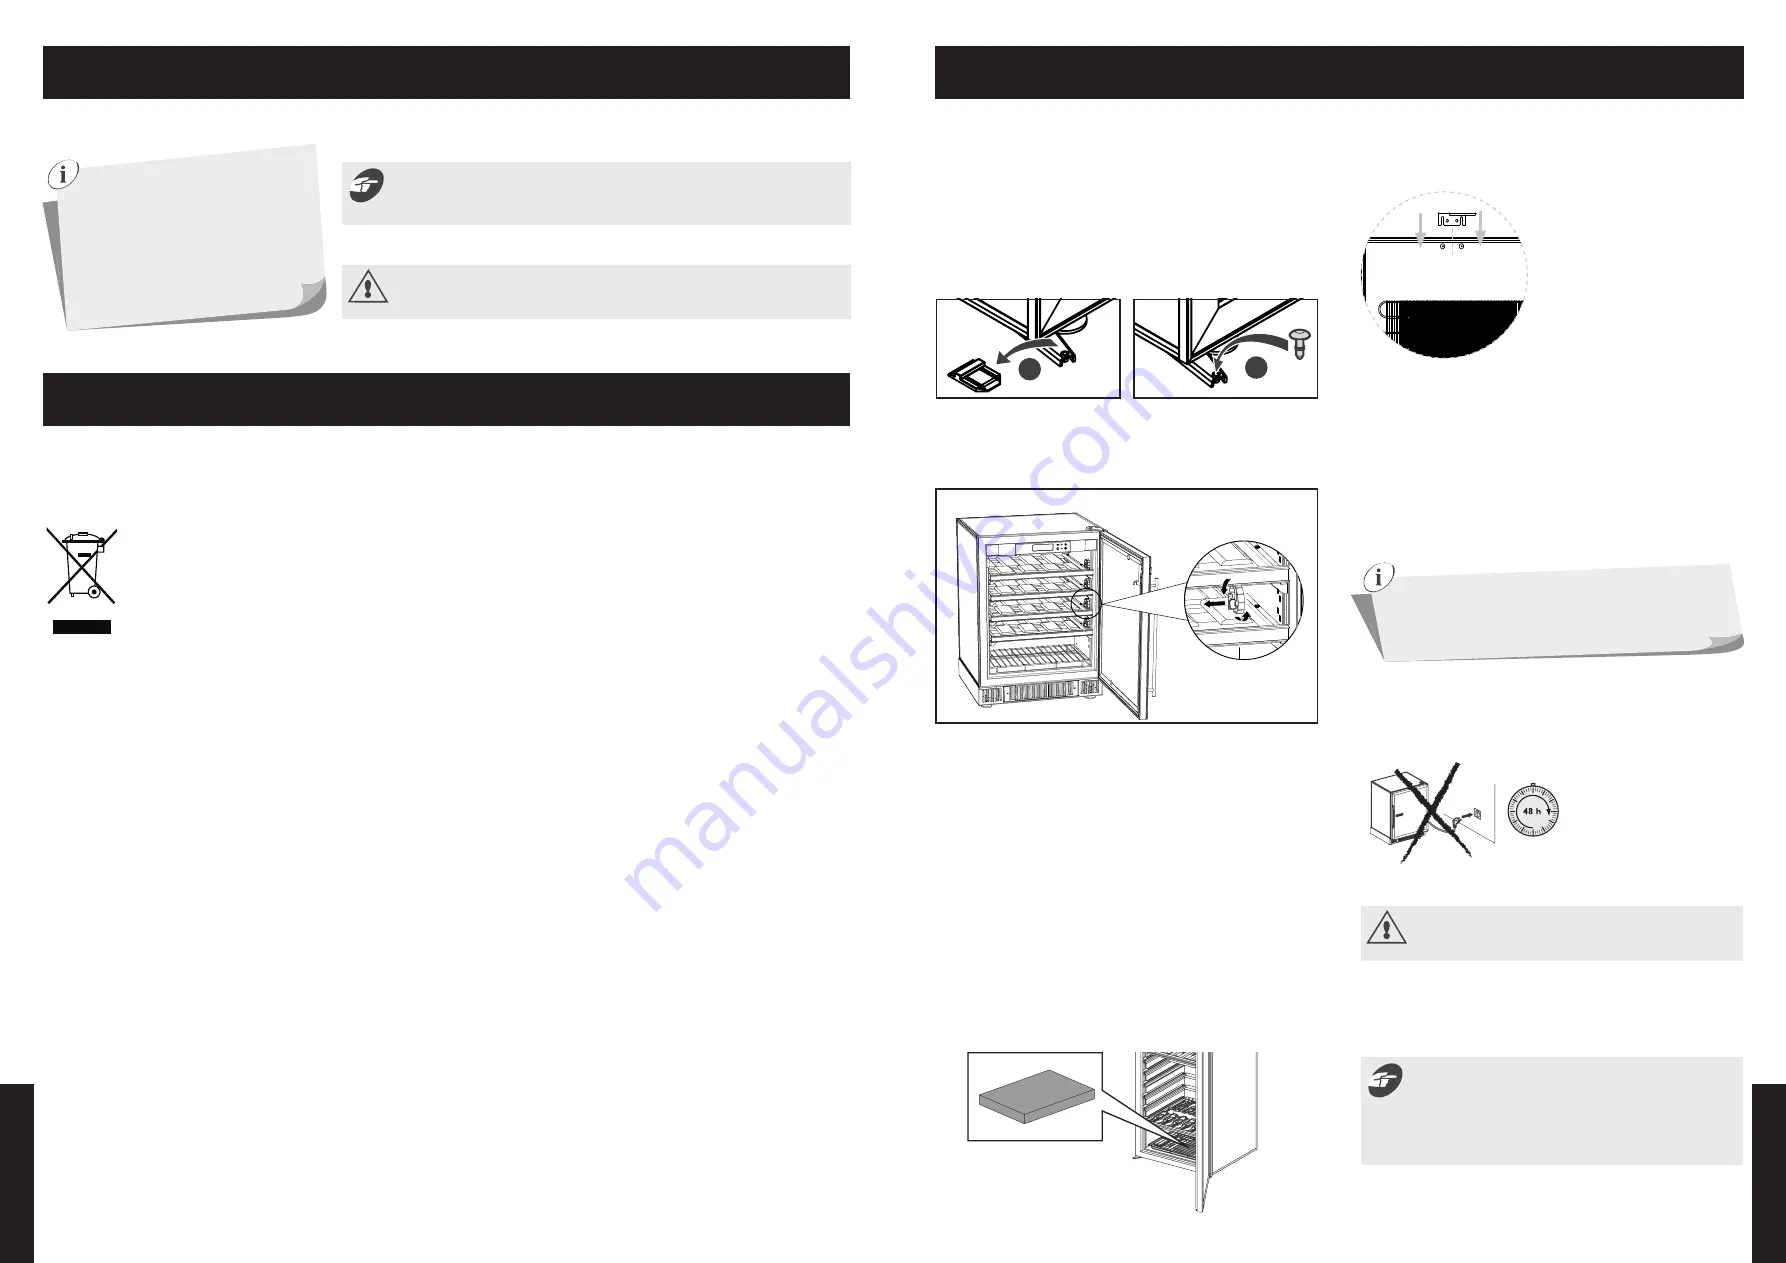
including the lower hinge protector (see diagram (1))
•
Fit the cap (see diagram 2), found in the accessories bag, used for sealing
the hole in the lower hinge.
•
Protective wedges for transportation have been attached to each shelf.
2 wedges per shelf (Picture 1). Remove all of them using a rotating
movement (Picture 2). You can retain these wedges and reuse them if you
have to transport your wine cabinet over a long distance.
If there is a problem, contact your Transtherm retailer.
Precautions
•
Do not place your cabinet in an area liable to flood.
•
Do not place your cabinet close to a source of heat or expose it to
direct sunlight
•
Prevent water from splashing on any parts of the rear of the machine.
•
Arrange the power lead so that it is accessible and does not come into
contact with any of the appliance’s components.
•
Tilt the cabinet slightly backwards in order to adjust the front feet (by
screwing or unscrewing them) so that you can level your cabinet (spirit
level recommended).
•
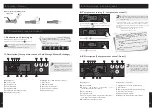
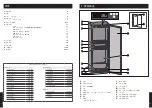
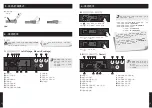
Place the humidity cartridge (which you will find in your cabinet’s
“accessories” bag) at the bottom of the cabinet, under the grill, in the
specially provided tray (see diagram below). When using for the first time,
immerse the entire cartridge in water for a few minutes to saturate it then
drain it thoroughly.
•
Install the stop (which is located in the accessories bag) at the back of
the cabinet (see diagram).
•
This allows a space of 7 cm to
be maintained between the wall and the
rear of the cabinet. This space allows
your cabinet’s power consumption to
be optimised.
•
Place the 2 caps in the 2 holes at
the top of the cabinet.
•
Do not push the caps all the way
in, in order to allow the rear stop to be
installed.
•
Slide the rear stop between the
caps and the wall of the cabinet, then
push the 2 caps all the way in.
Installation
Place your cabinet in the desired location.
It must:
•
be open to the outside and well ventilated (not in an enclosed cupboard,
for example),
•
not be too damp (utility room, laundry room, bathroom...),
•
have a flat, stable floor,
•
be supplied with power (standard outlet, 16 A, earthed with 30mA*
circuit breaker). (* not applicable to some countries).
•
Place your cabinet in the desired location.
•
Wait 48hrs before plugging in your cabinet
.
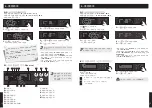
Warning: Replacement of the LEDs on the control panel must
only be carried out by a qualified electrician.
1
2
Picture 2
Picture 1
When moving your cabinet, ne
ver tilt it more than
45°, and always on its side (on the opposite side of the
flexible lead).


