ENGLISH
43
www.trapp.com.br
Cutting Blades Maintenance
2
1
3
4
5
7
8
6
10
9
12
11
13
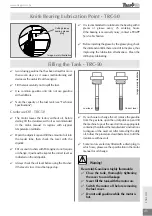
Image merely illustrative
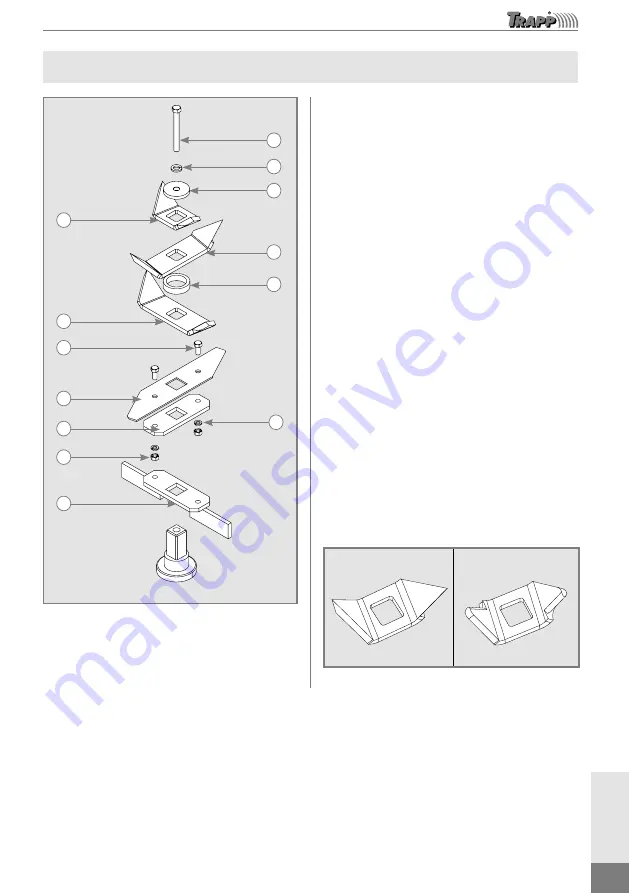
To remove the blades, proceed as follows:
Remove the bolt (1), the plain washer (2) the upper
blade (3), the intermediary blade (4)
and the
intermediary blade (5).
Next, remove the separator of 16 mm (6), and the
intermediary blade (7).
Then remove the hexagon bolts (8), the lock washer
(10), the hex nuts (11), the blade holder (12) and the
lower blade (9).
Check the shank (13) alignment before completing
the assembly of the blade assembly, if necessary
align the shanks to avoid excessive vibration of the
cutter assembly.
Assemble the blades in the same direction and
position as shown in the side picture to ensure that
the cutter assembly is working; incorrectly mounting
the blades may damage the equipment and cause
loss of warranty.
Before turning on the machine after
assembling the blades, manually rotate the
cutter assembly and check that it runs clear
from any part of the crusher. If you notice an
excessive vibration when starting the crusher,
check the blade assembly step; if you still
have problems, call a TRAPP Service
Technician.
Note:
Blades should be replaced when the sharp area
advances by 20% of the cutting area.
Image merely illustrative
Sharp knife
Blunt knife
Faca Gasta
Faca Afiada
Faca Gasta
Faca Afiada


