32
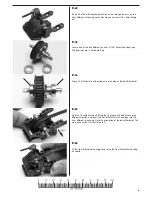
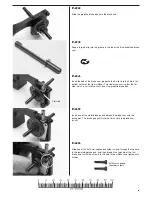
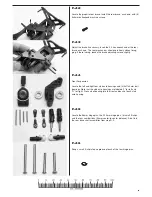
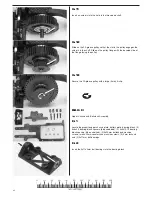
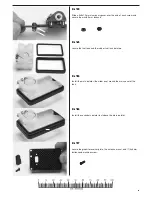
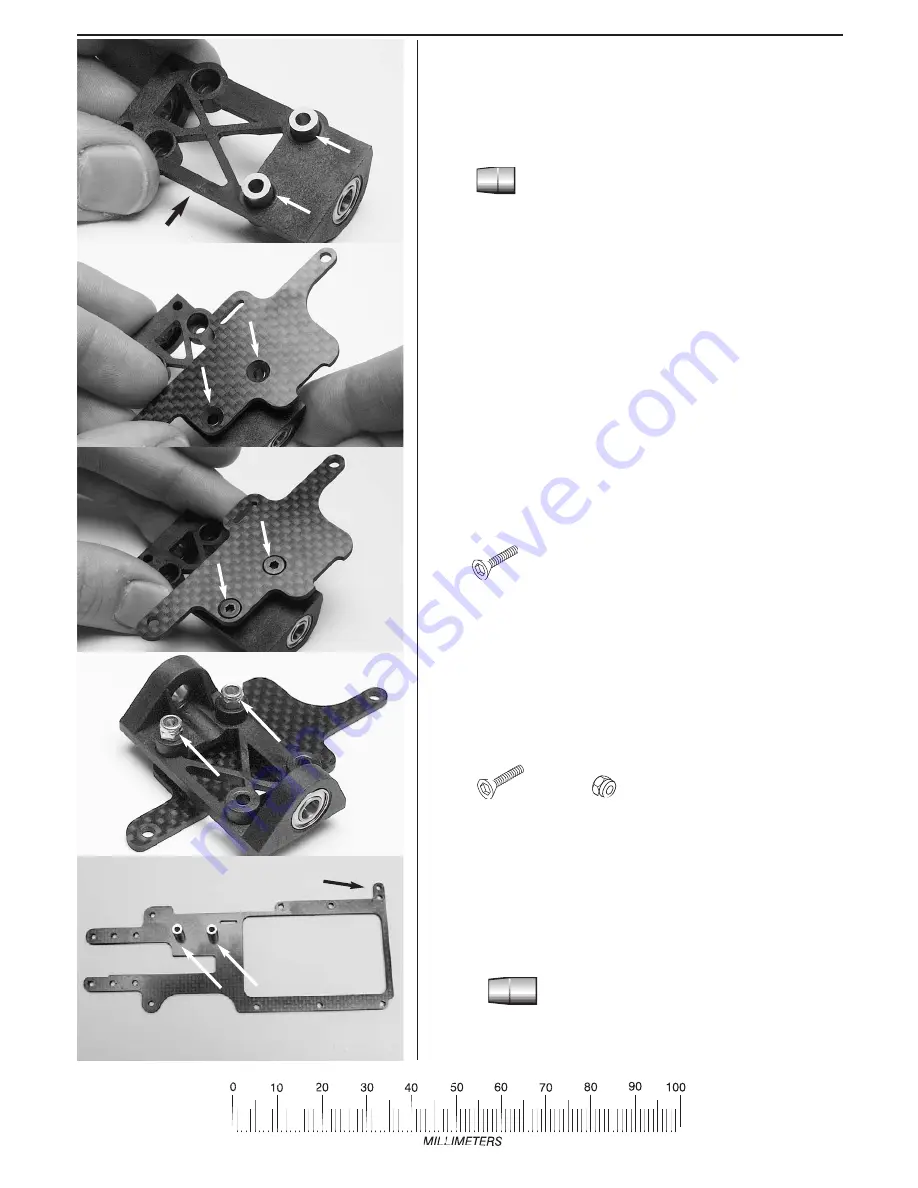
H-4
Position the battery plate as shown so that the countersunk holes align
with the spacers on the bearing block.
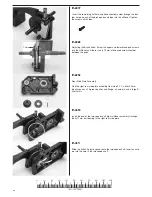
H-5
Insert a 3x20mm countersunk machine screw into each of the holes.
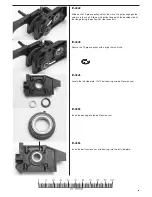
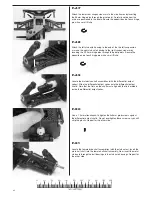
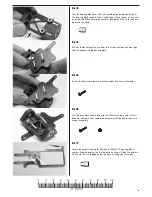
H-6
Turn the assembly over and secure the 3x20mm screws with (2) 3mm
locknuts. Compare your completed assembly with the photo to ensure
correct assembly.
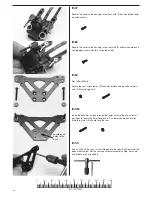
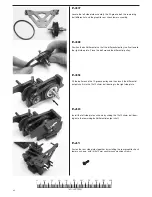
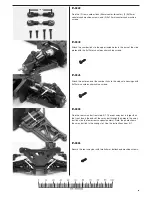
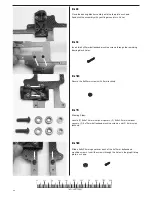
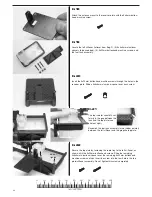
H-7
Locate the graphite top plate. Position (2) 3x6x10.75 bearing block
spacers (tapered end up) on the top plate as shown. Study the photo to
make sure that the topside of the top plate is facing you (note tab).
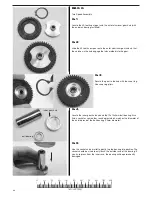
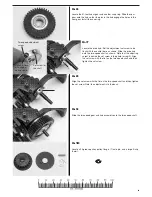
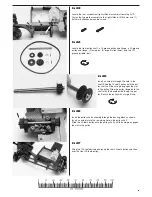
H-3
Turn the bearing block over with the smooth edge facing you (arrow1)
The bearing block spacers have a slight taper (cone shape) on one end.
Insert the two 3x6x8.9mm blue spacers, tapered end first, into the bear-
ing block as shown.
1
Tab

